Mini-making project 2 - A bow and arrow
Here's how to make a bow and arrow with a target. Please scroll through the images below for complete instructions. Make sure you get an adult to cut the wood with a craft knife. Have fun!

Your Custom Text Here
Here's how to make a bow and arrow with a target. Please scroll through the images below for complete instructions. Make sure you get an adult to cut the wood with a craft knife. Have fun!
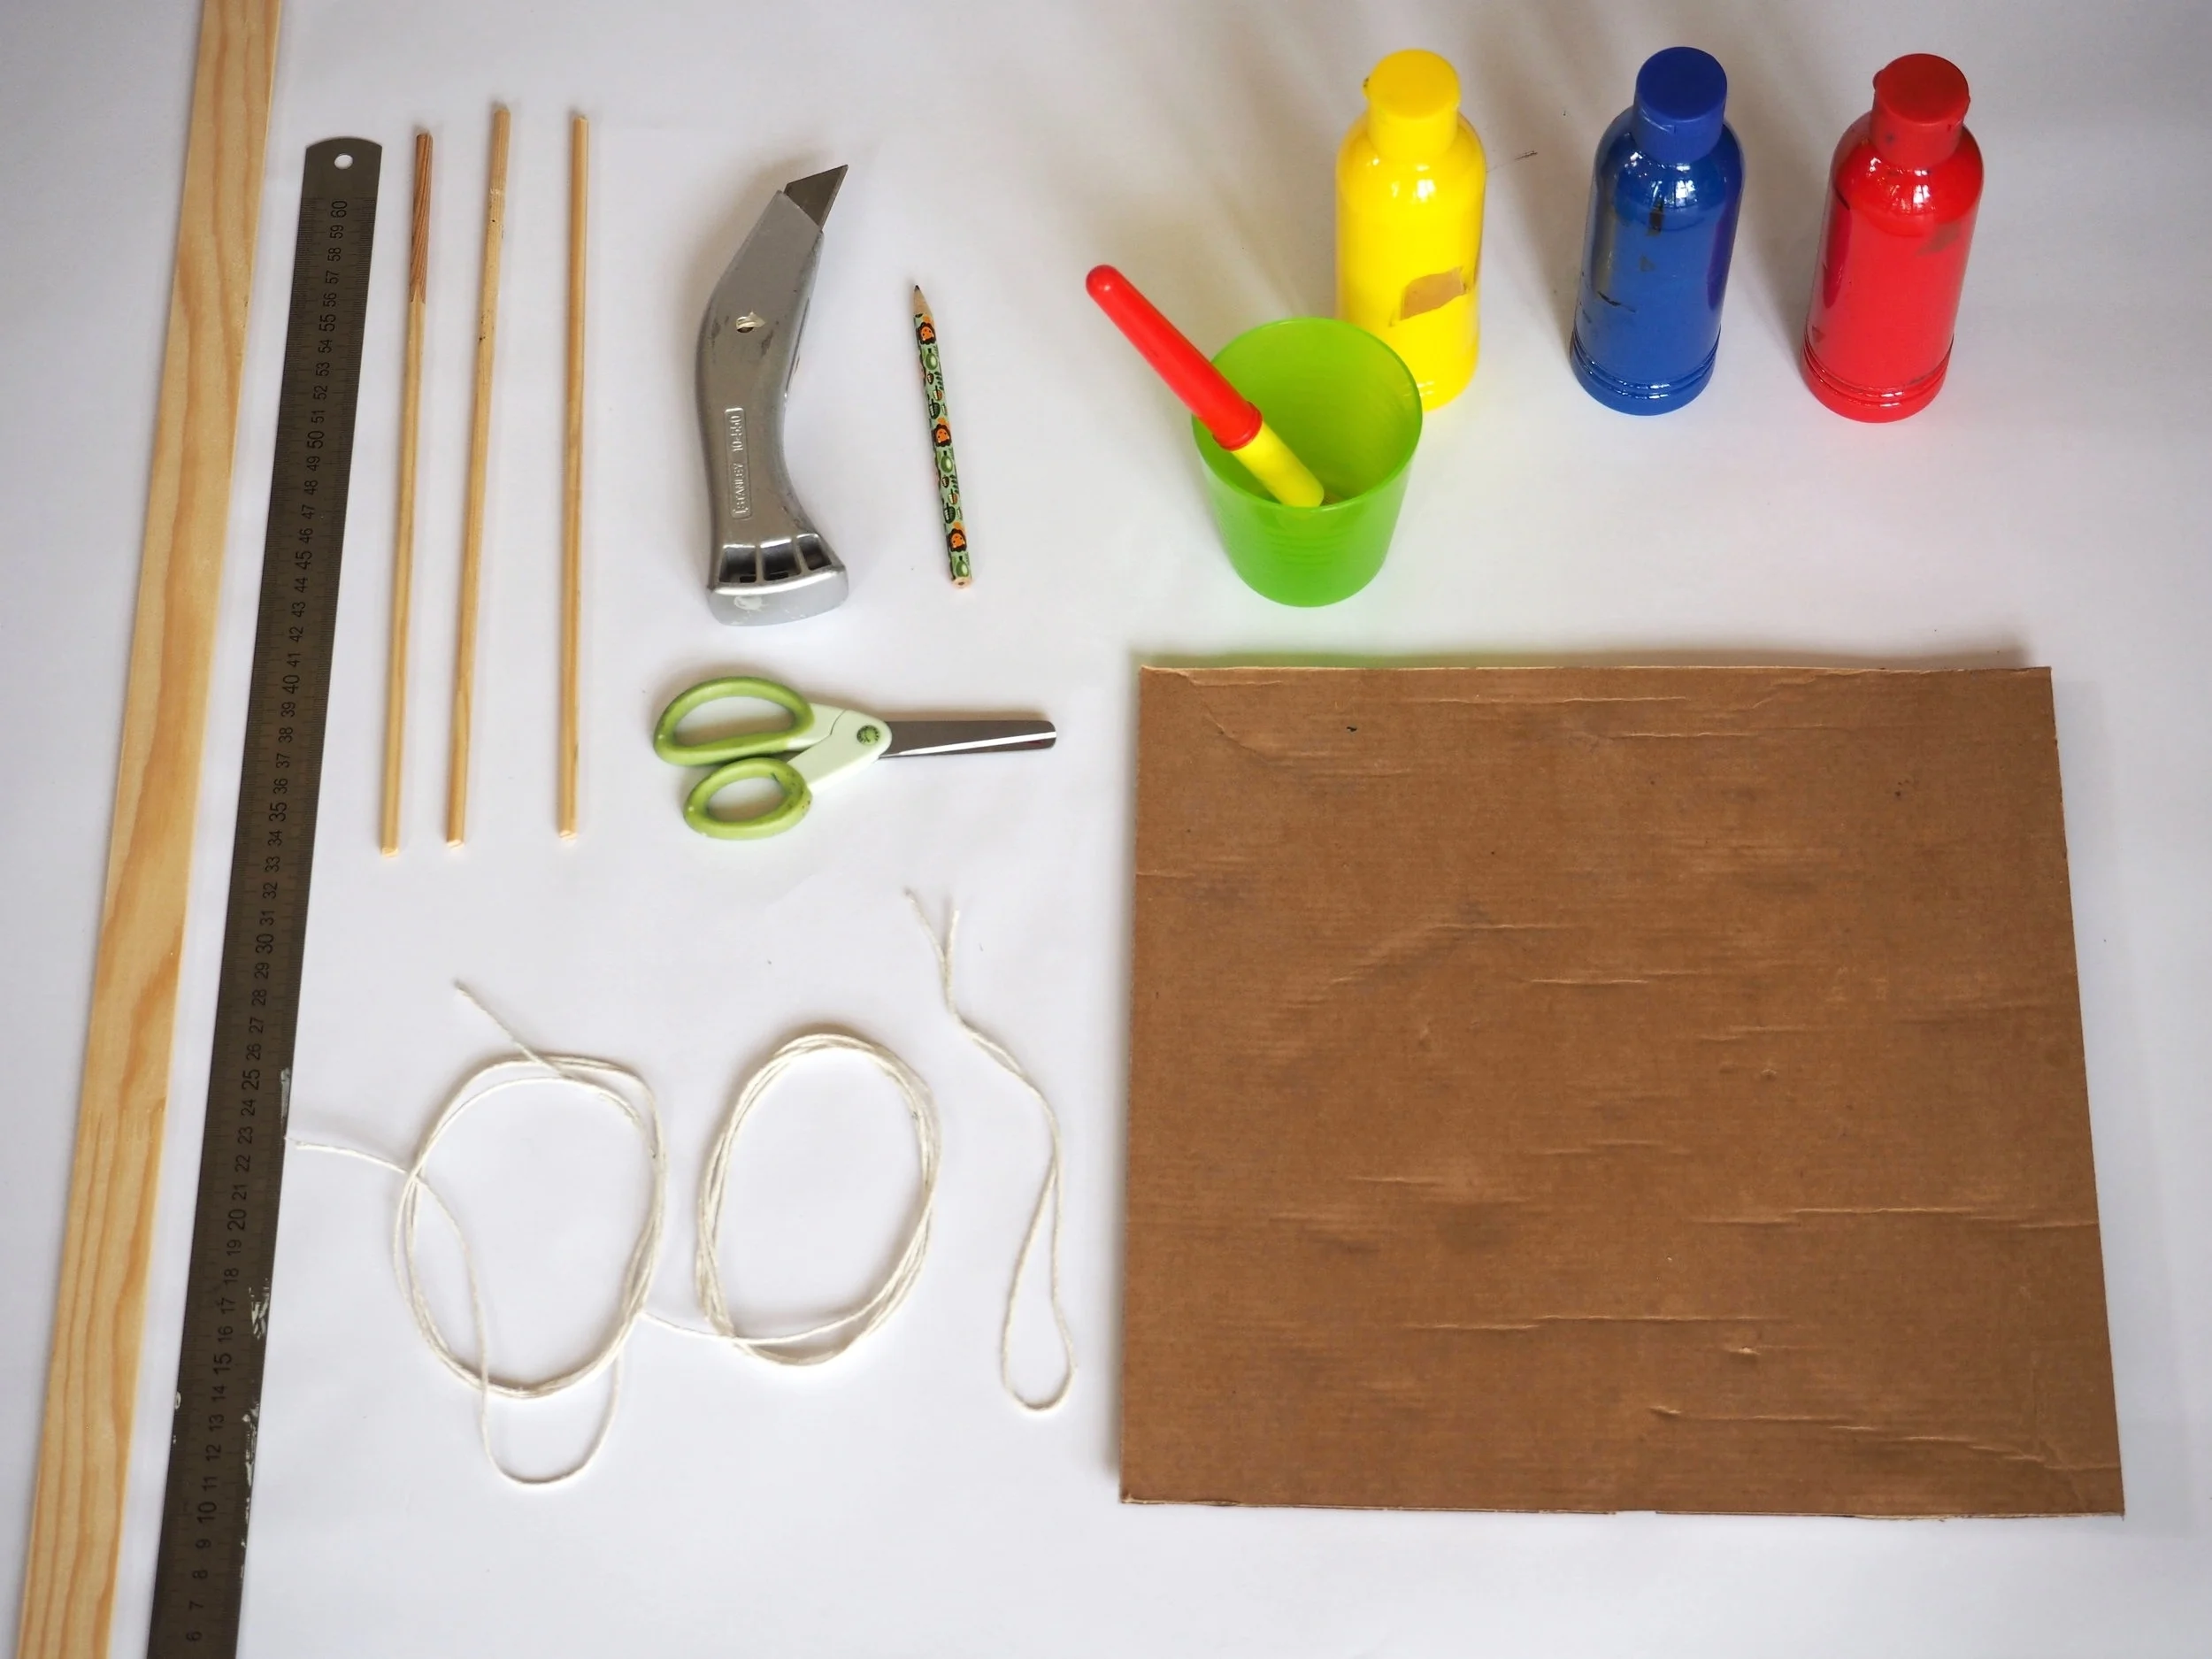
Flexible wood (5mm deep, 3cm wide, 120cm length), ruler, dowel (3 x 9mm diameter, 40cm length), craft/stanley knife, scissors, pencil, string (1 x 135cm, 1 x 150cm, 1 x 15cm), paint brush, cup with water, cardboard (30cm x 30cm), paint (3 different colours).
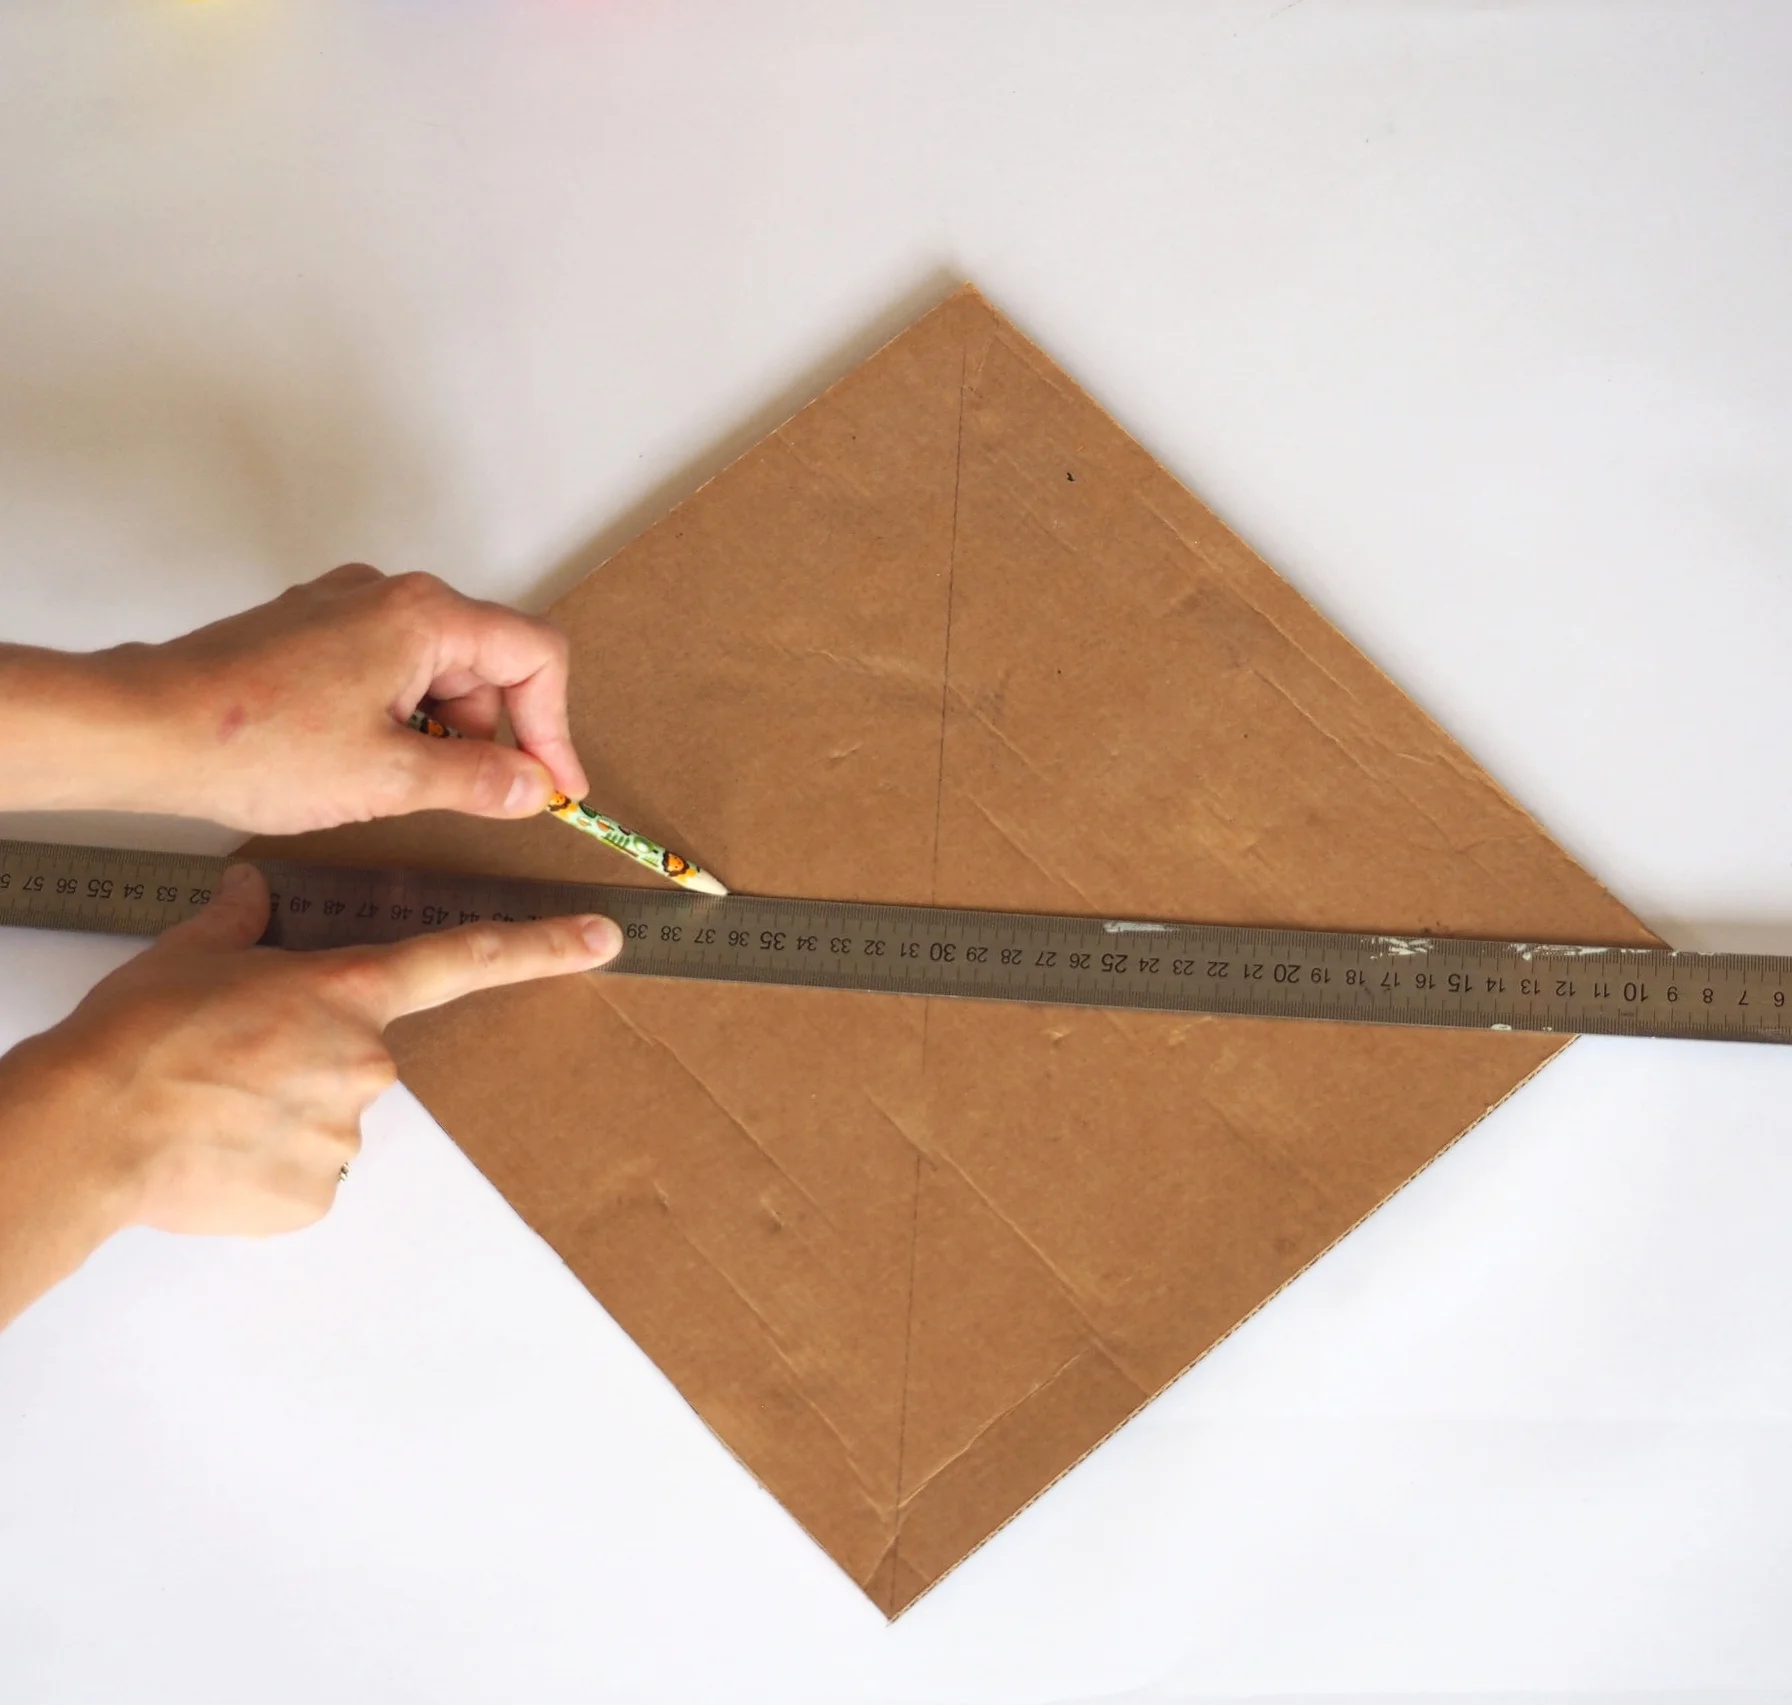
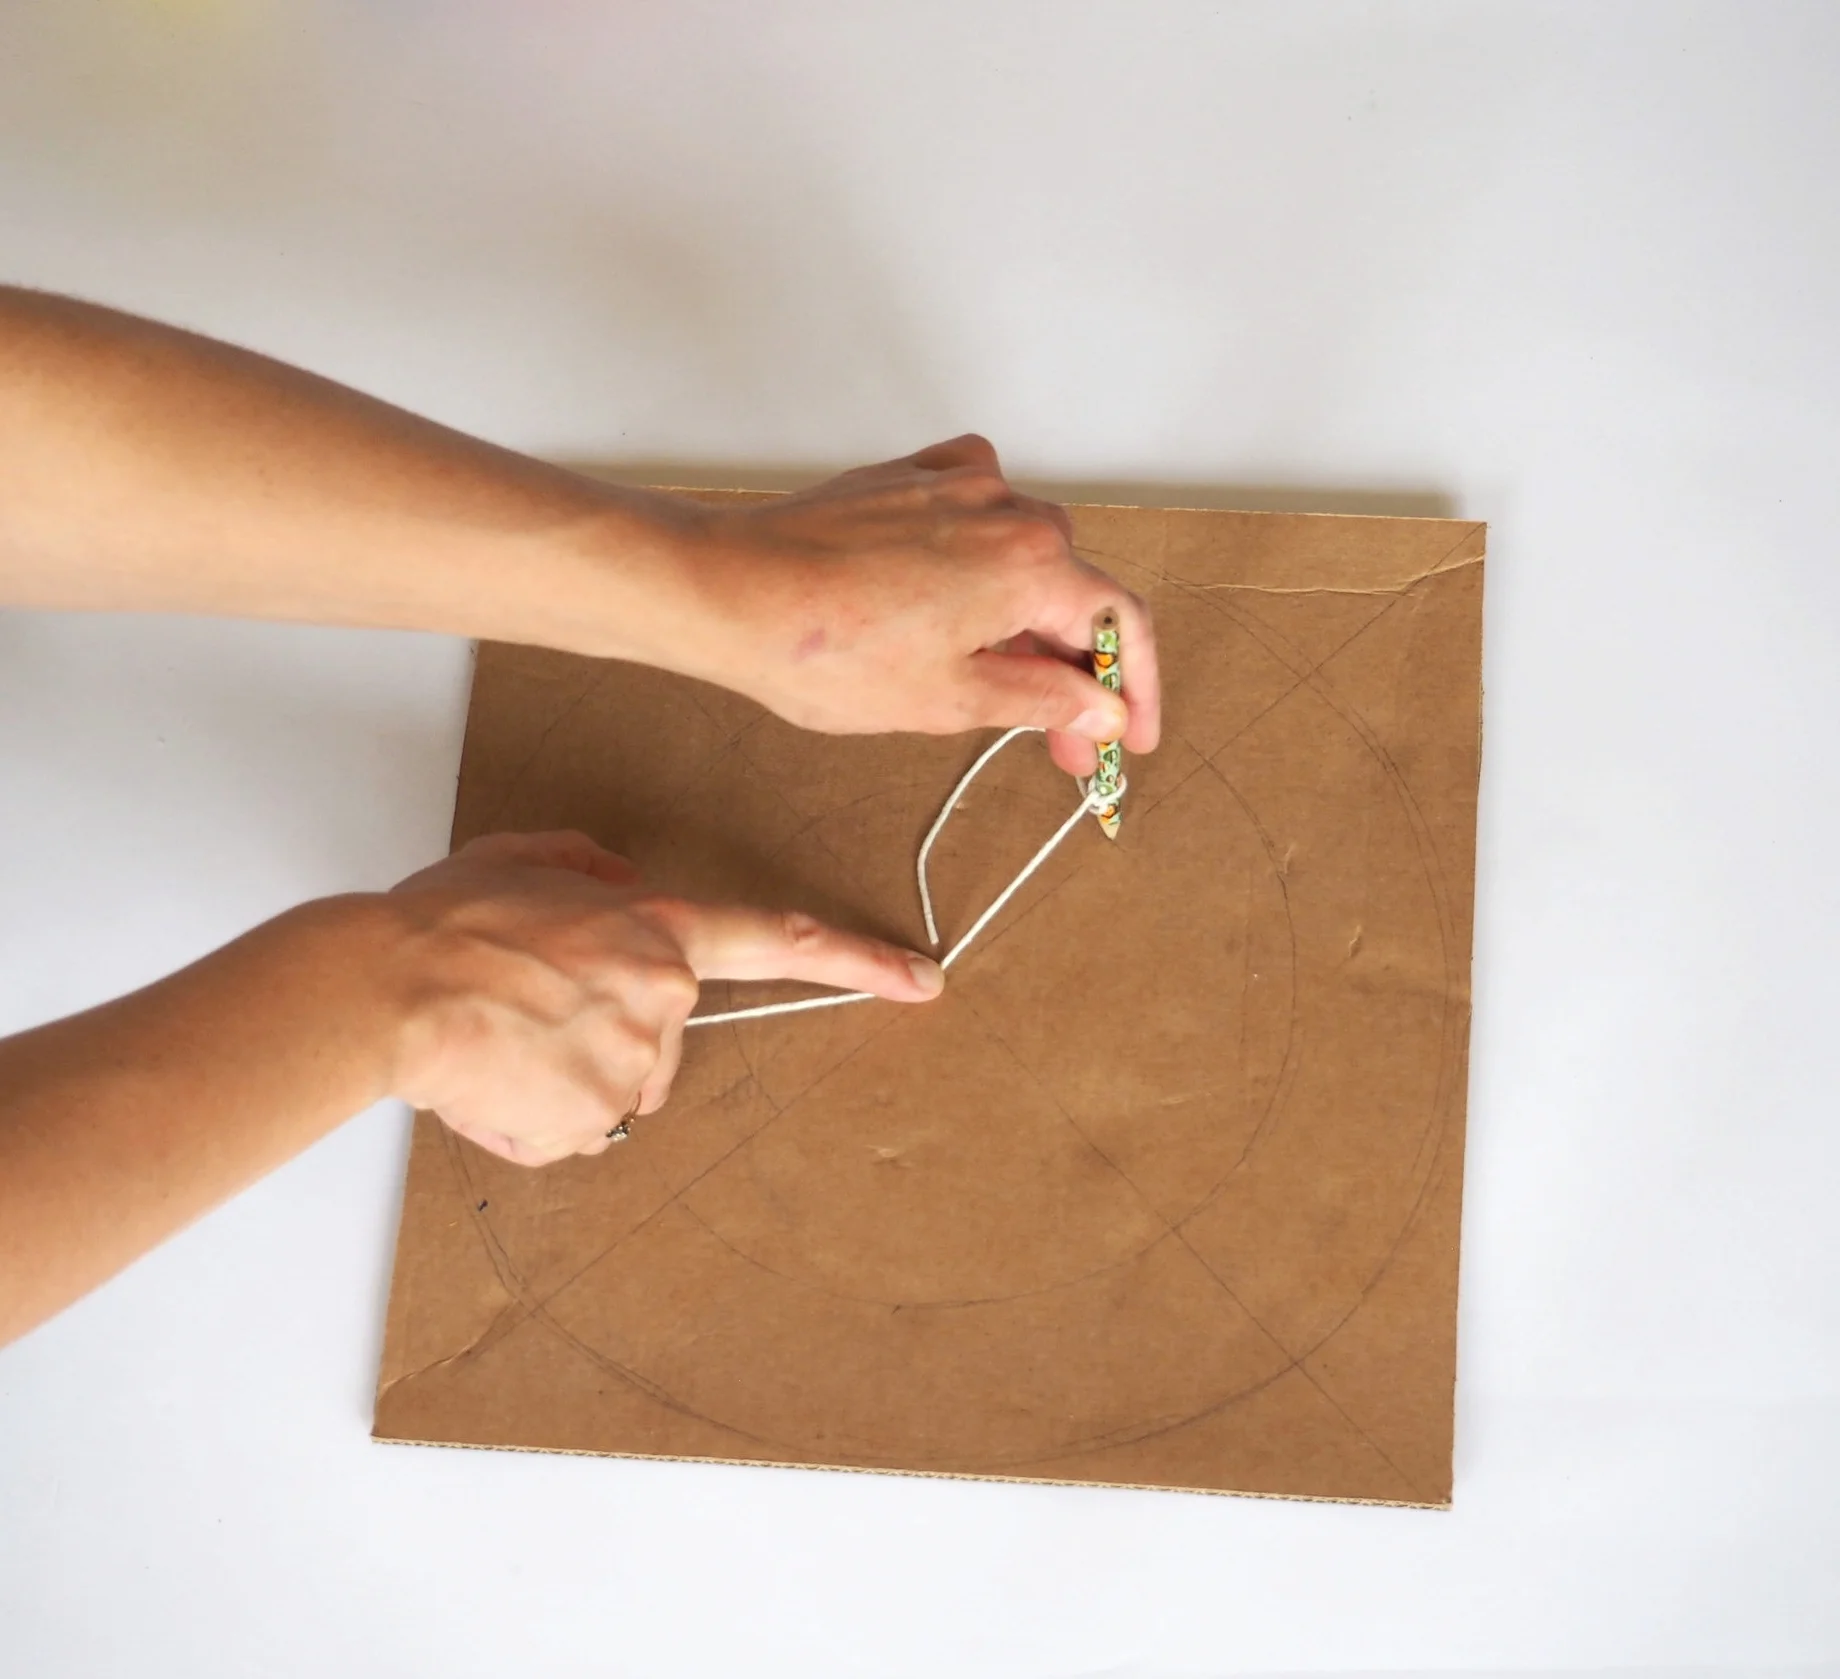
To find the centre of the cardboard square draw a line from two opposite corners, then repeat with the other remaining corners.
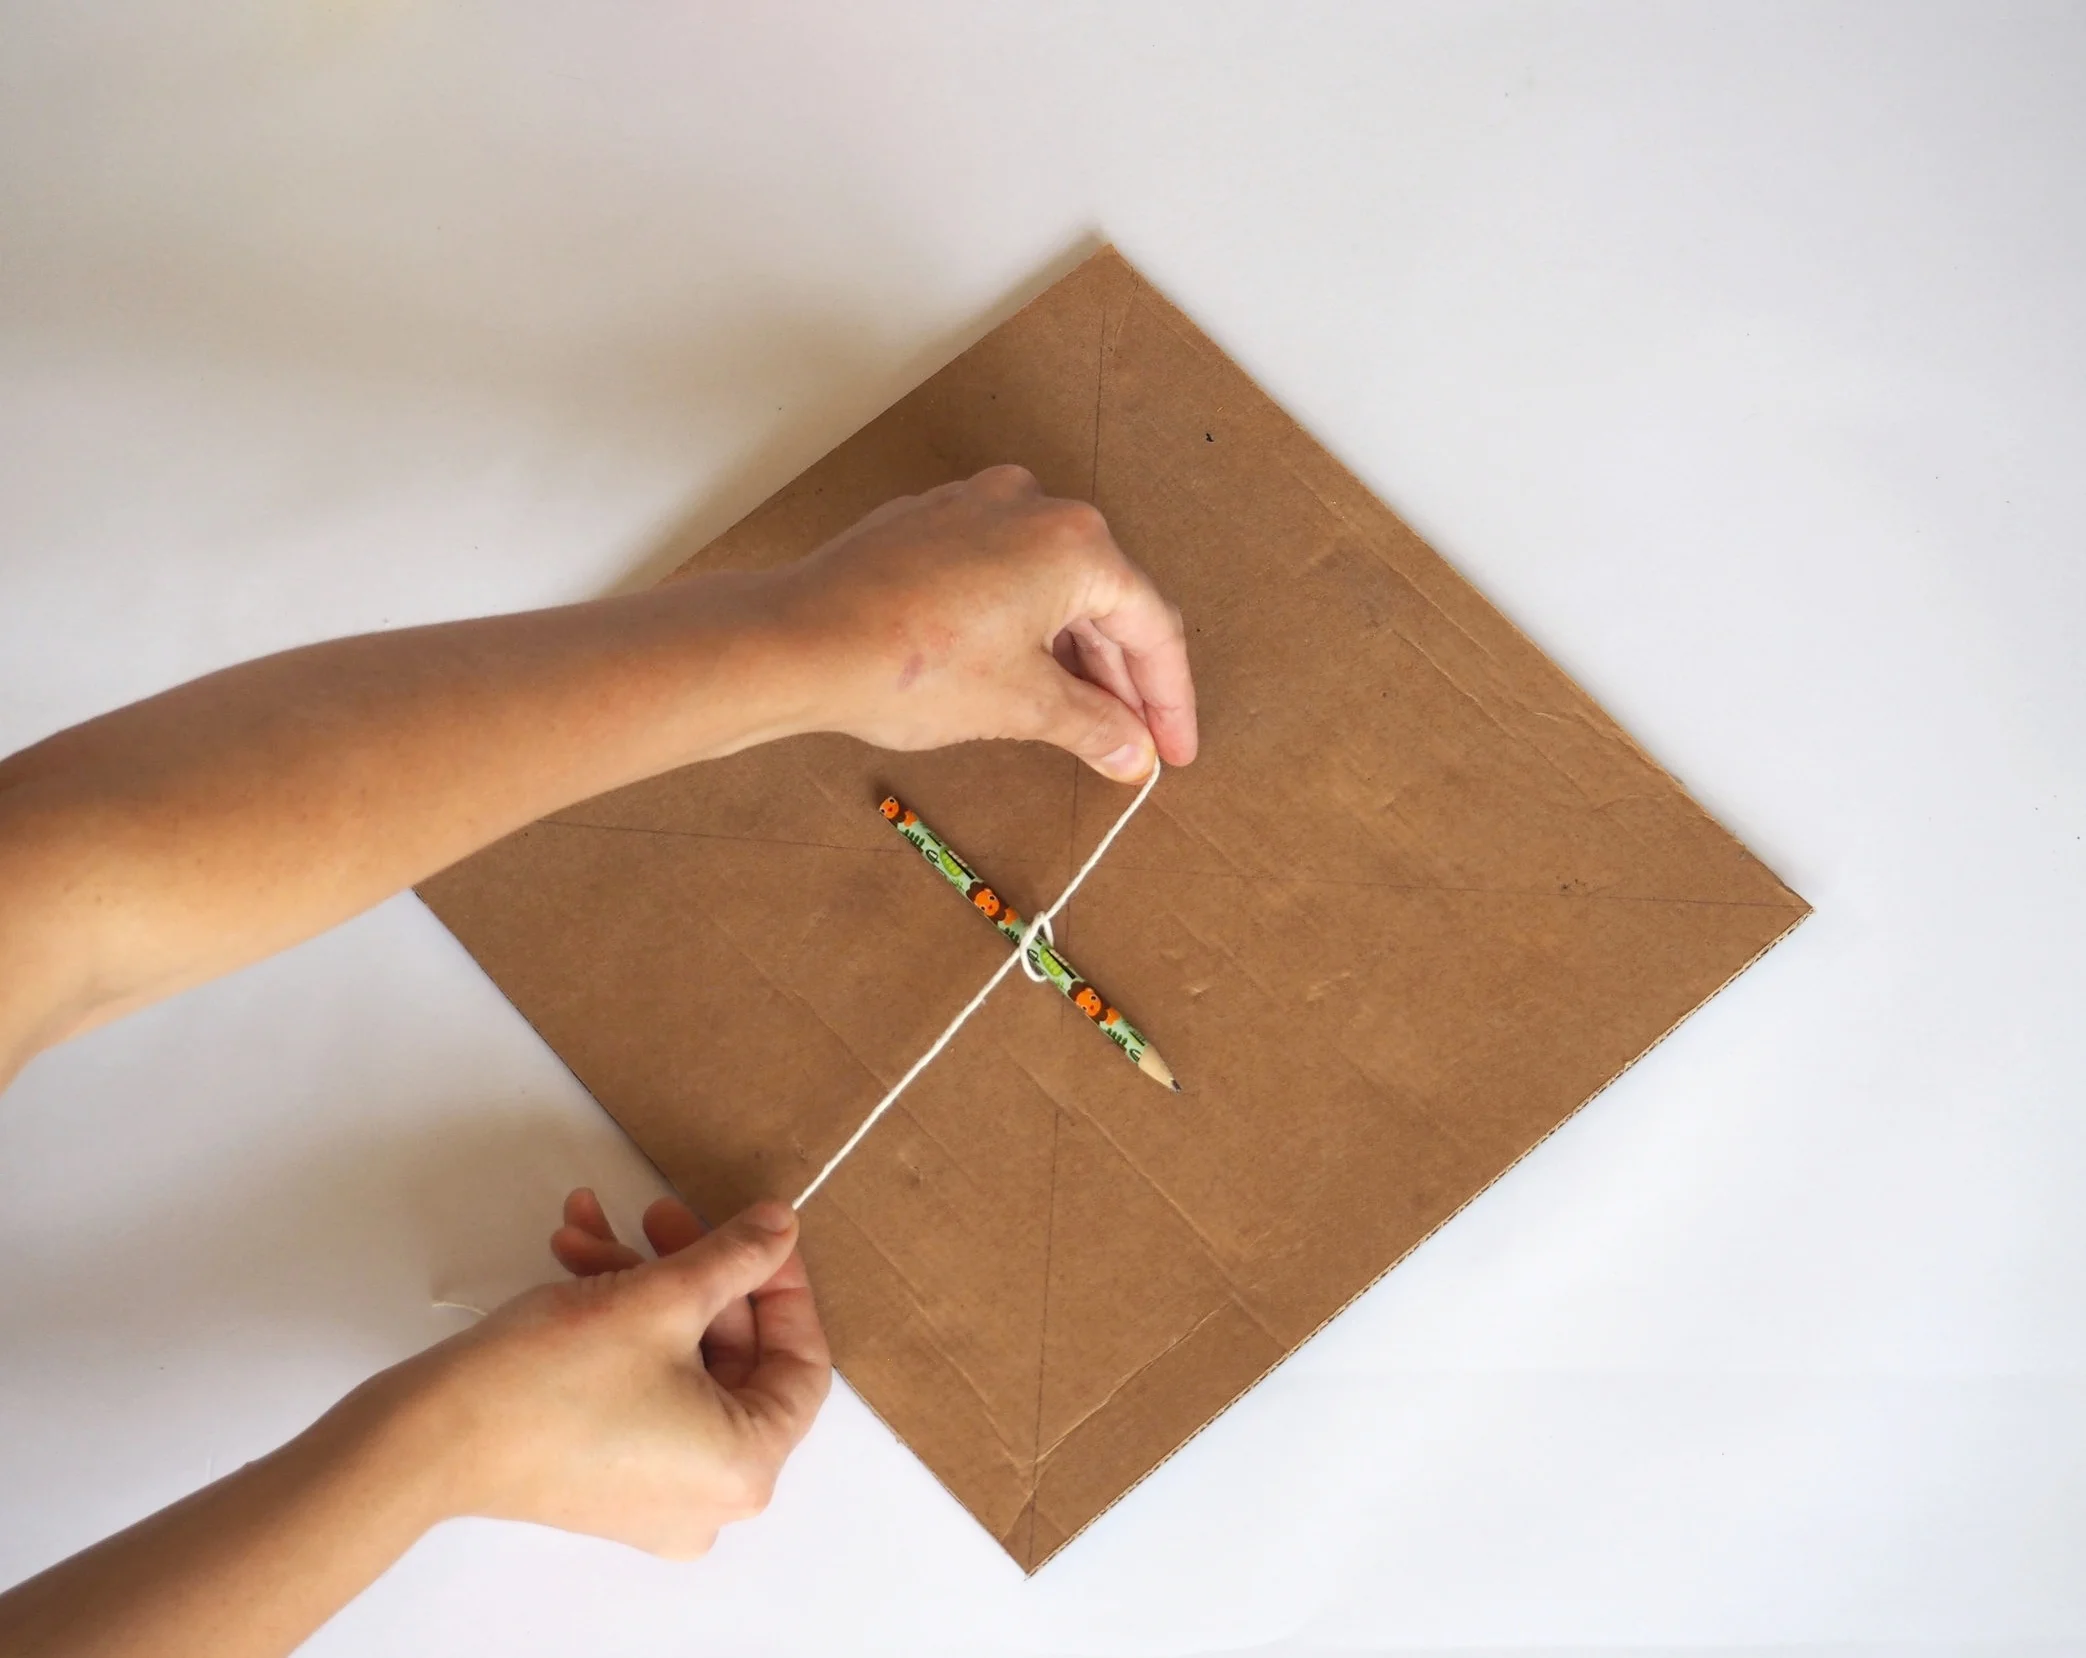
Tie the 15cm length of sting around the pencil
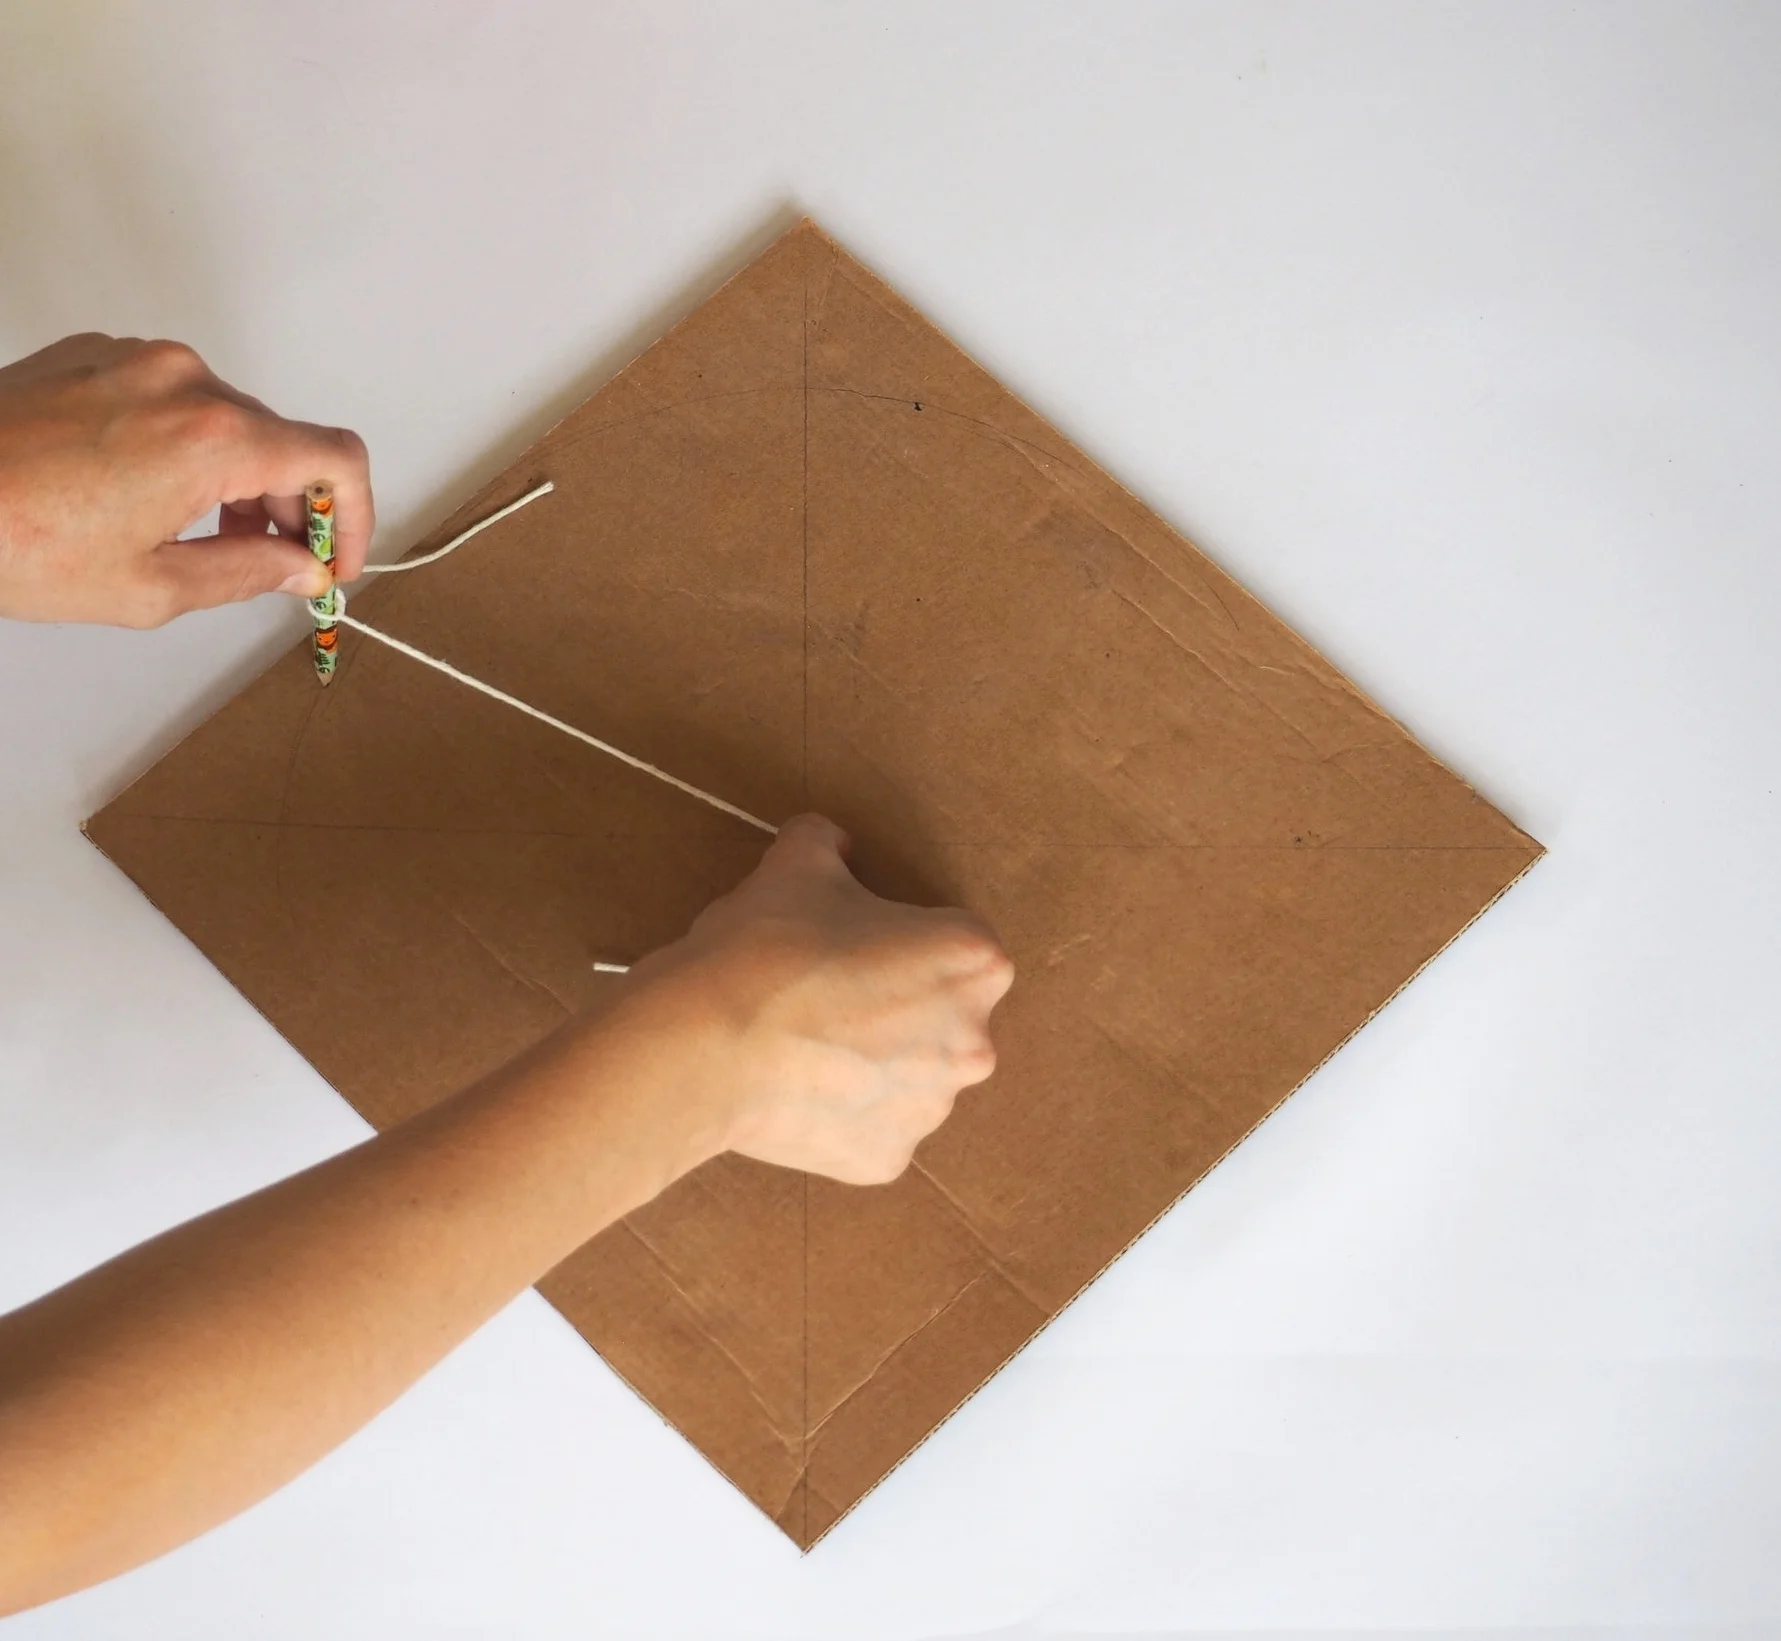
Hold one end of the string in the centre of the cardboard and draw a circle with the pencil as close to the edge as possible.
Repeat this twice, making the string approximately 3cm shorter each time, creating three circles on the cardboard.
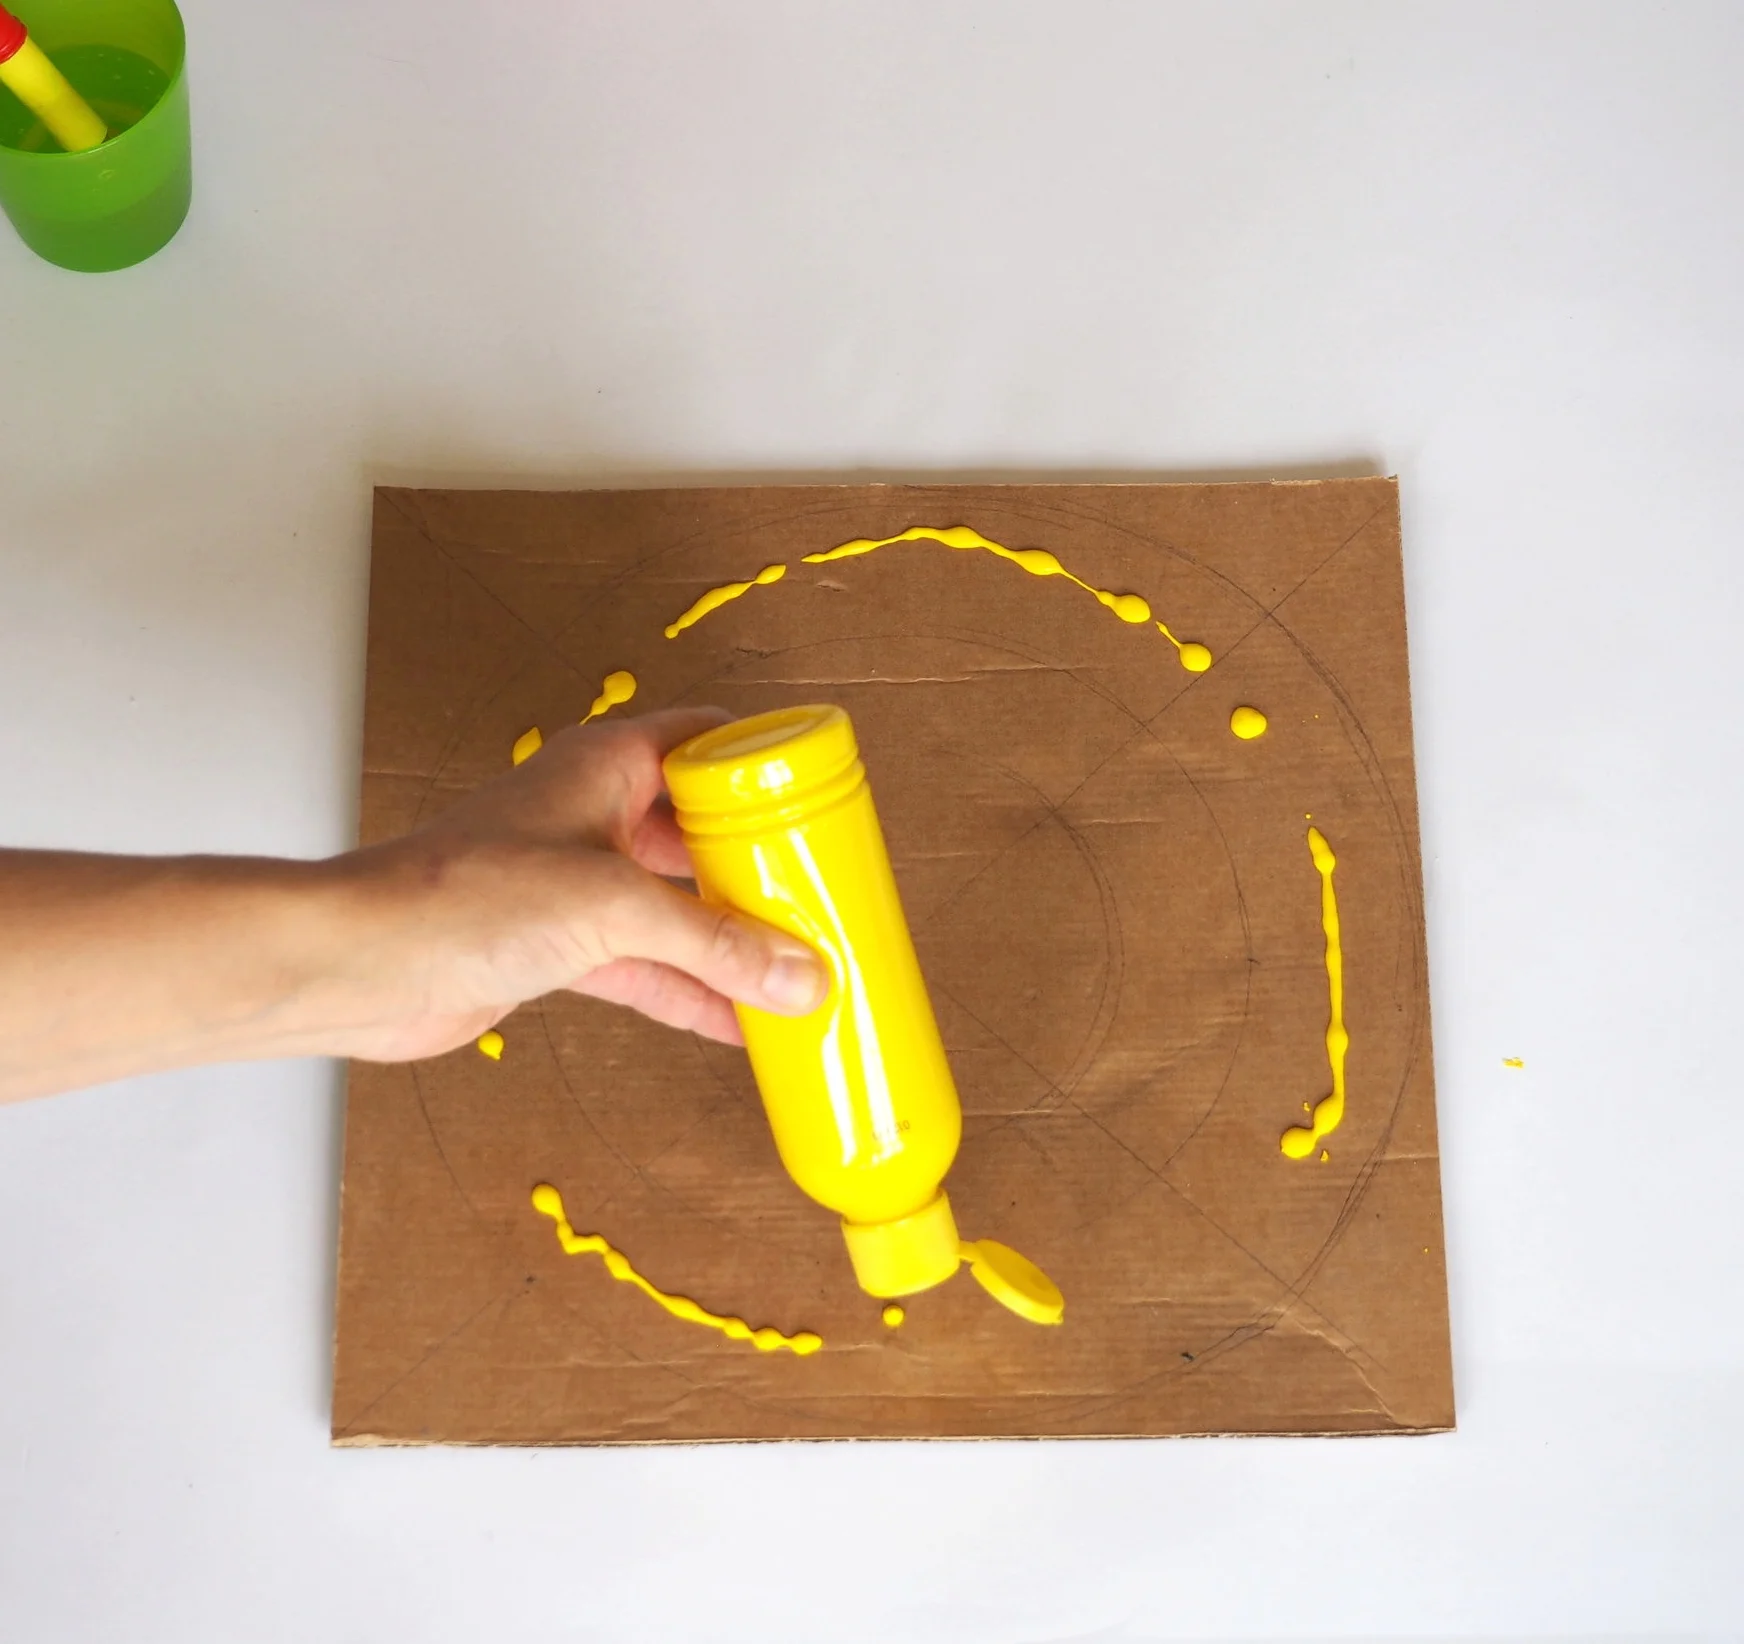
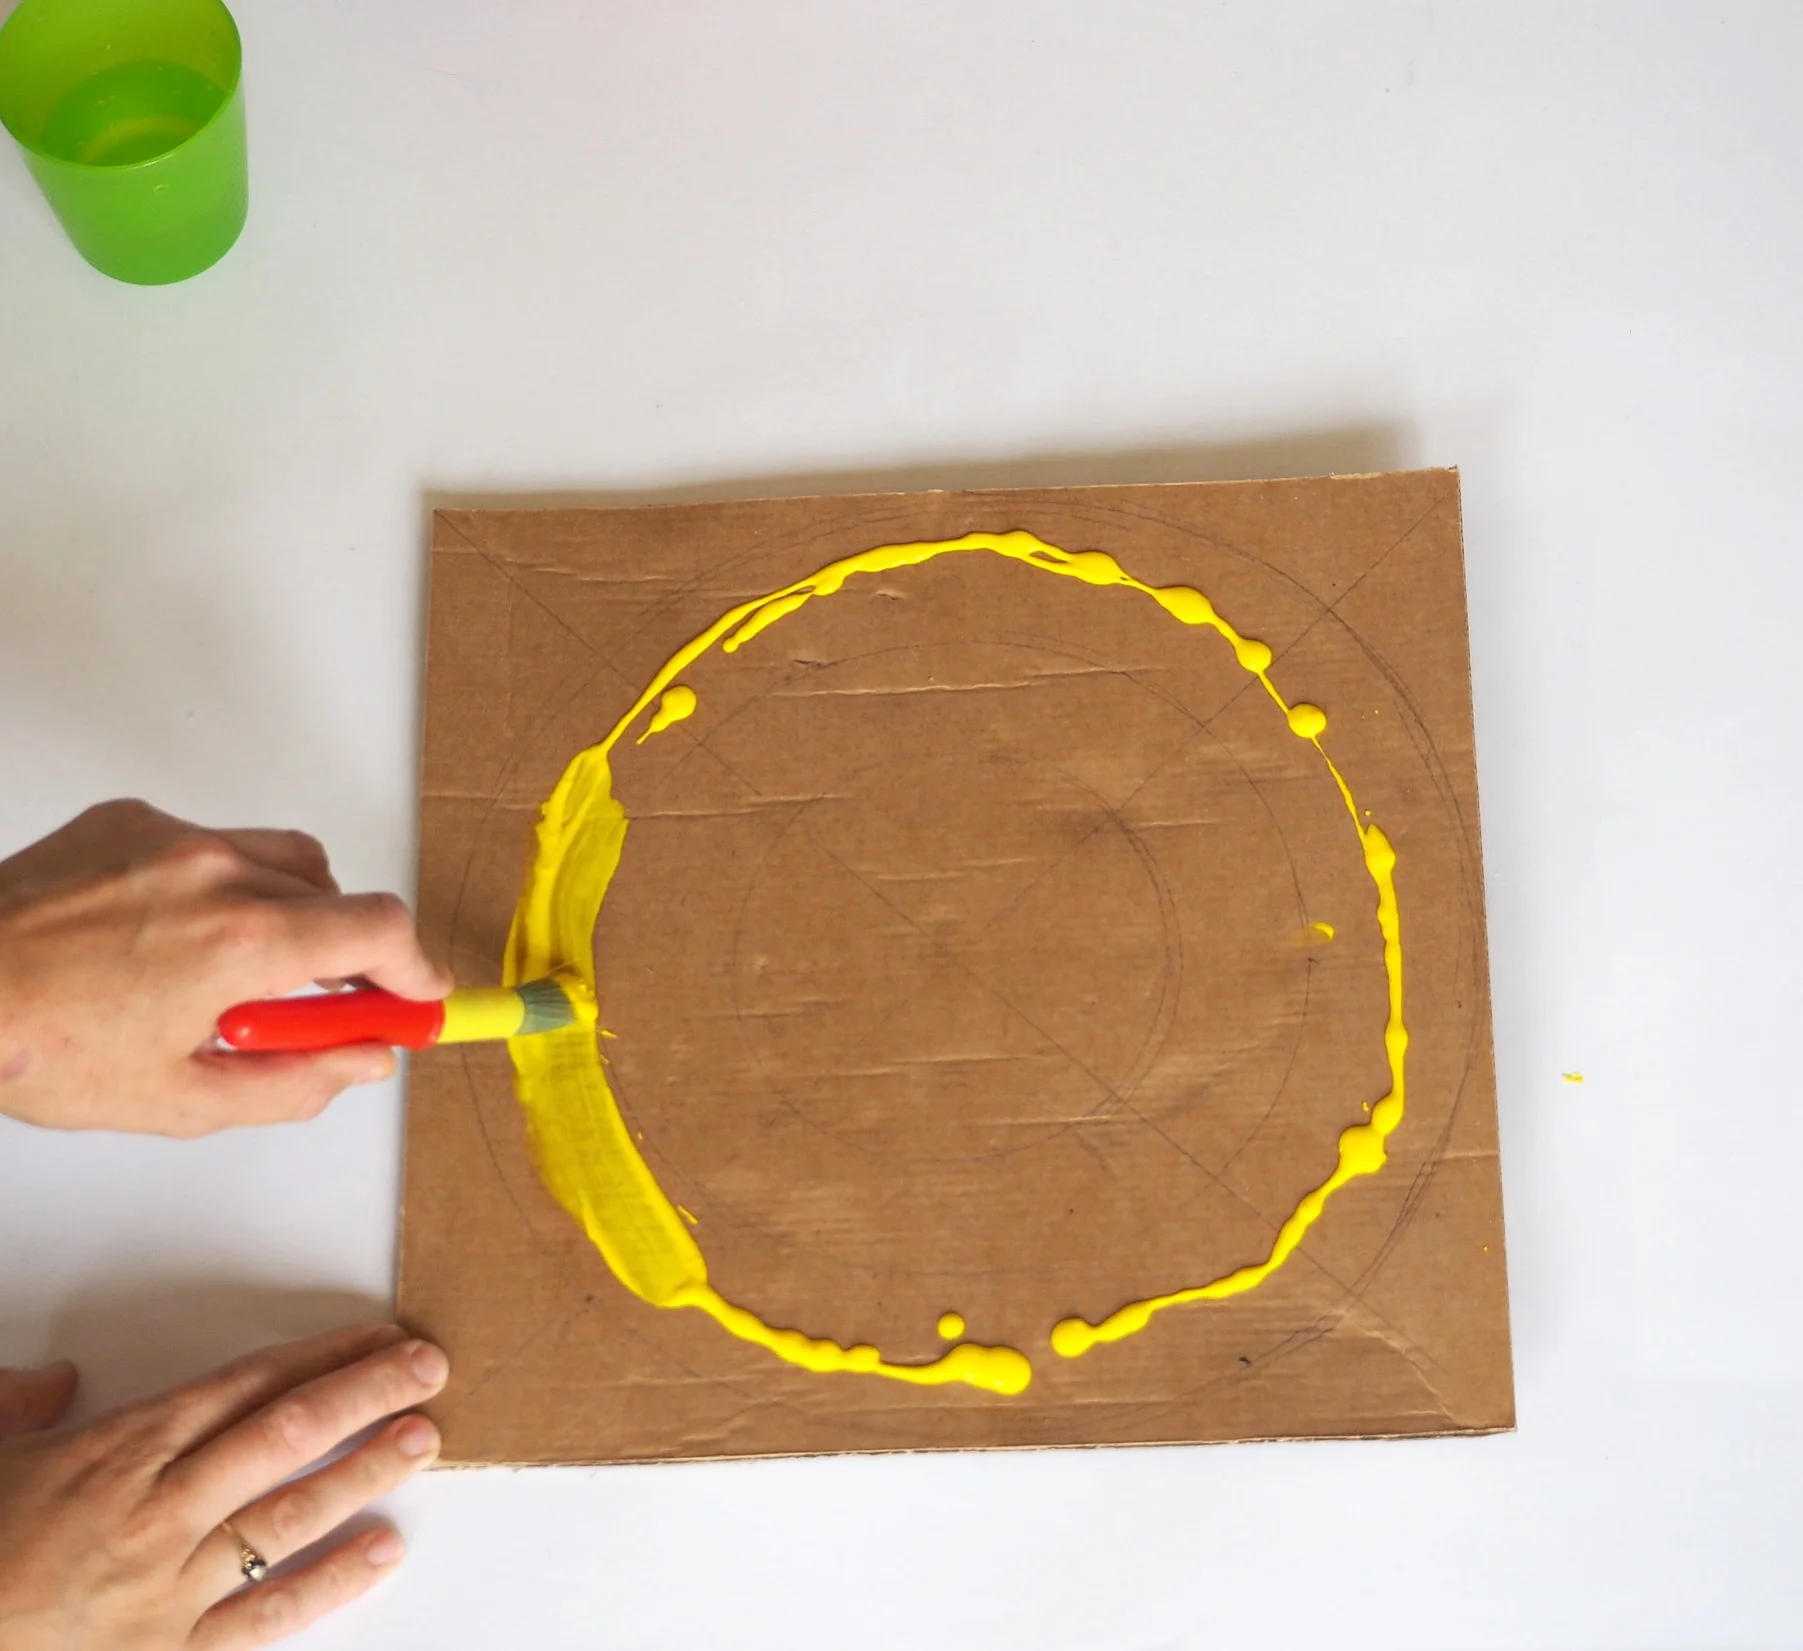
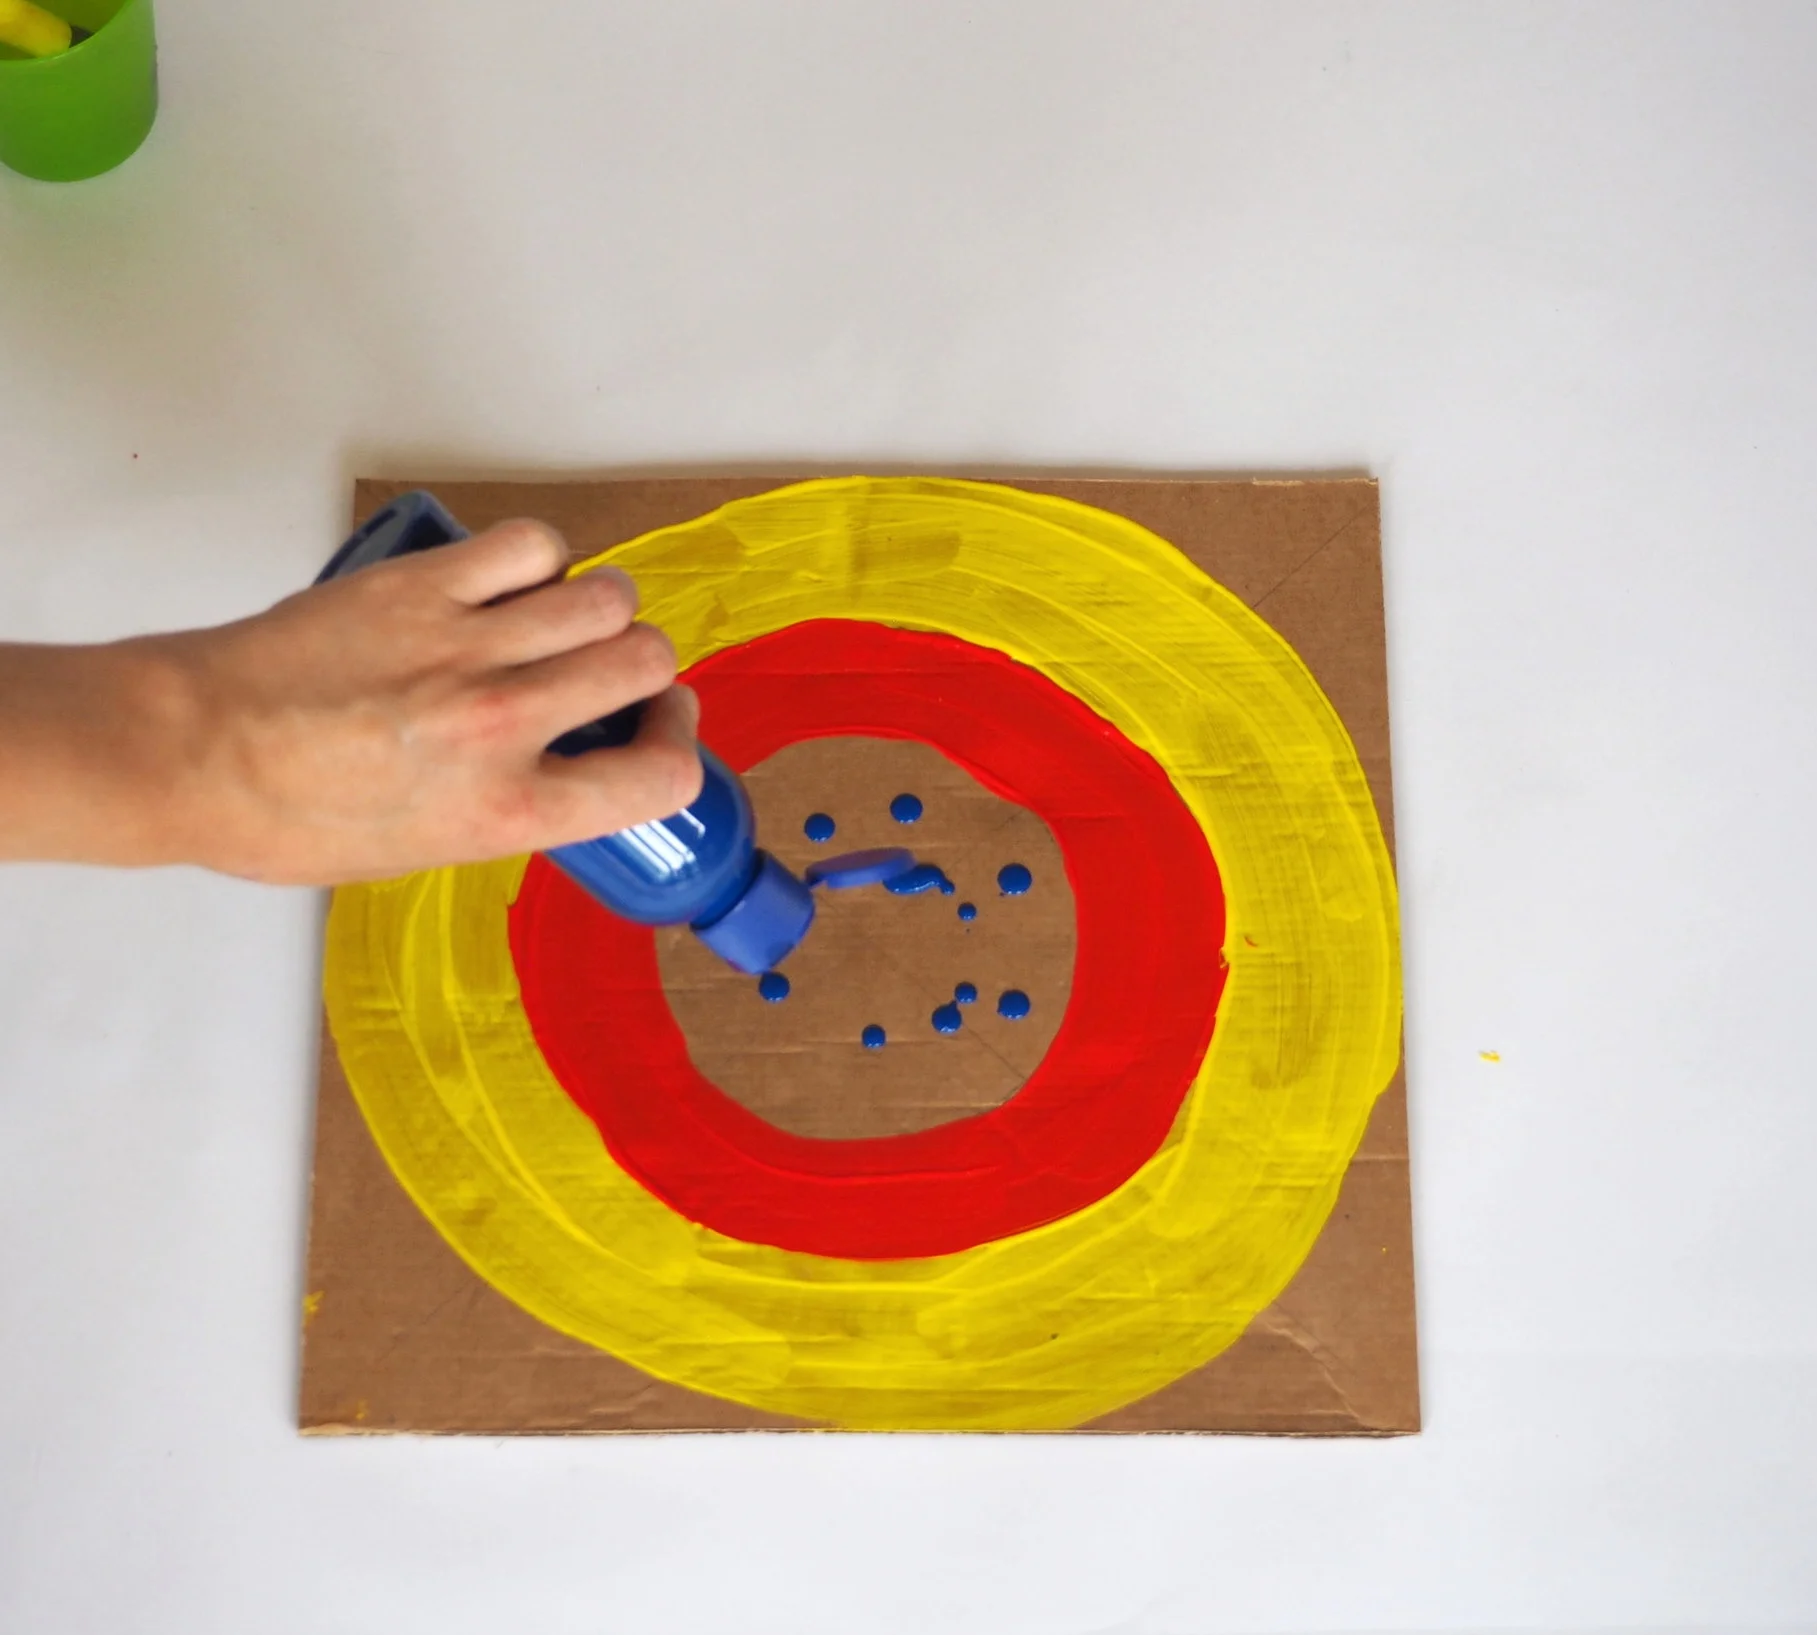
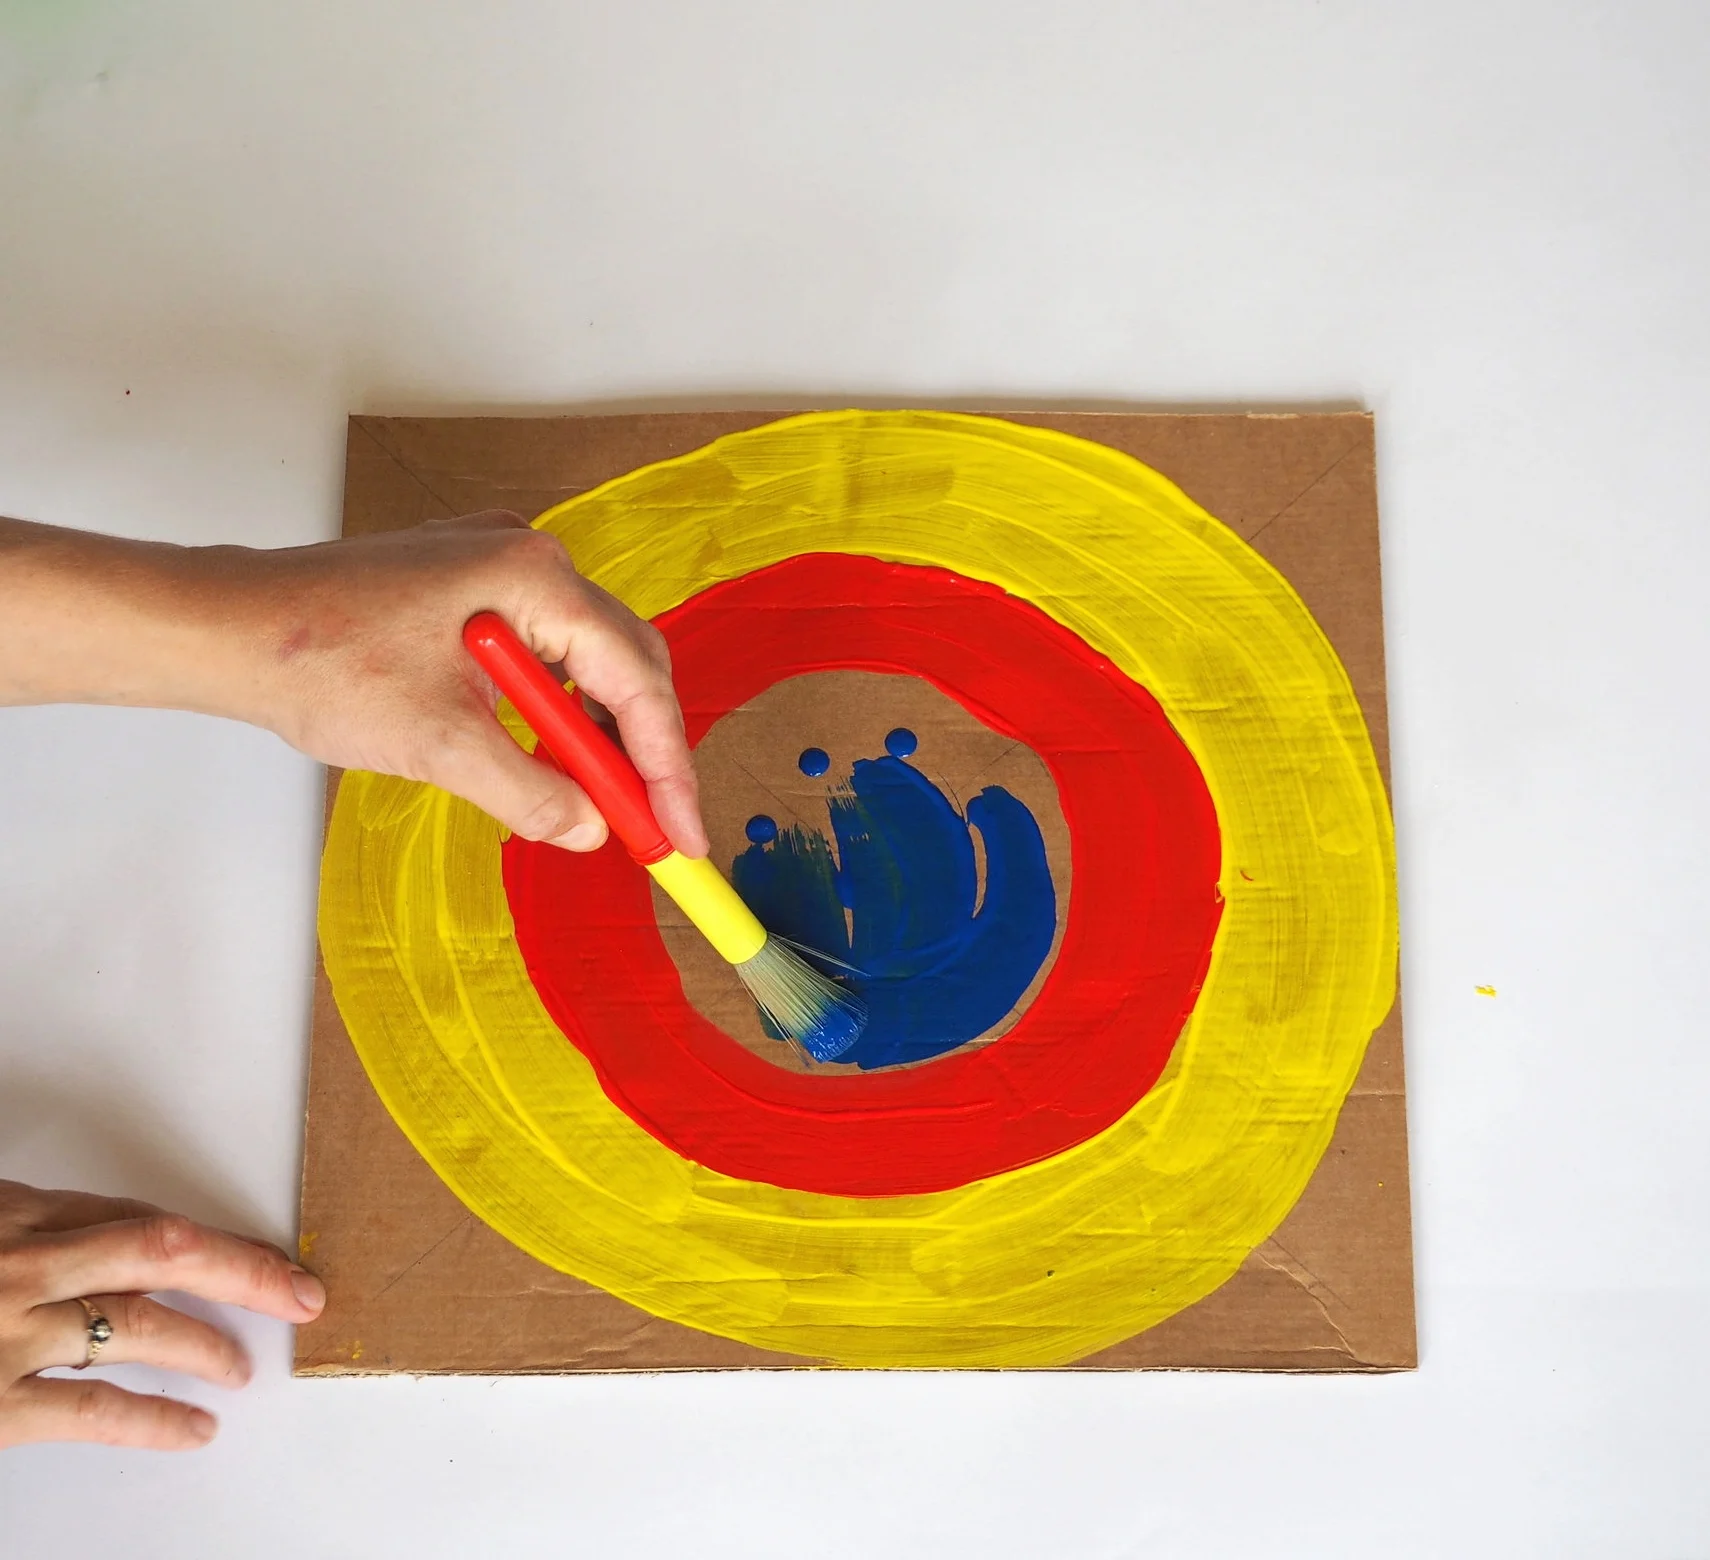
Using on of your colours of paint apply the first colour to the outer circle.
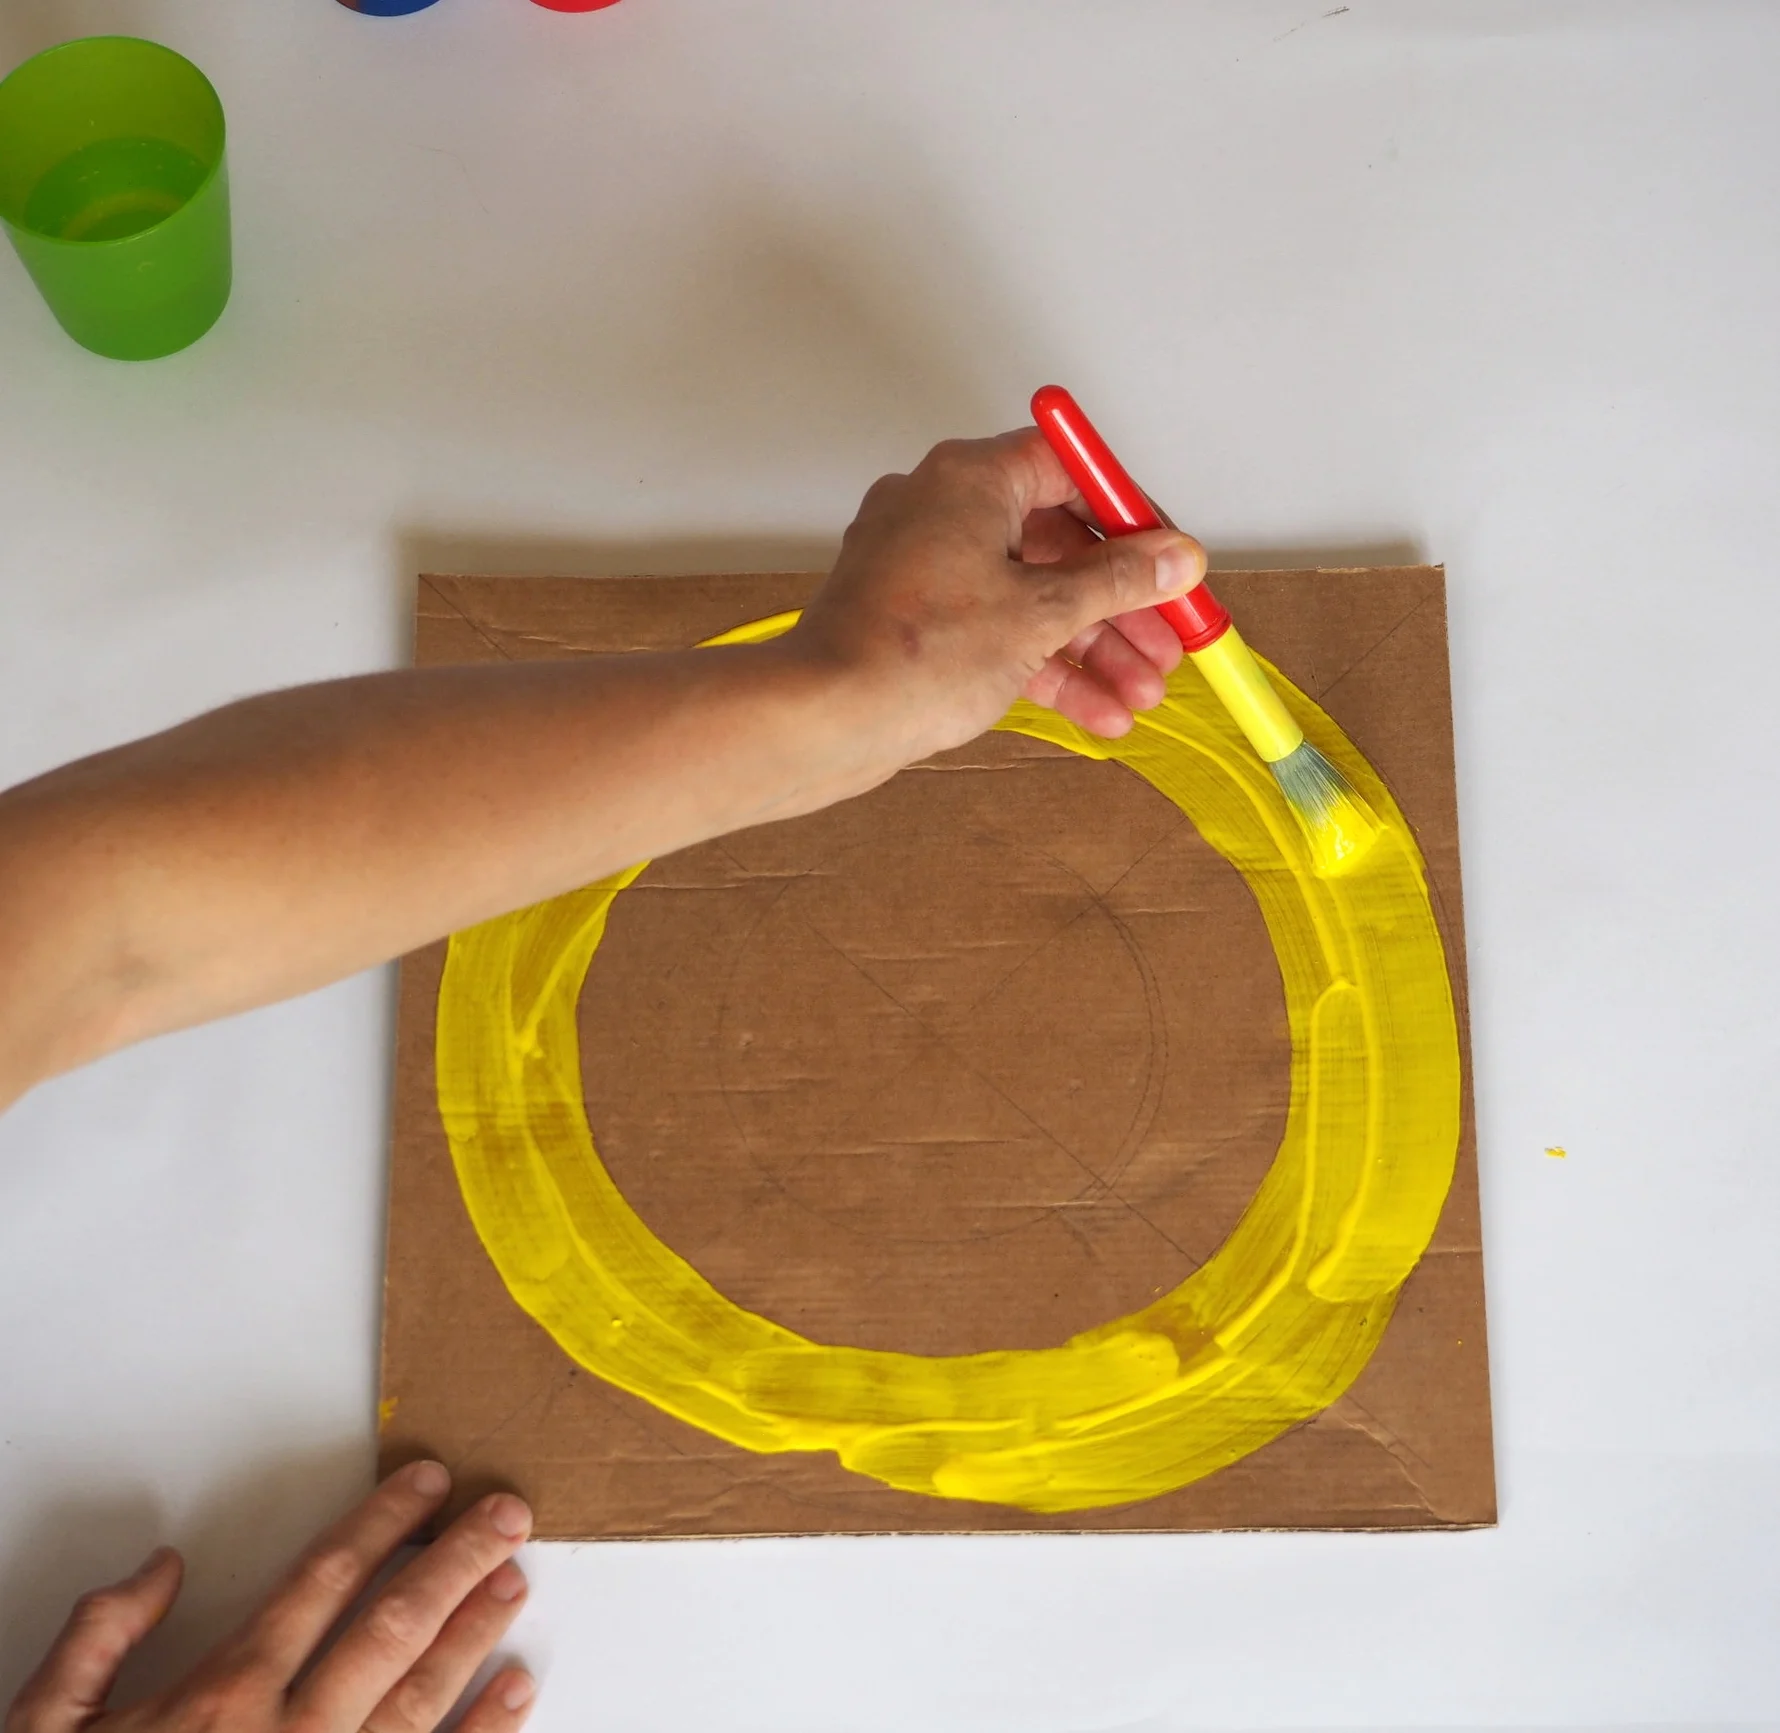
Repeat this with the other two remaining paint colours.
Once all three circles have been painted, leave the paint to dry whilst making the bow and arrow.
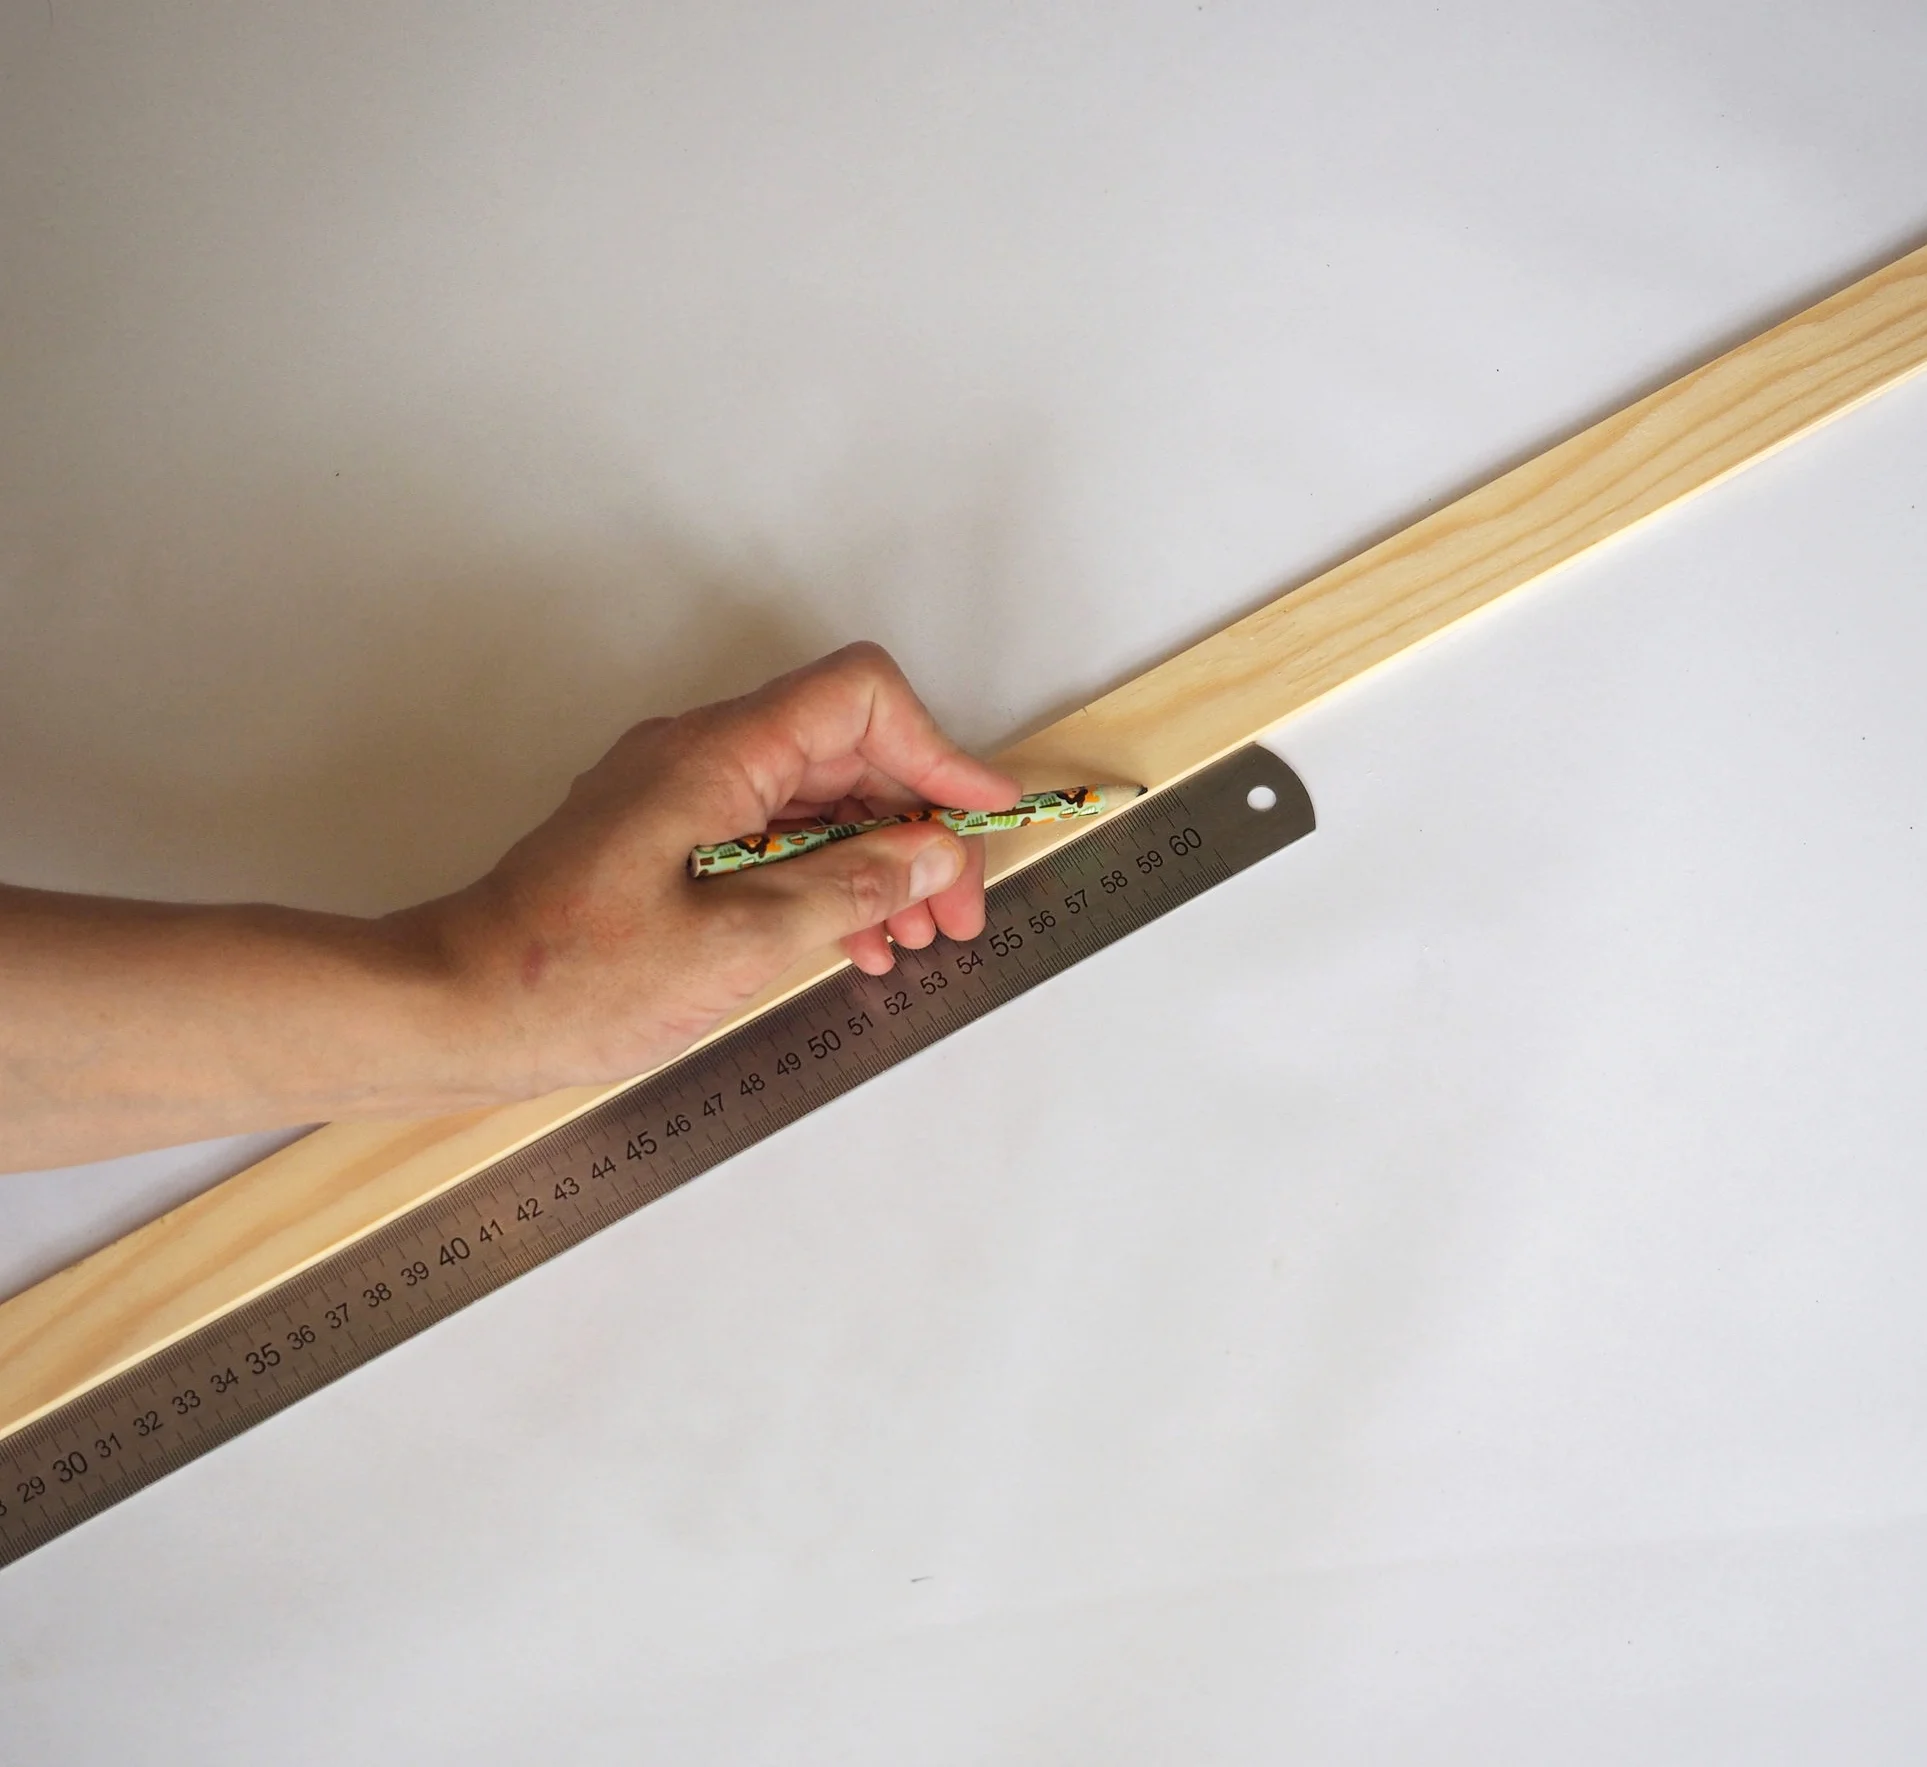
Take the long flexible piece of wood and draw a line three centimetres away from each end of the wood.
Draw a line in the centre of the piece of wood (60cm from end)
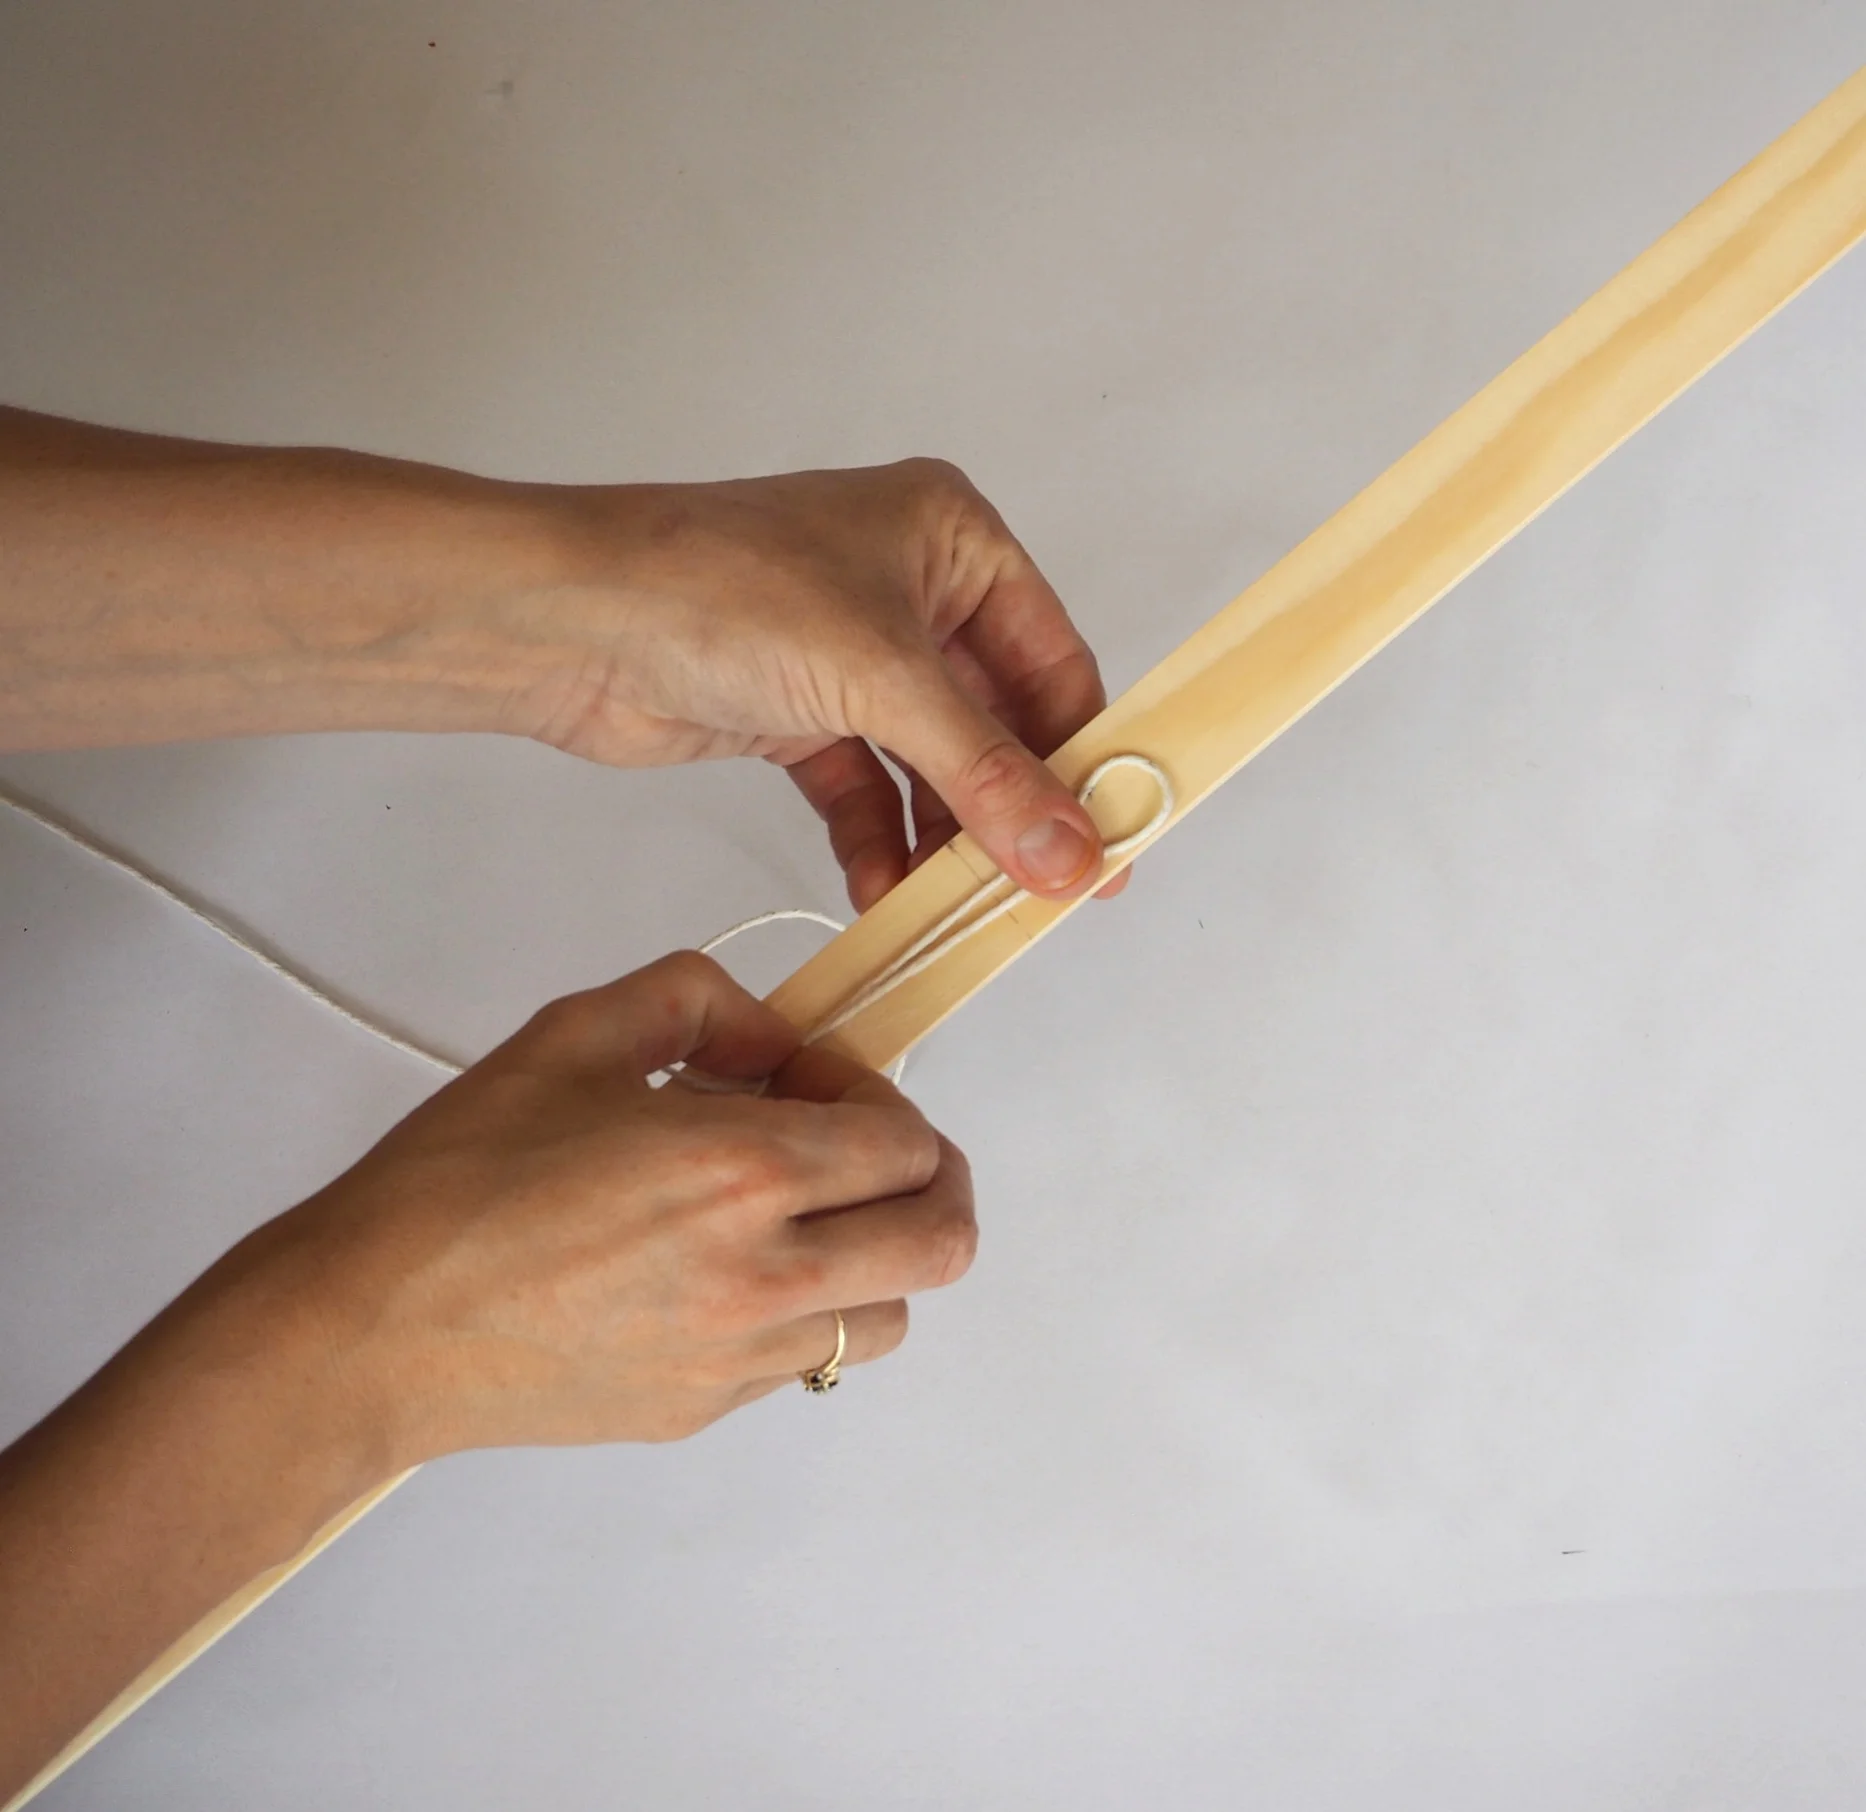
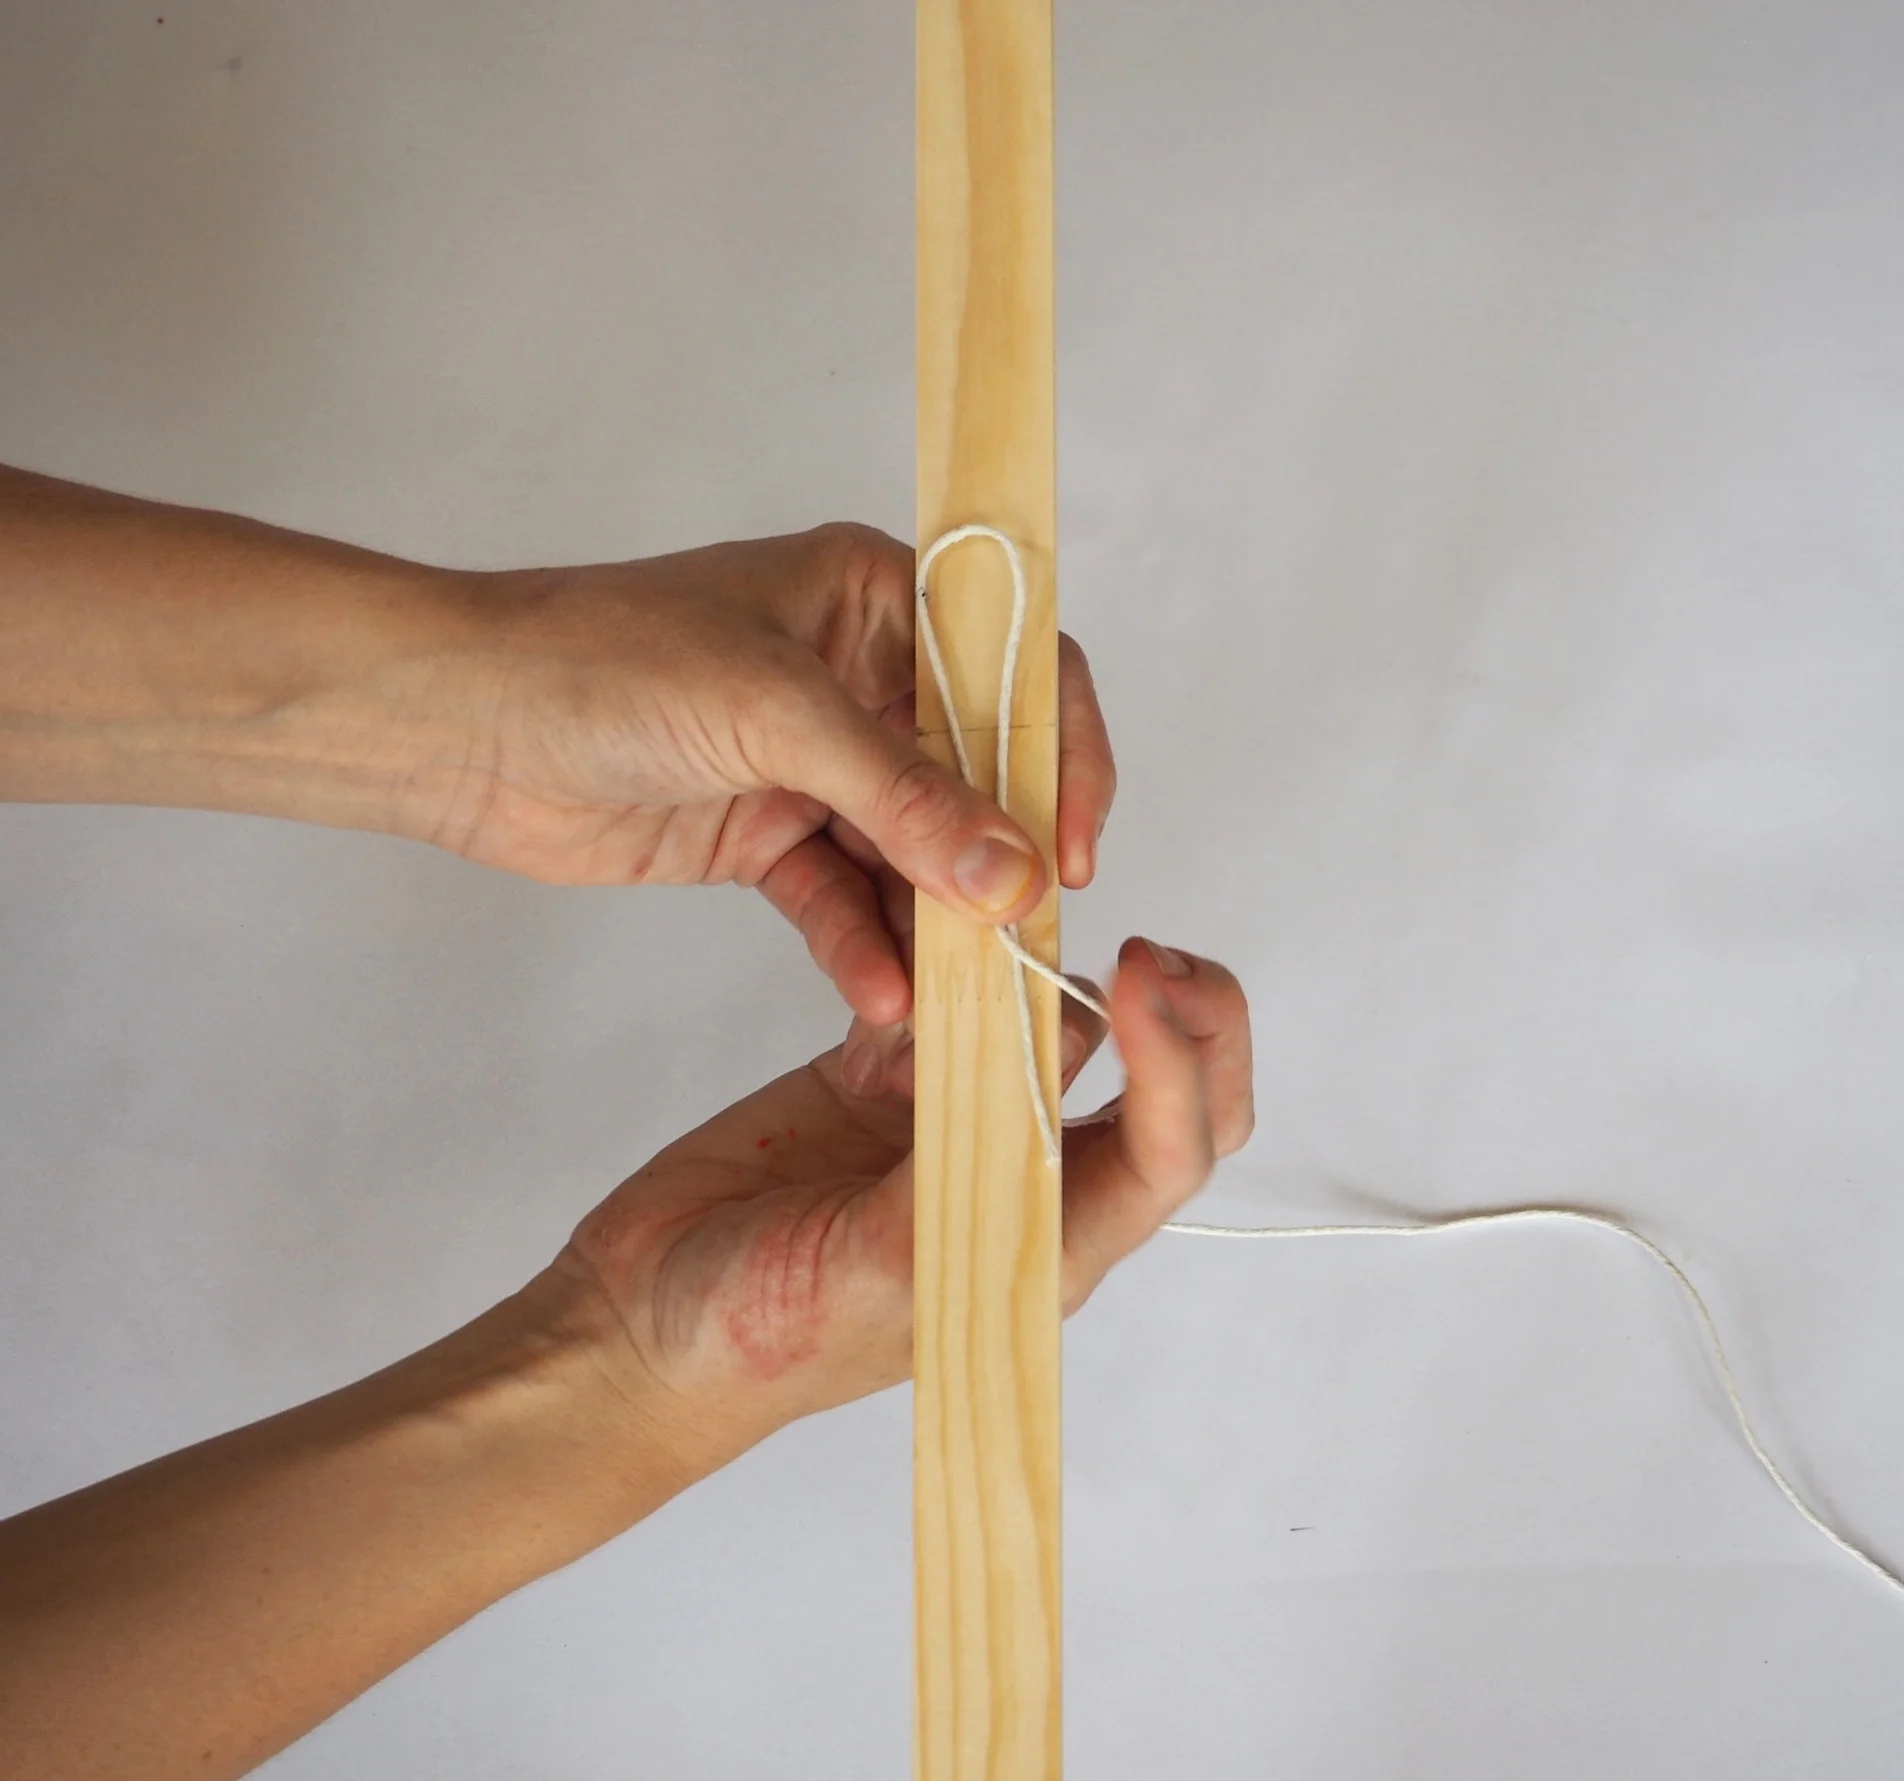
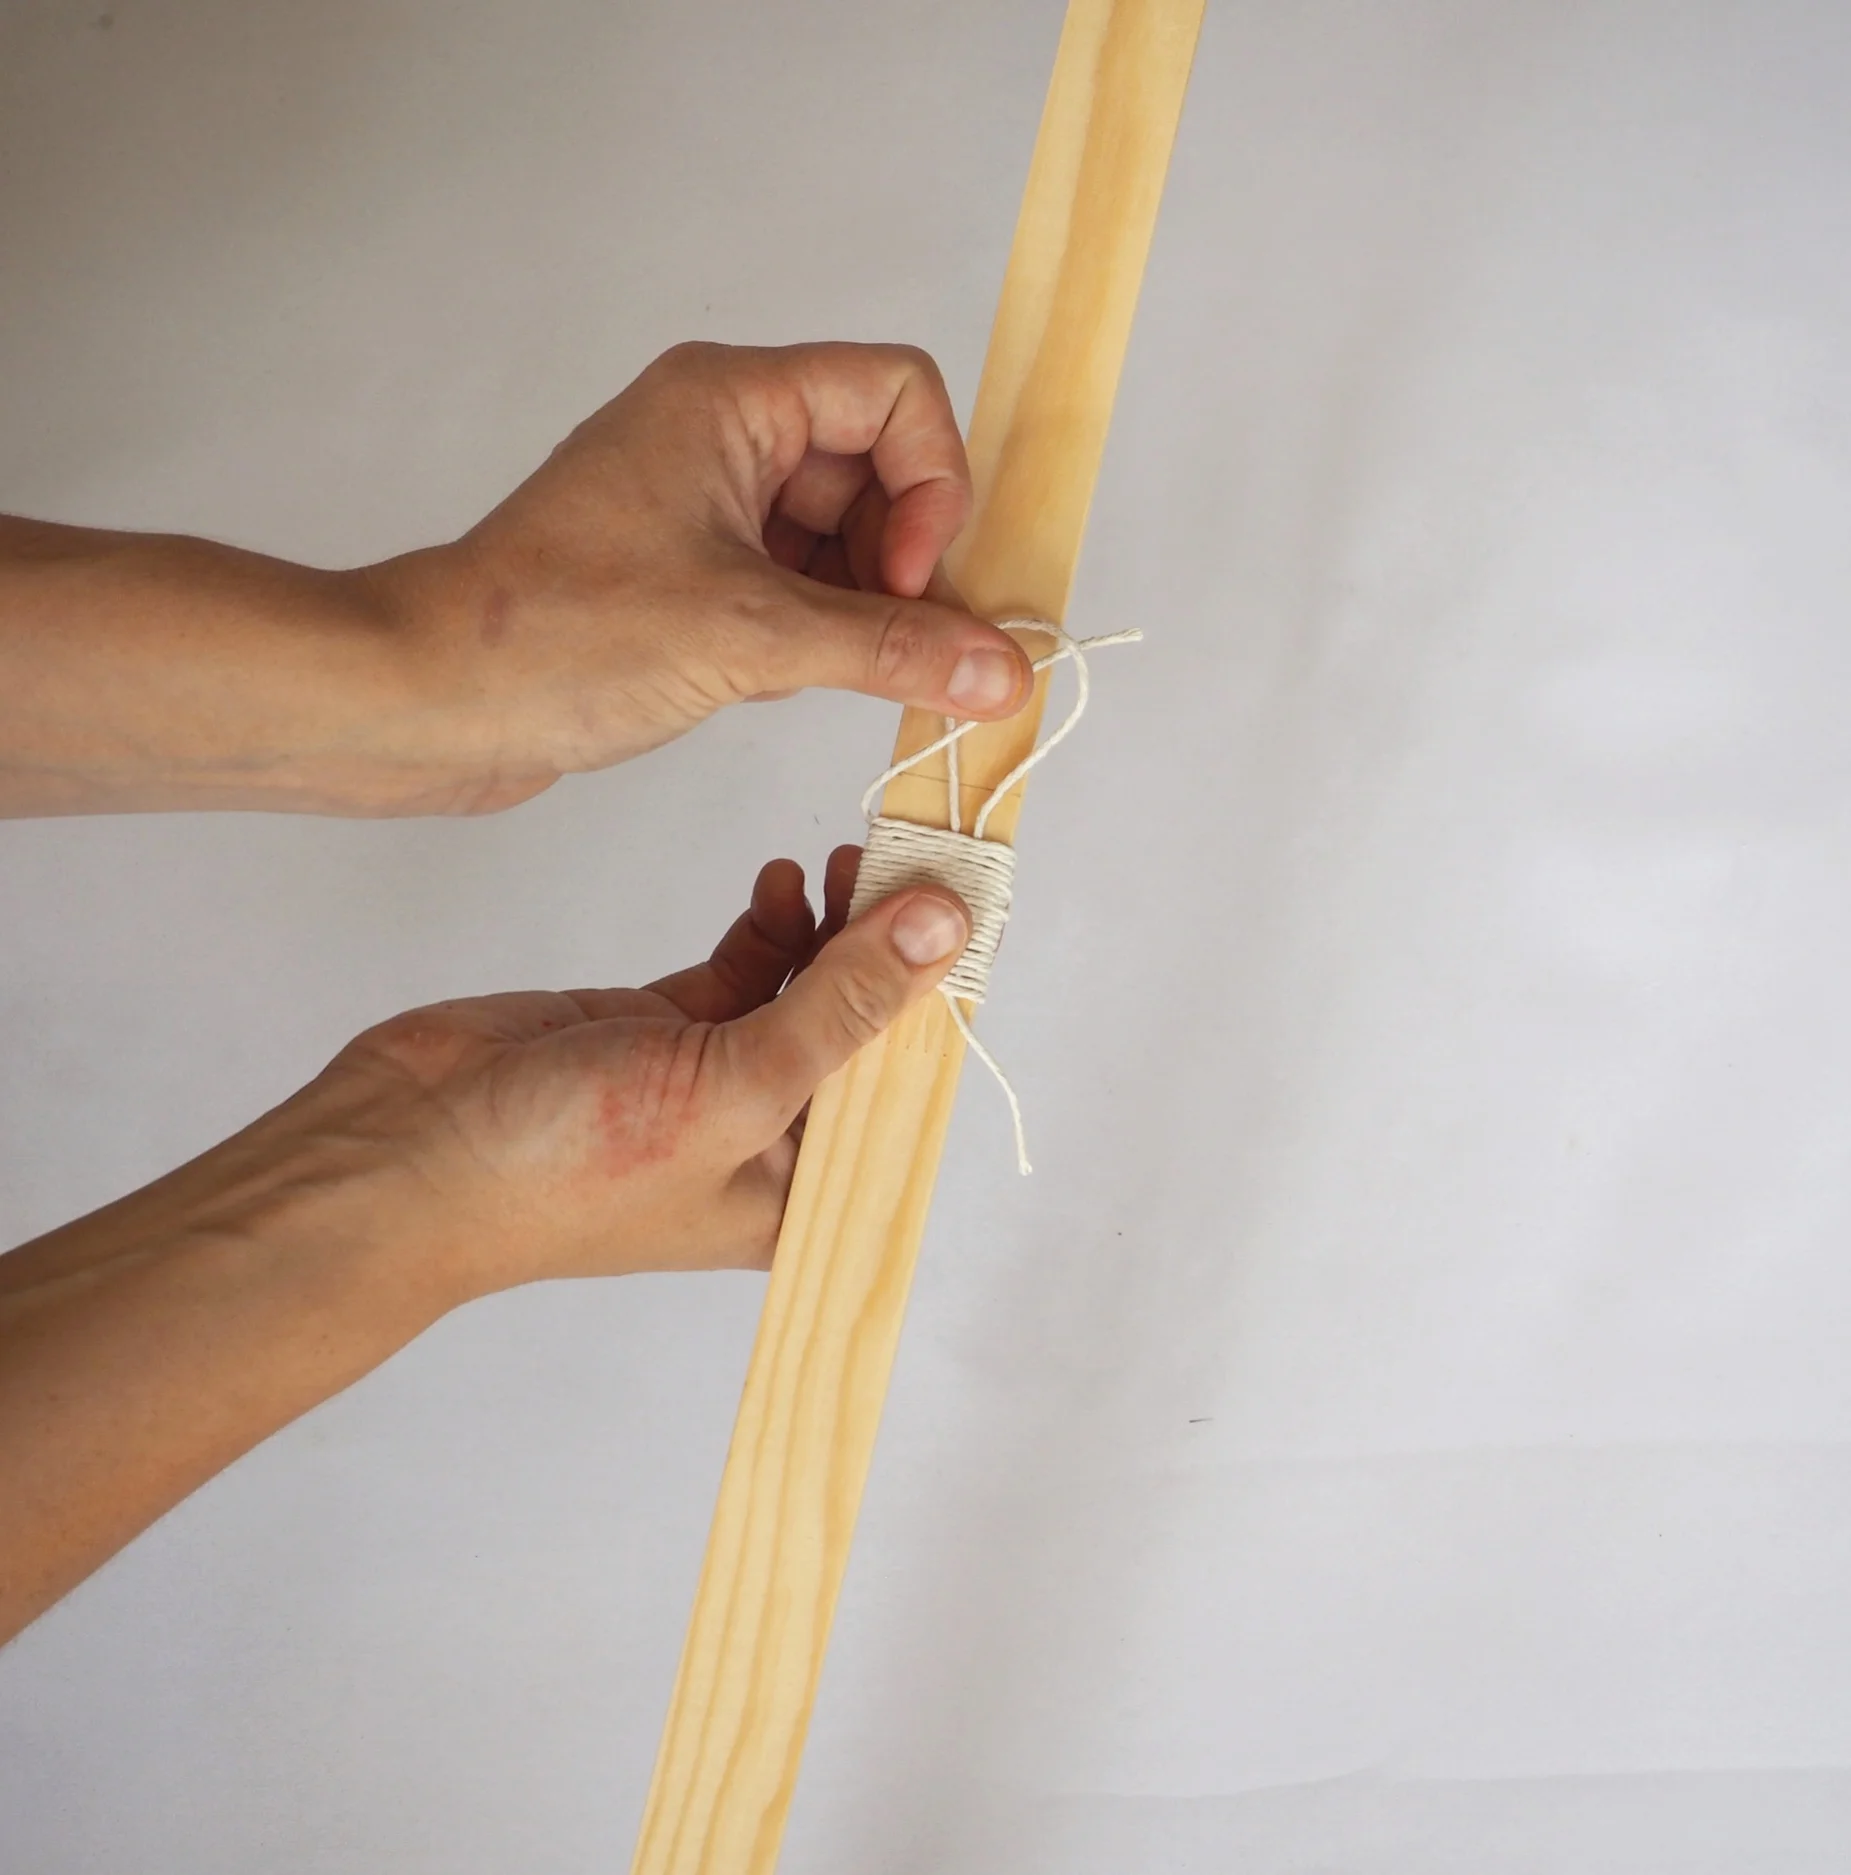
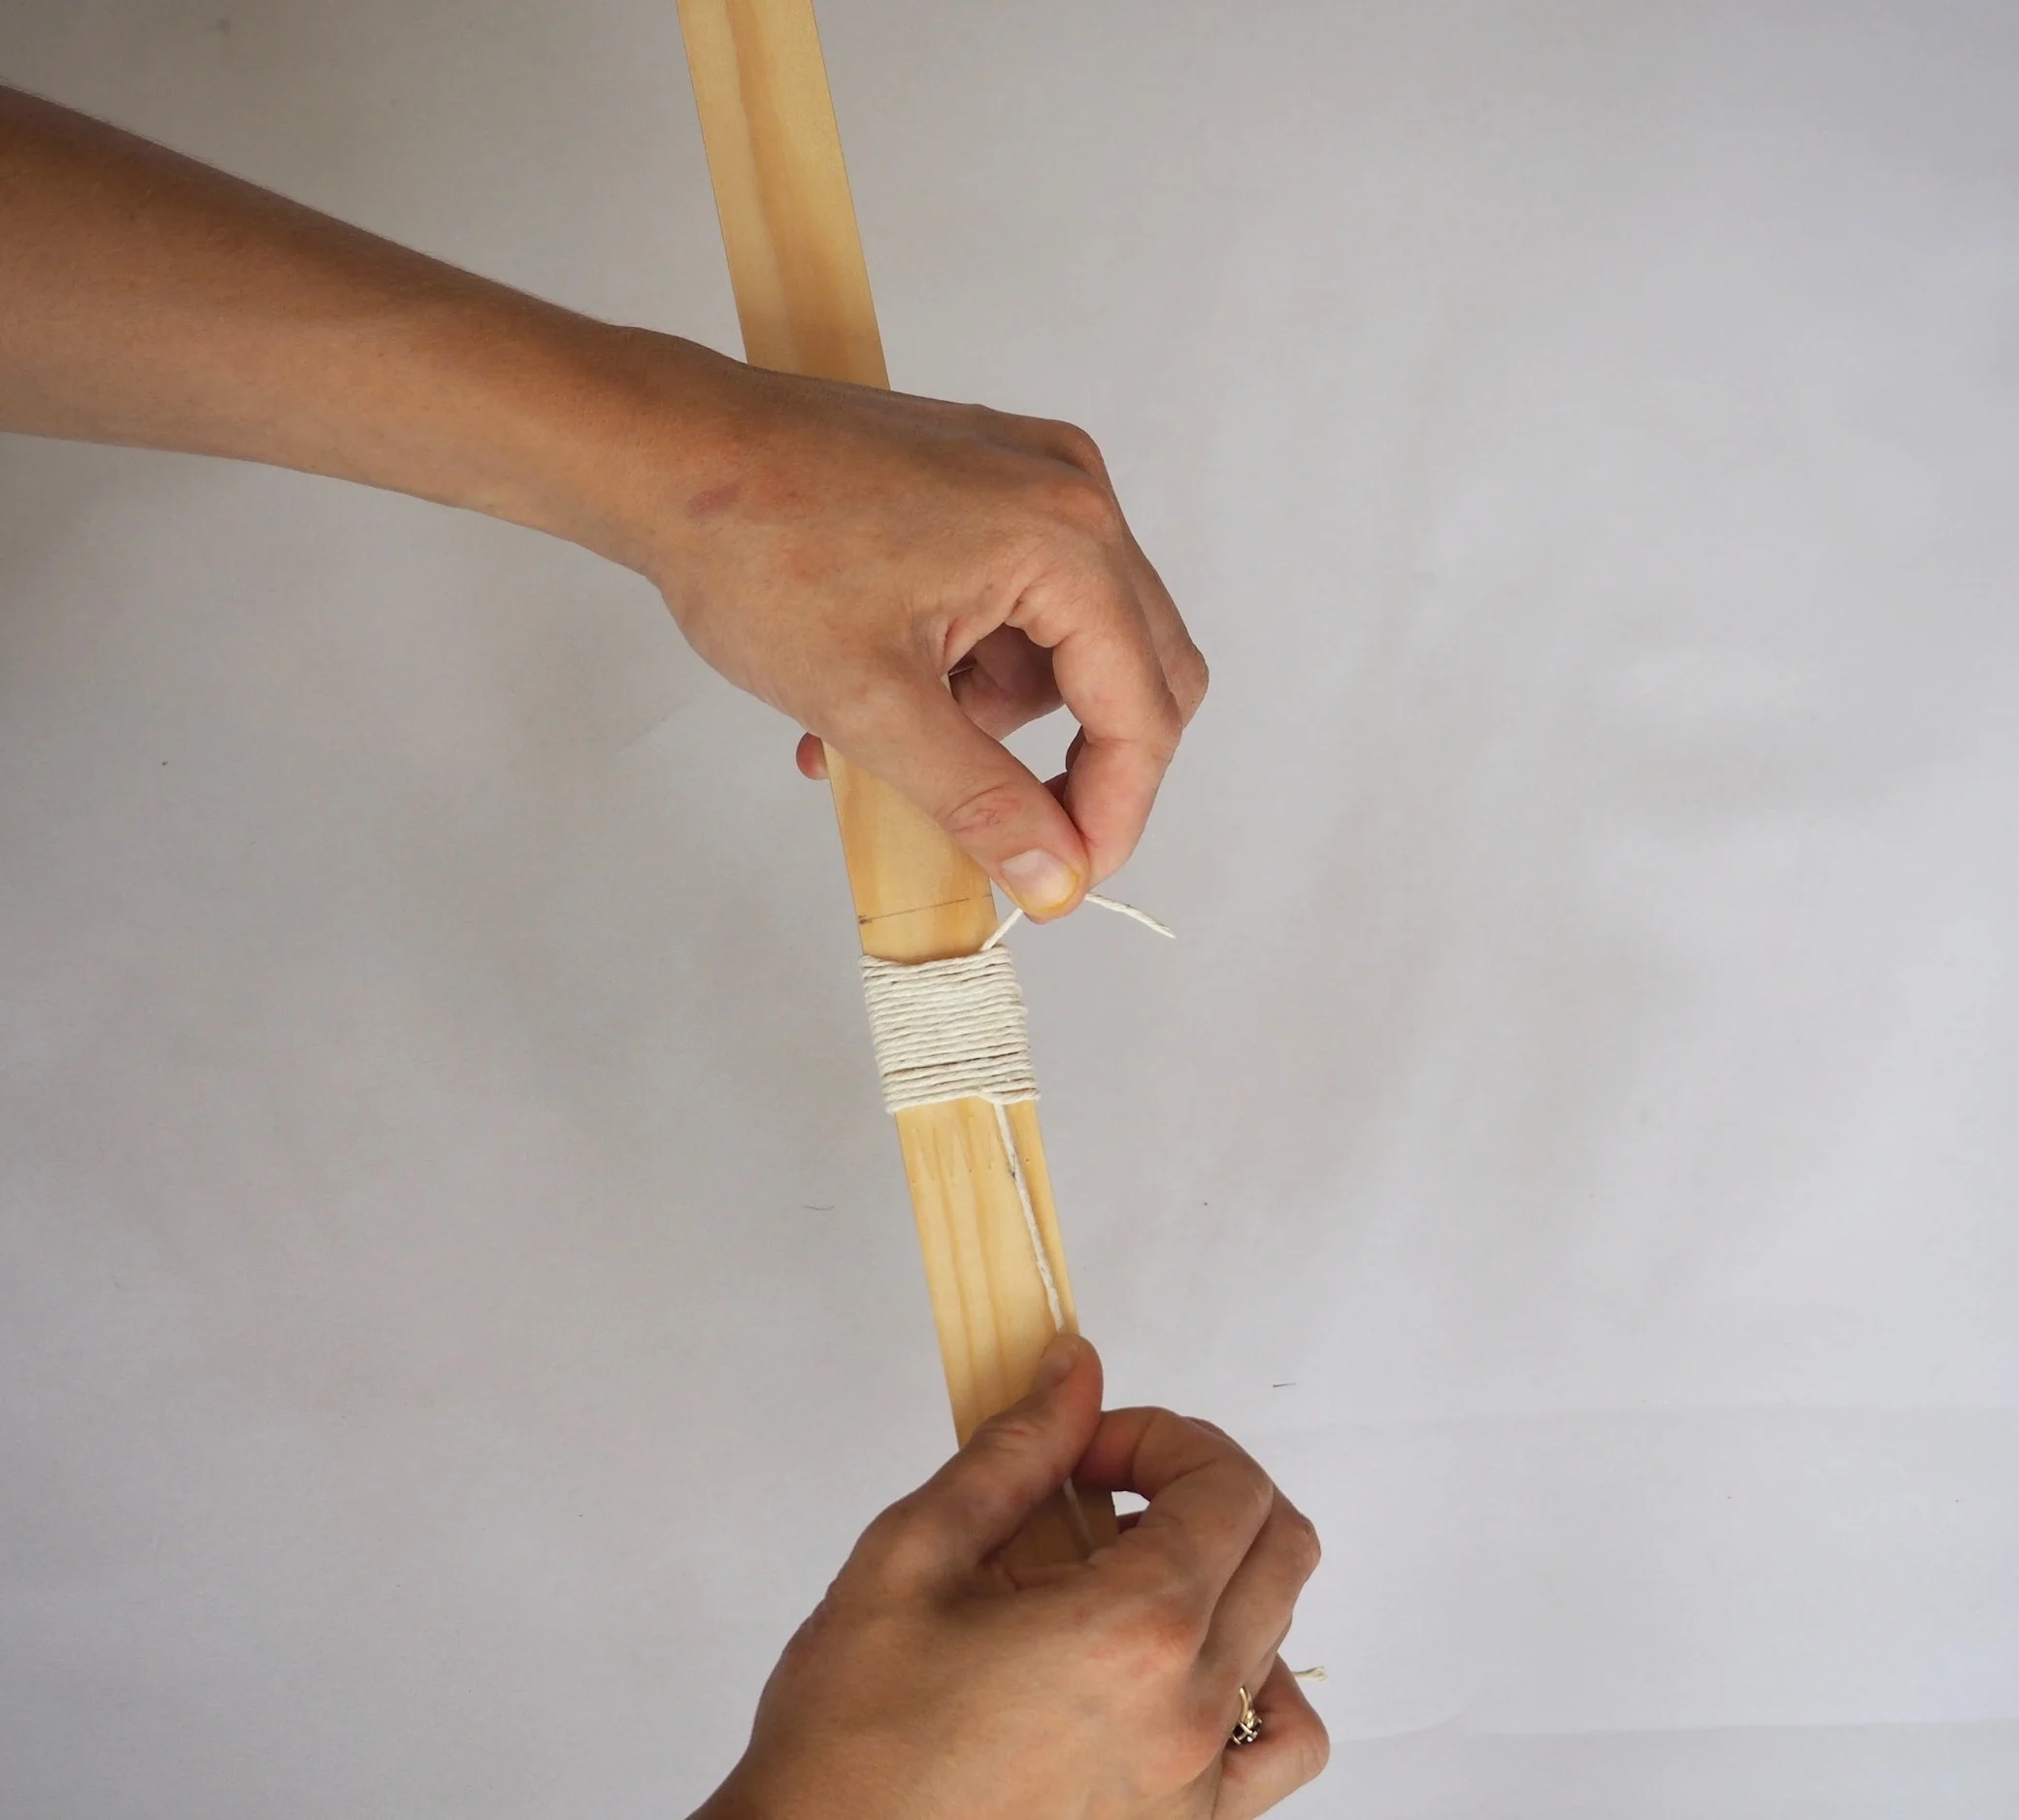
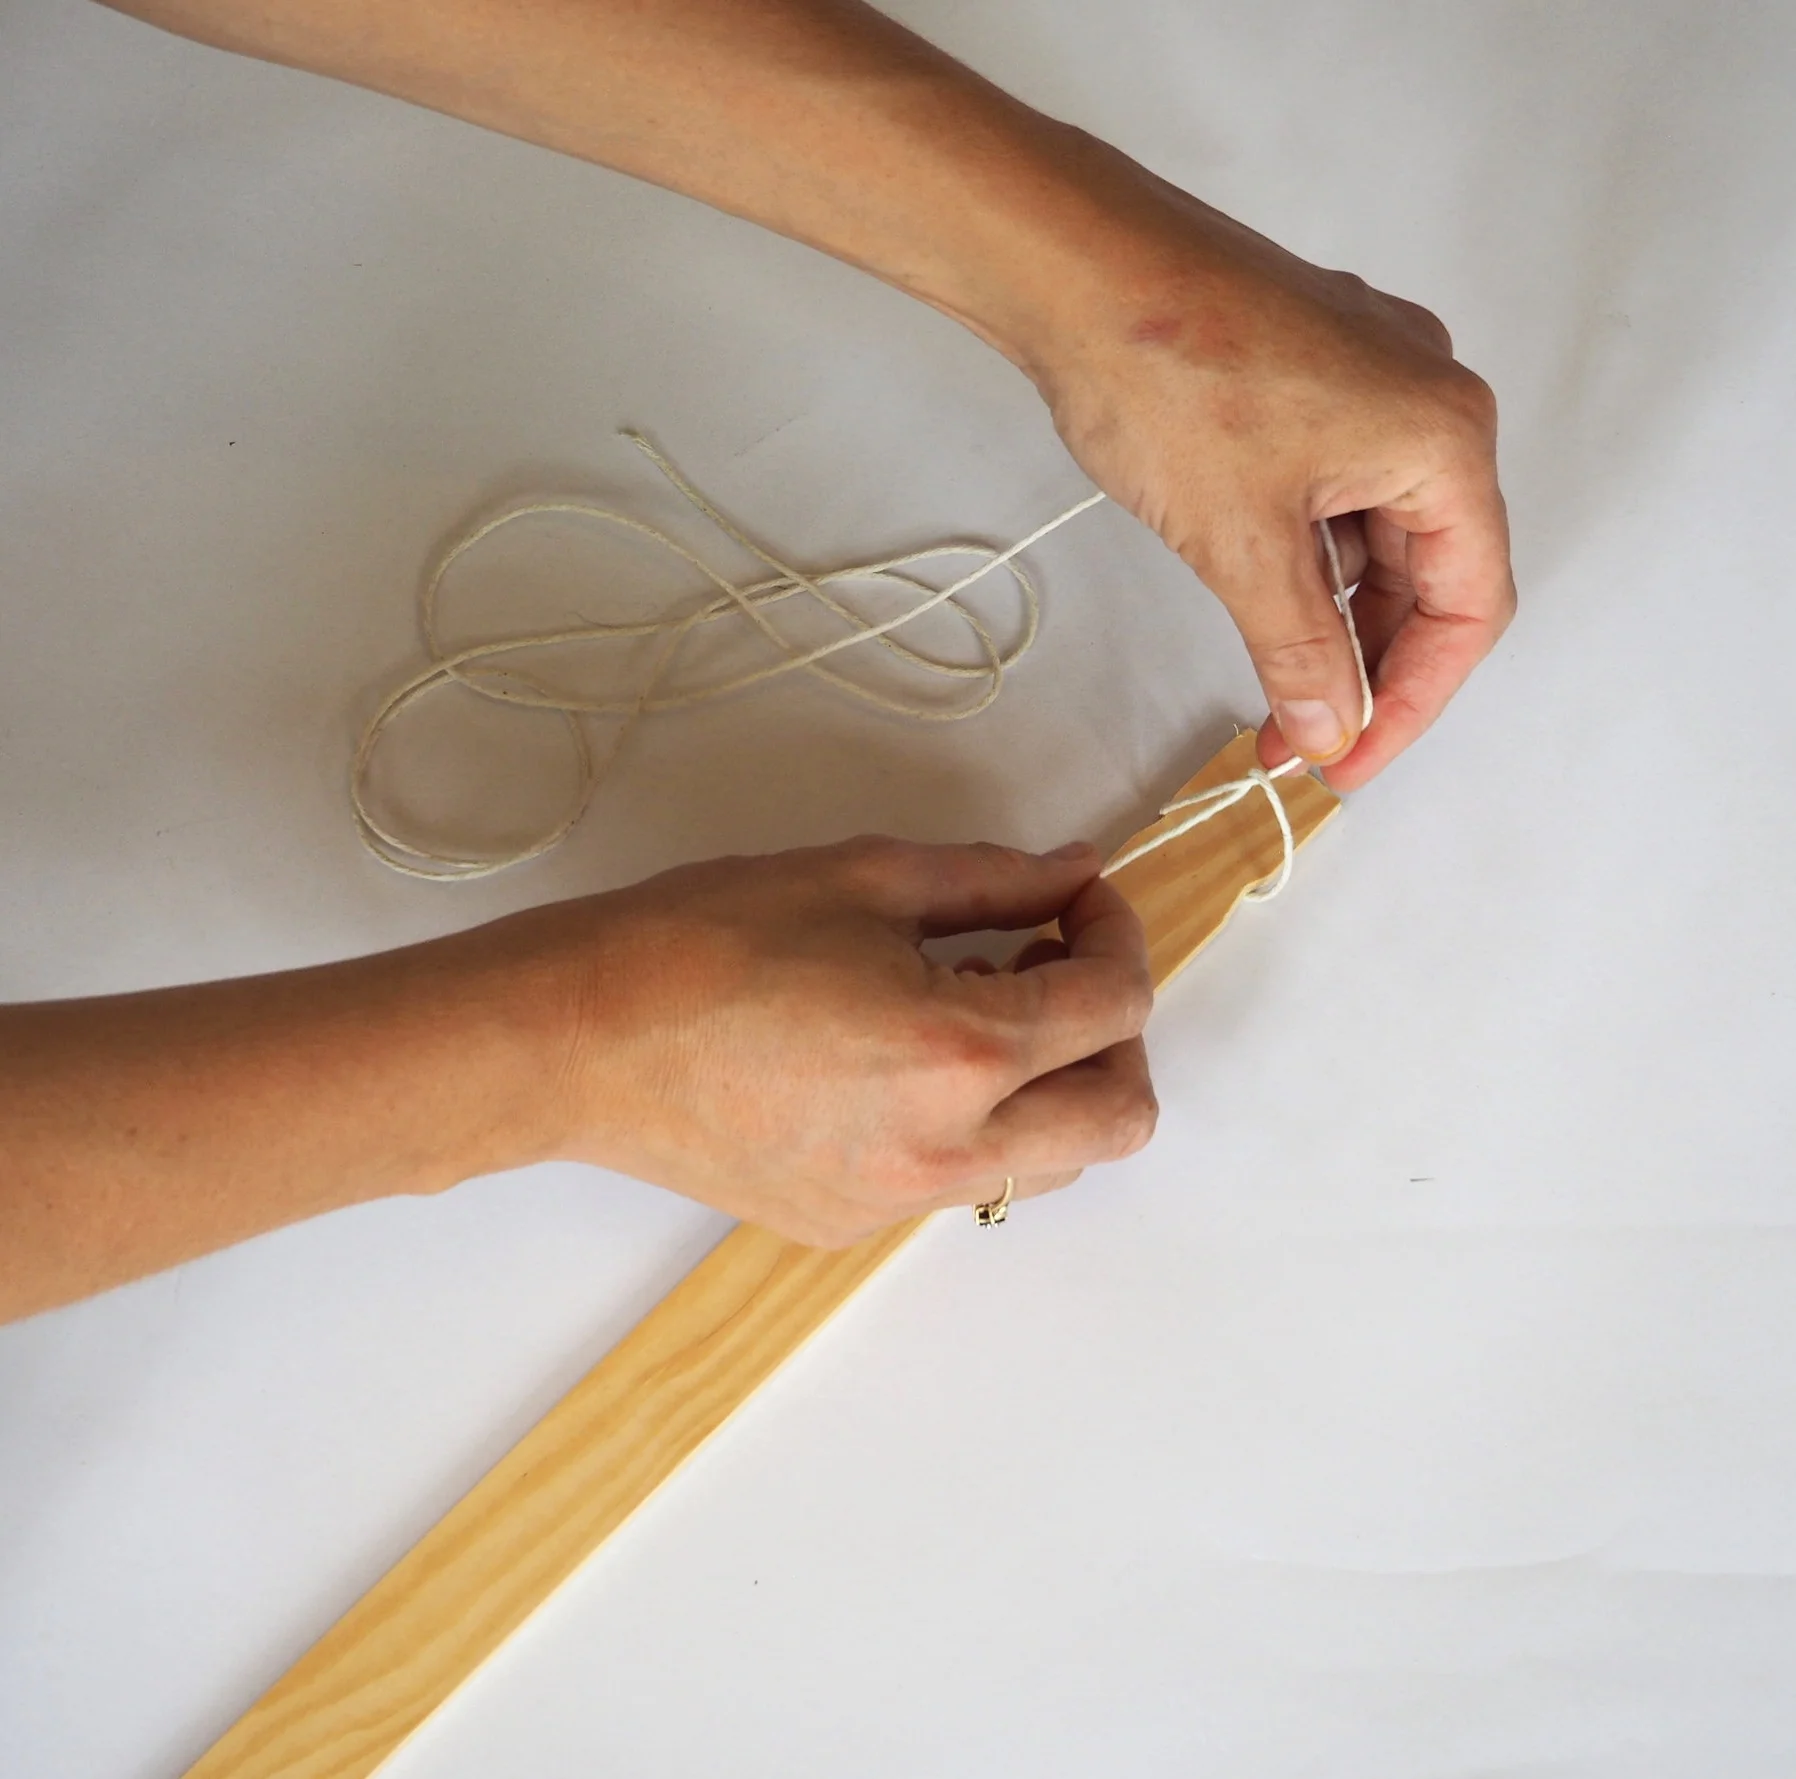
Take longest piece of string (150cm) and make a loop and hold flat on the centre line of the wood.
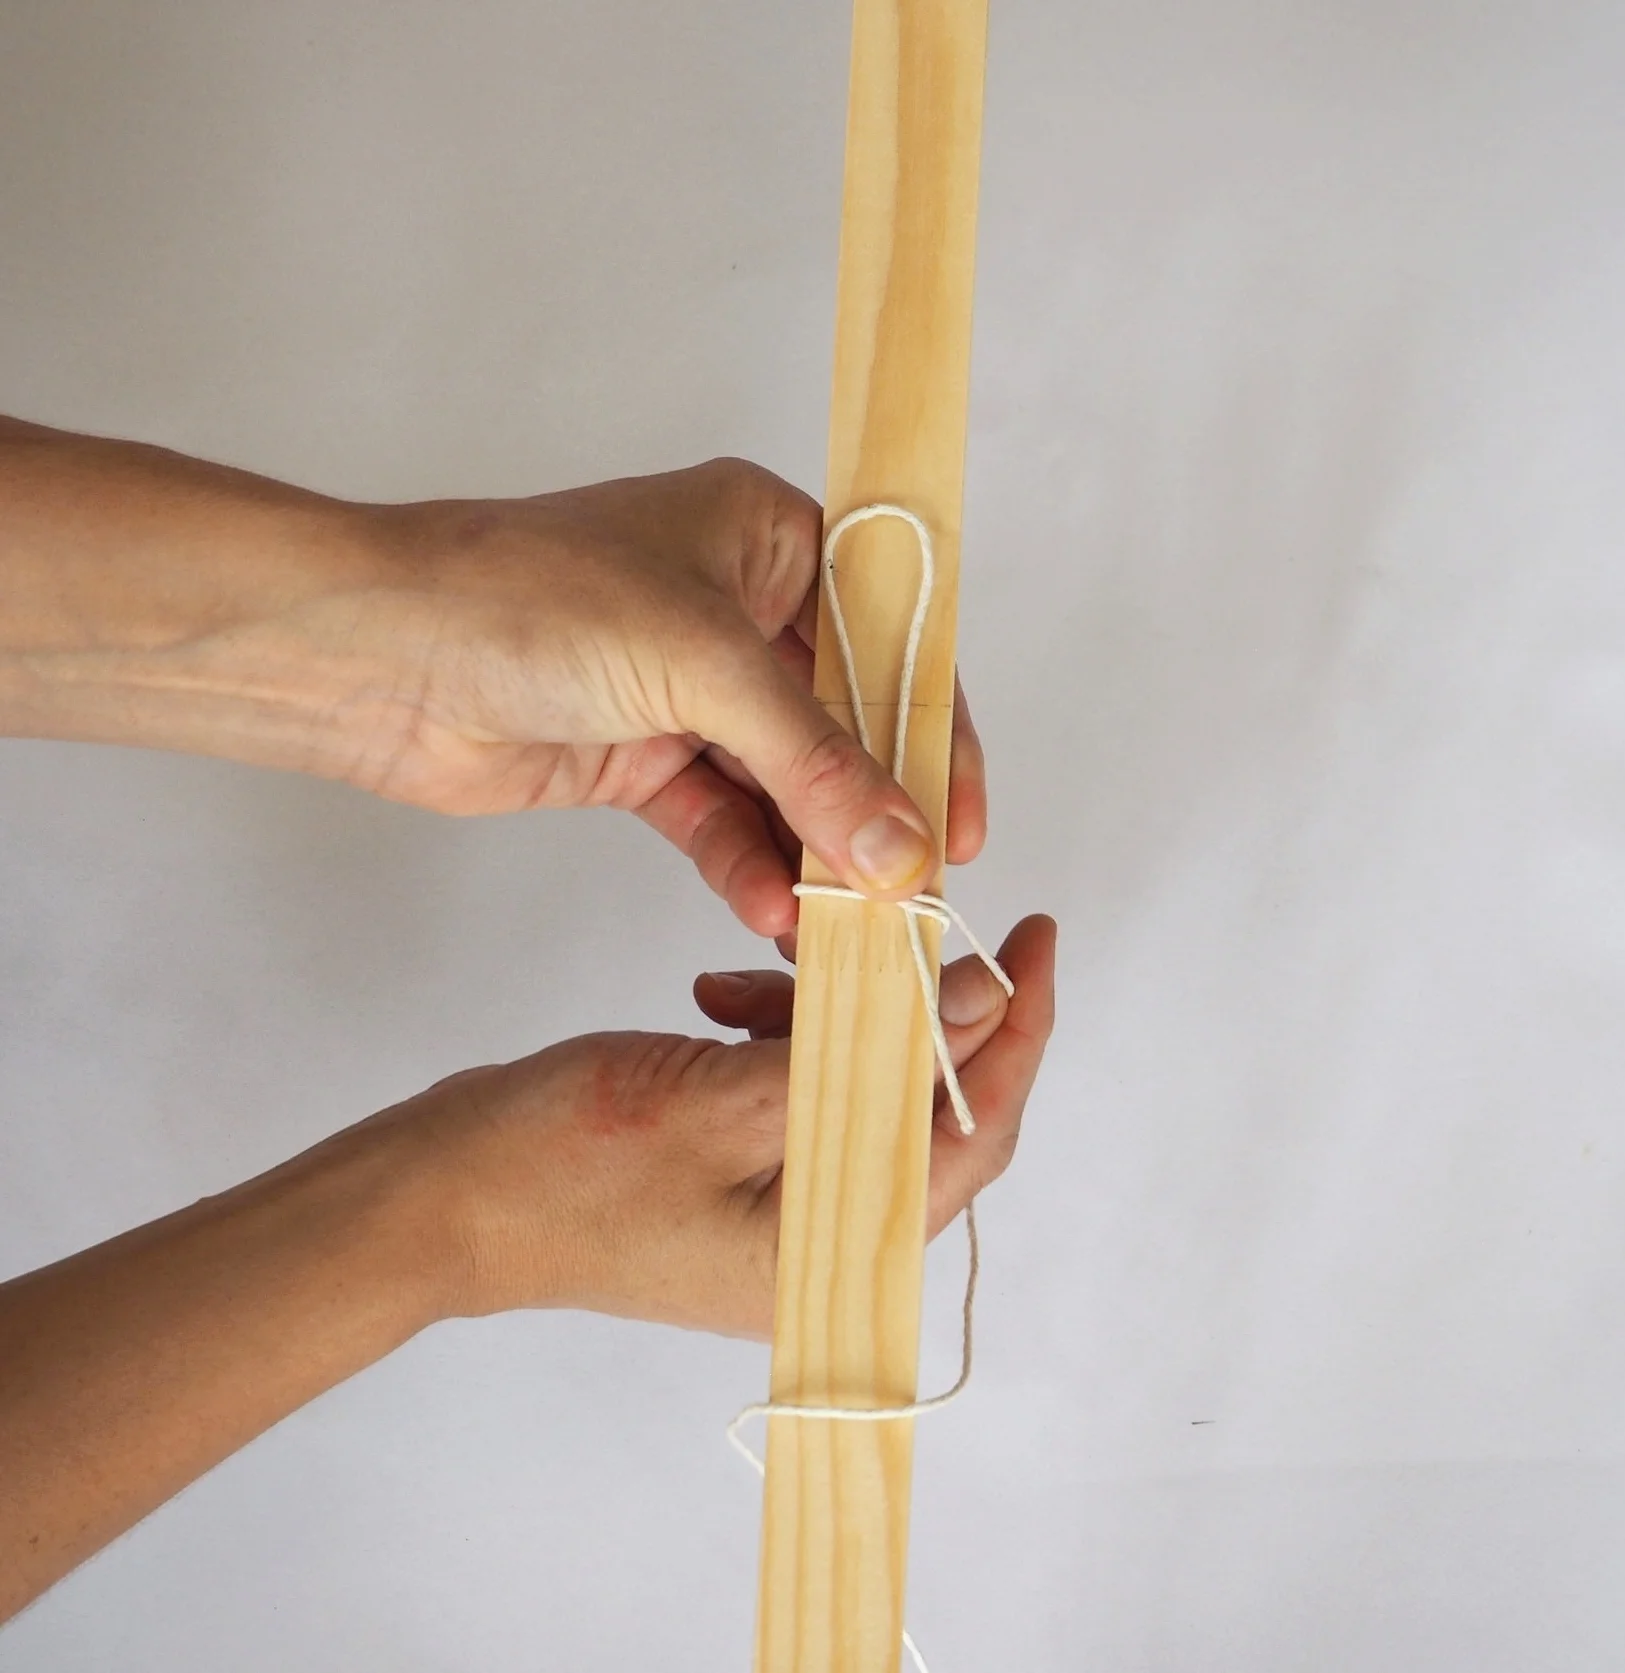
With one hand keep holding the flat loop and with the other begin to wrap the long end of string around the piece of wood.
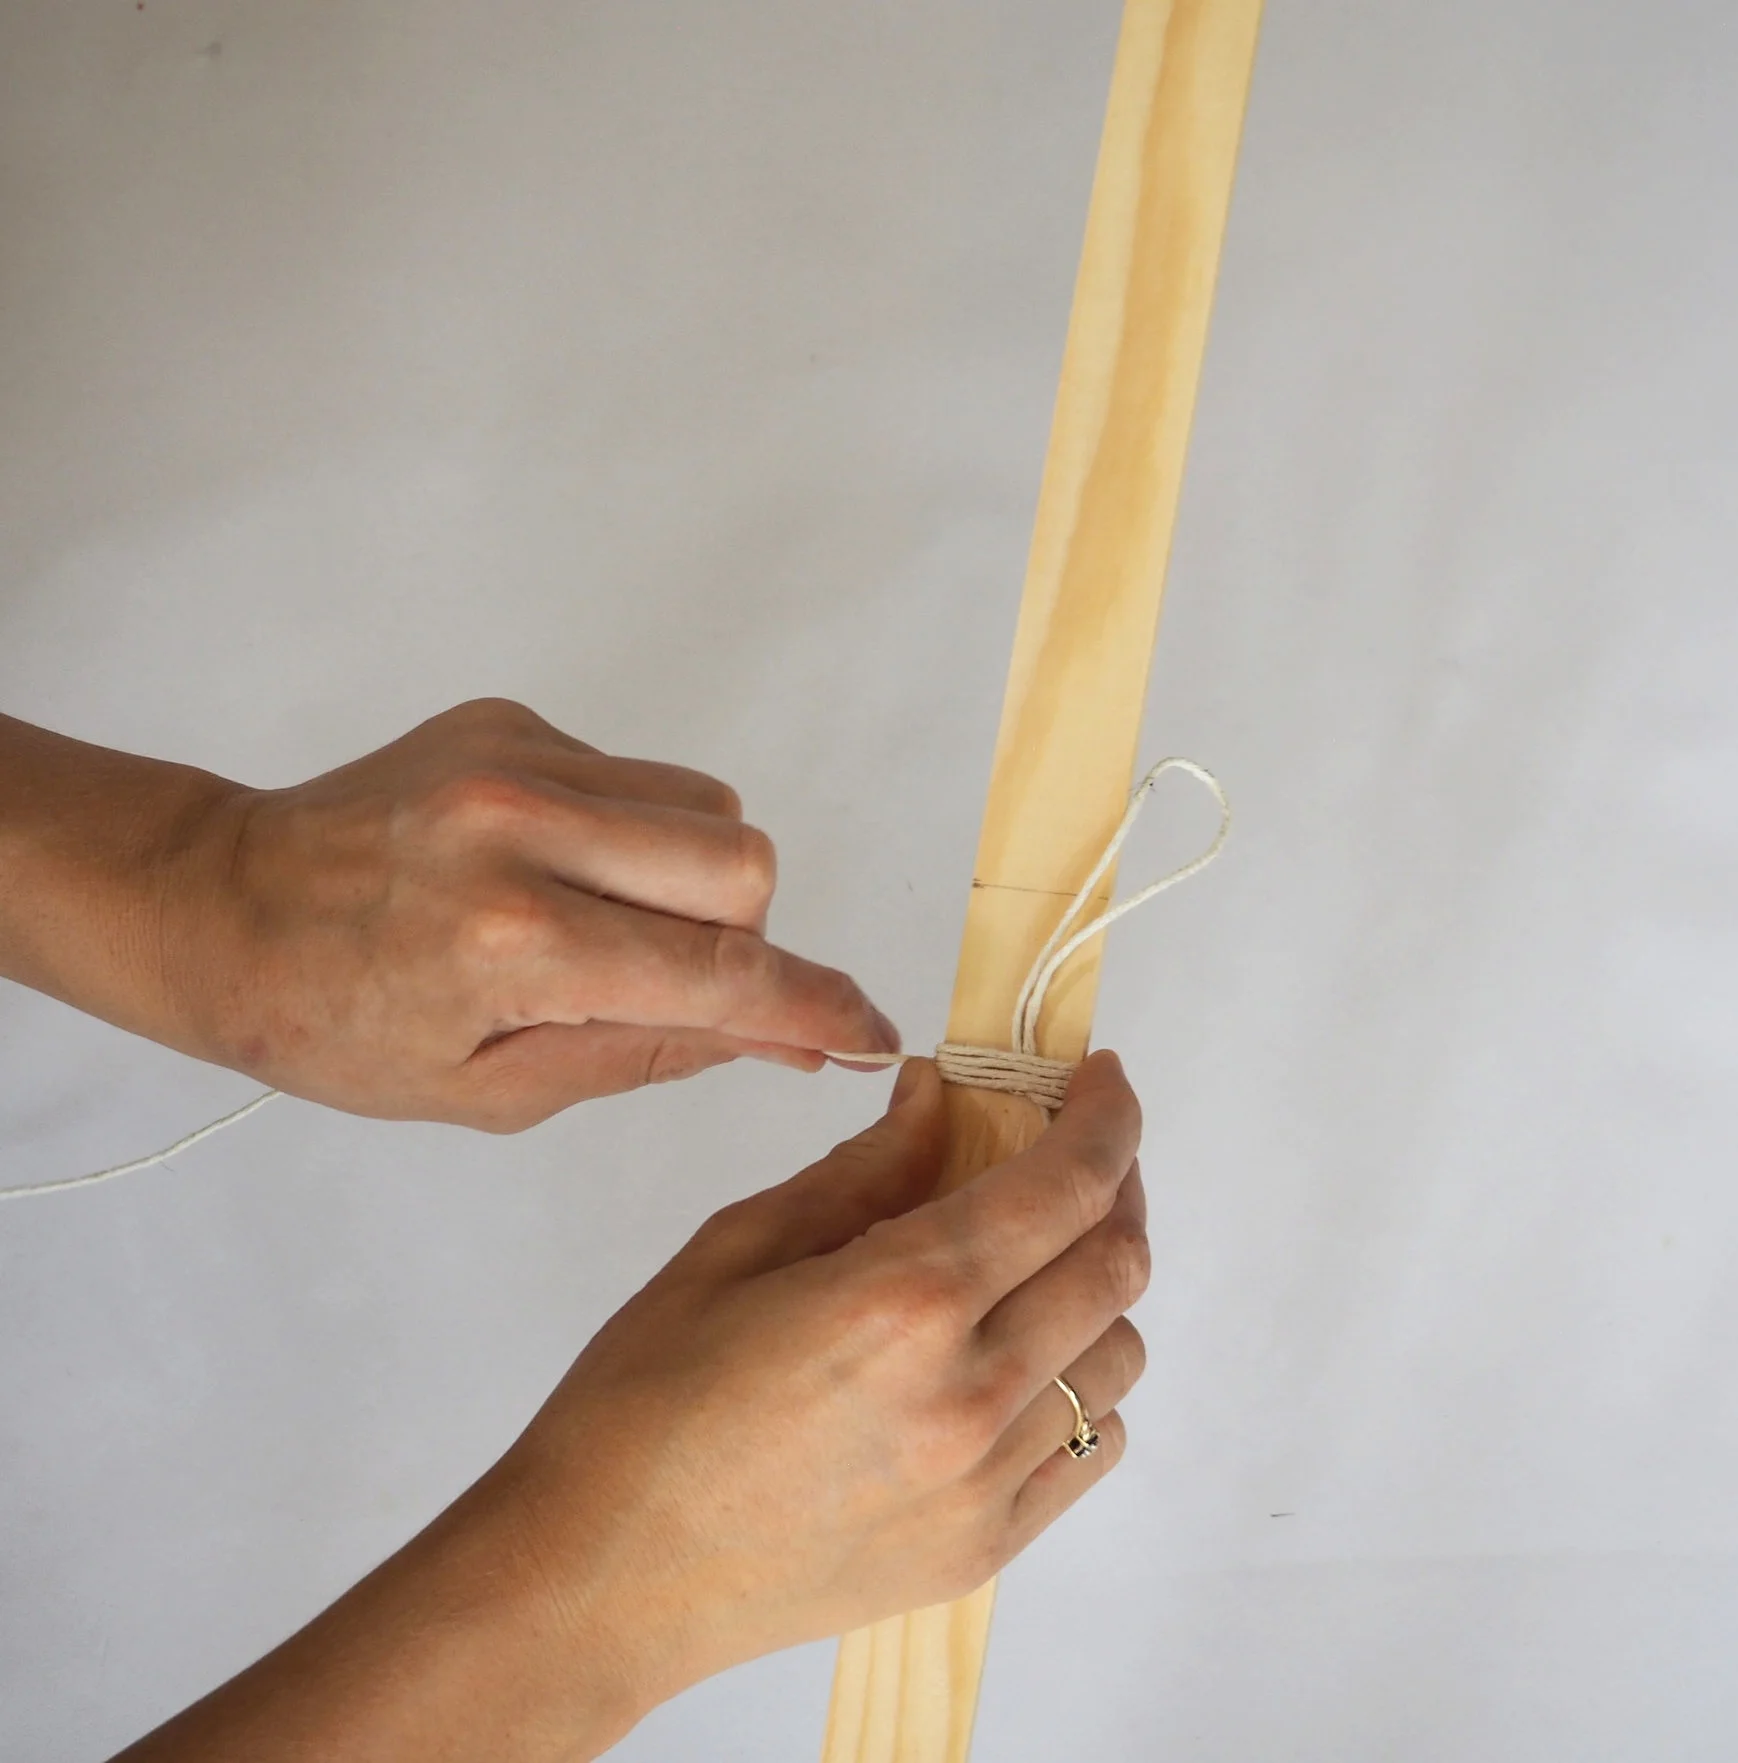
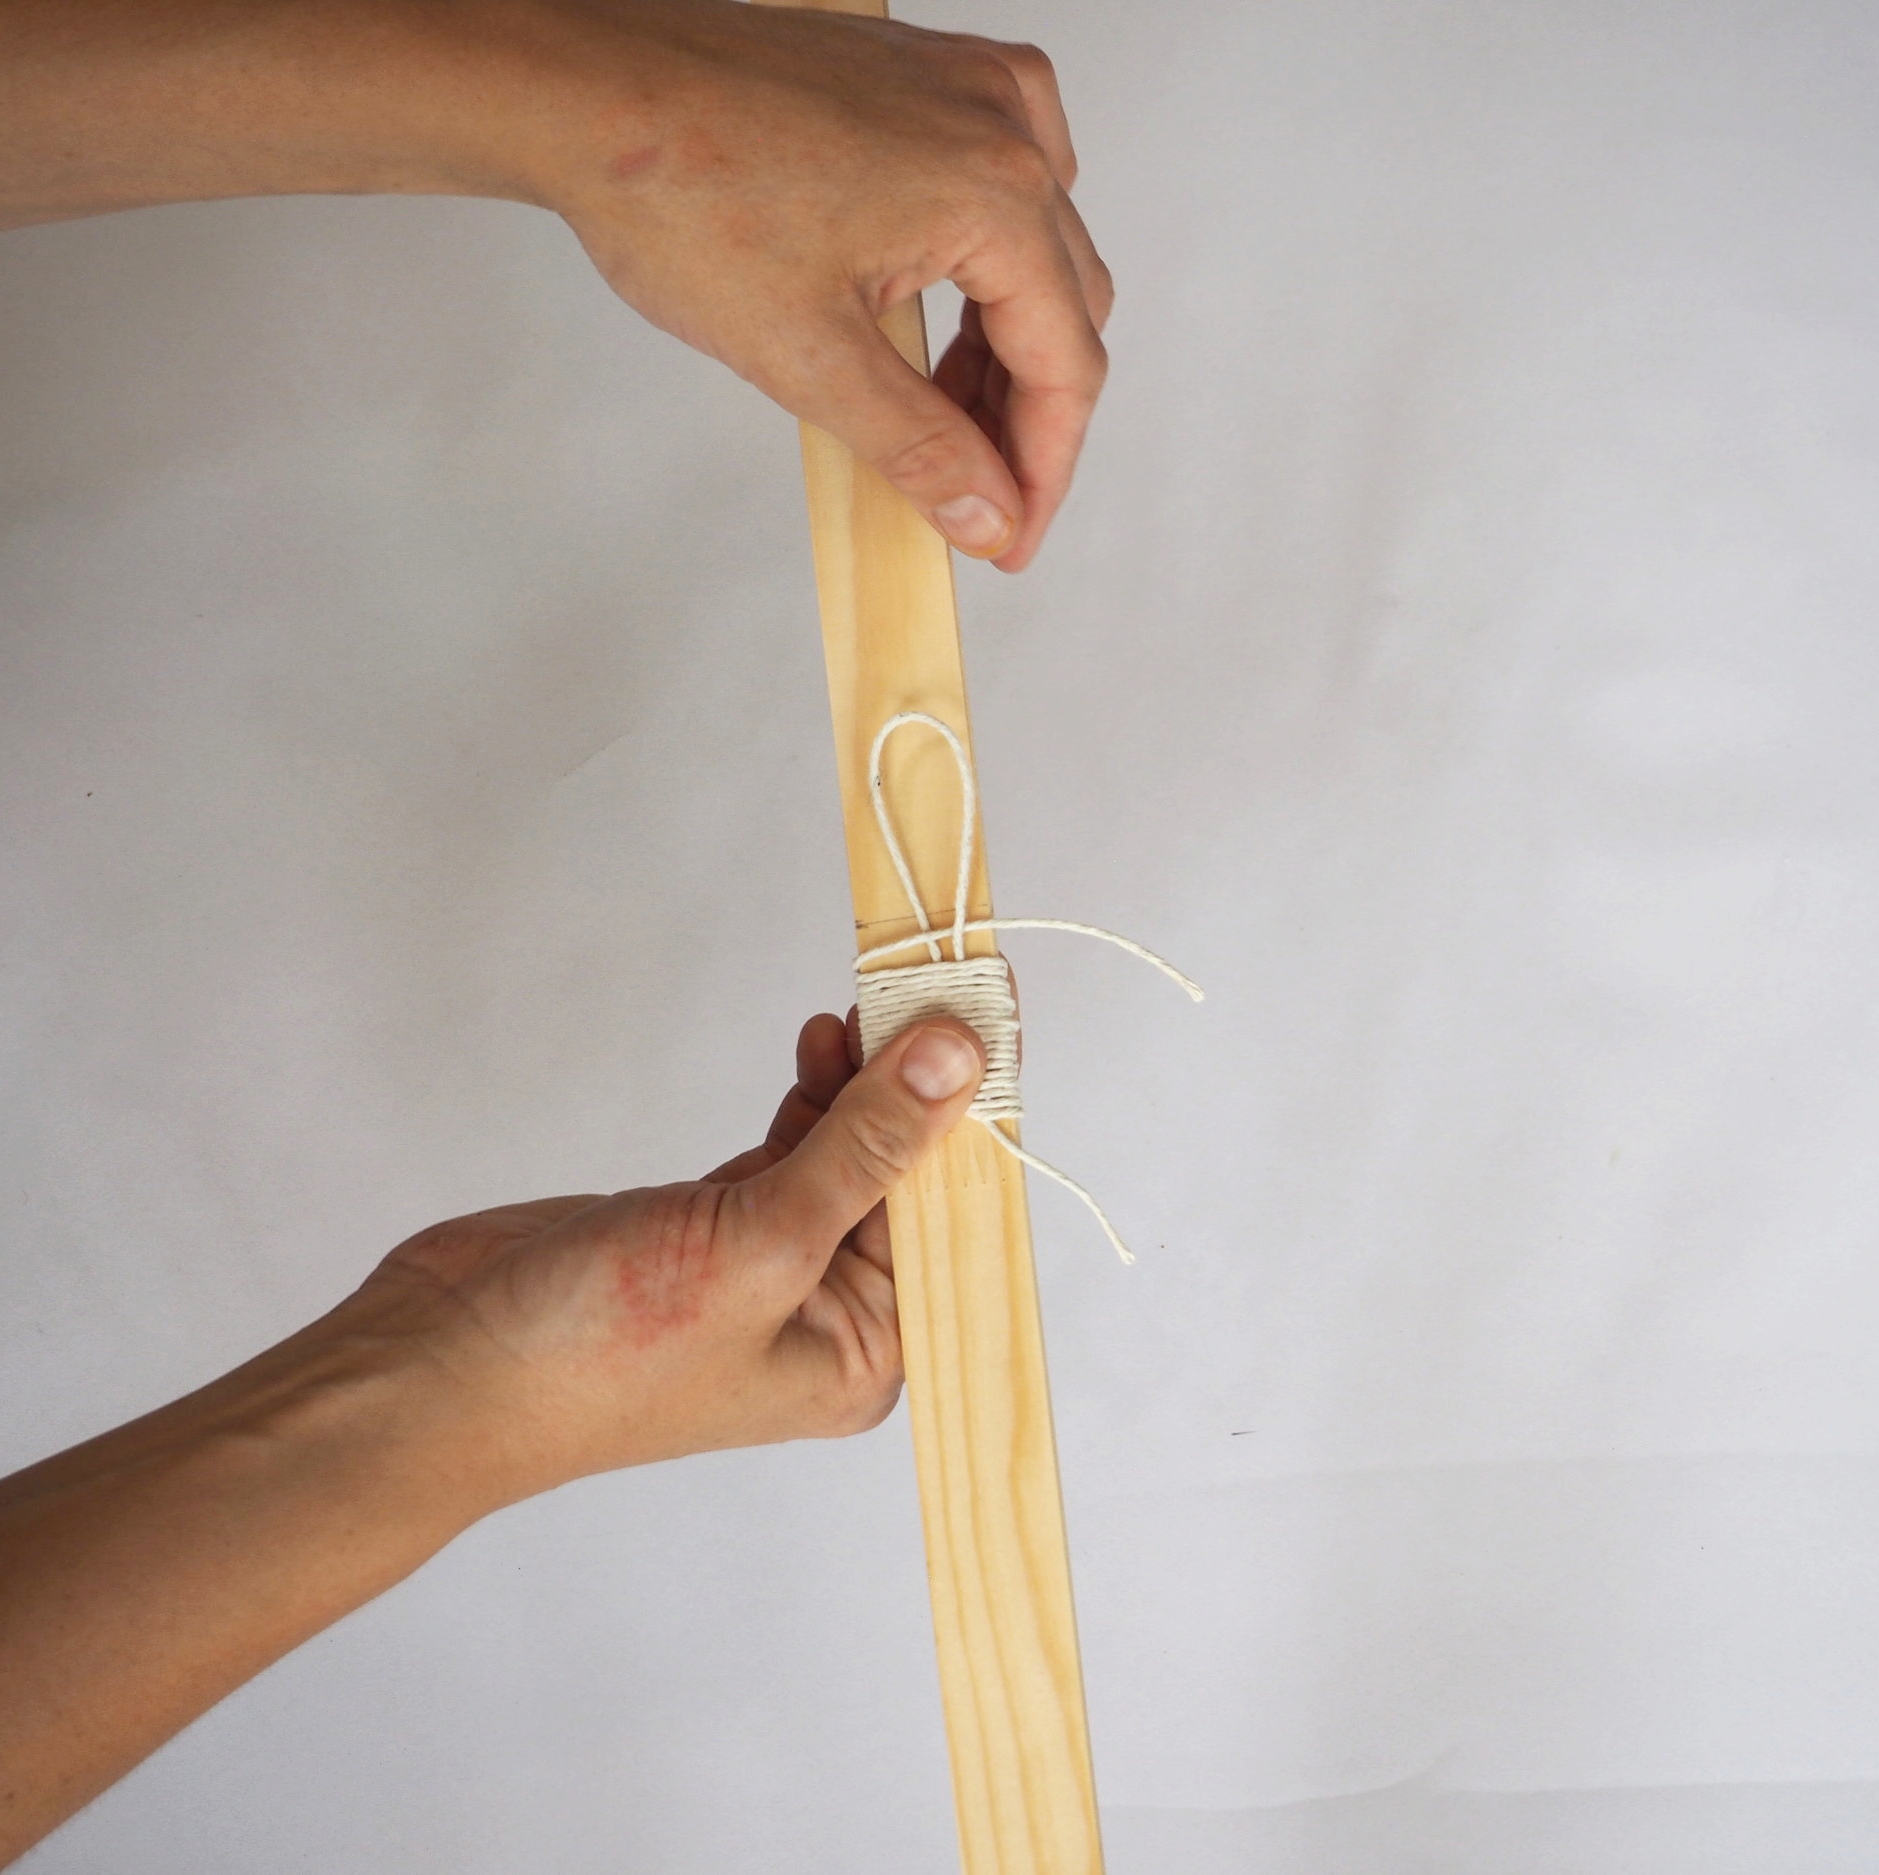
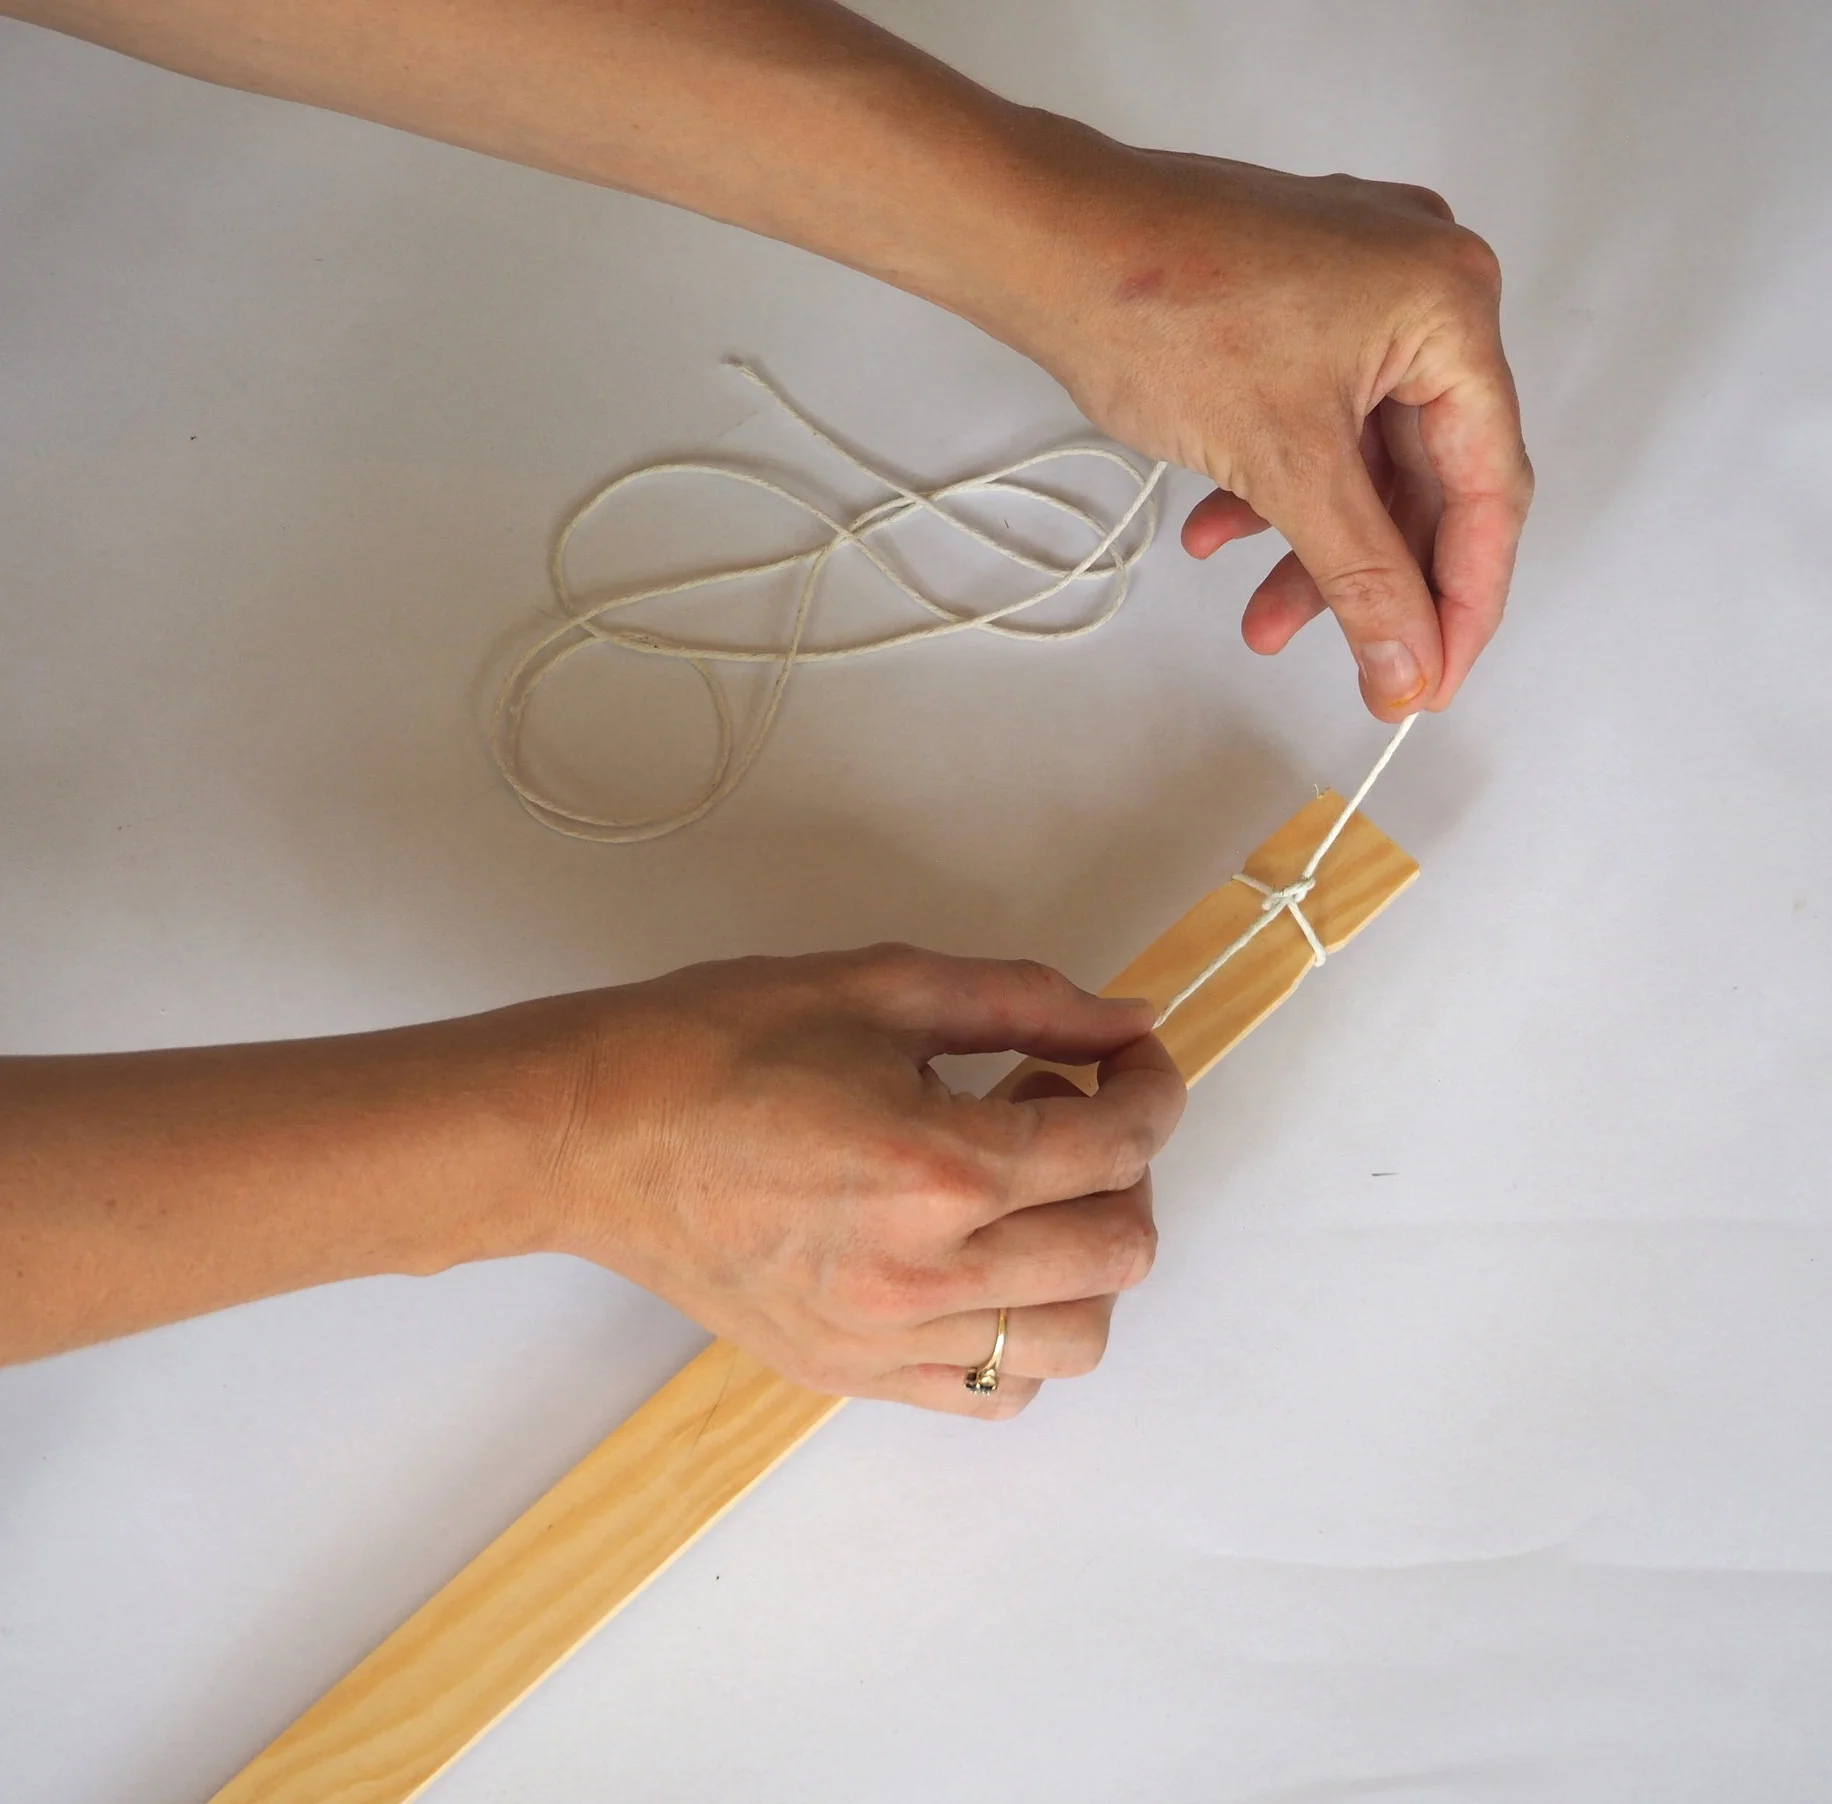
Continue to bind the string around the wood, making sure to pull it tight.
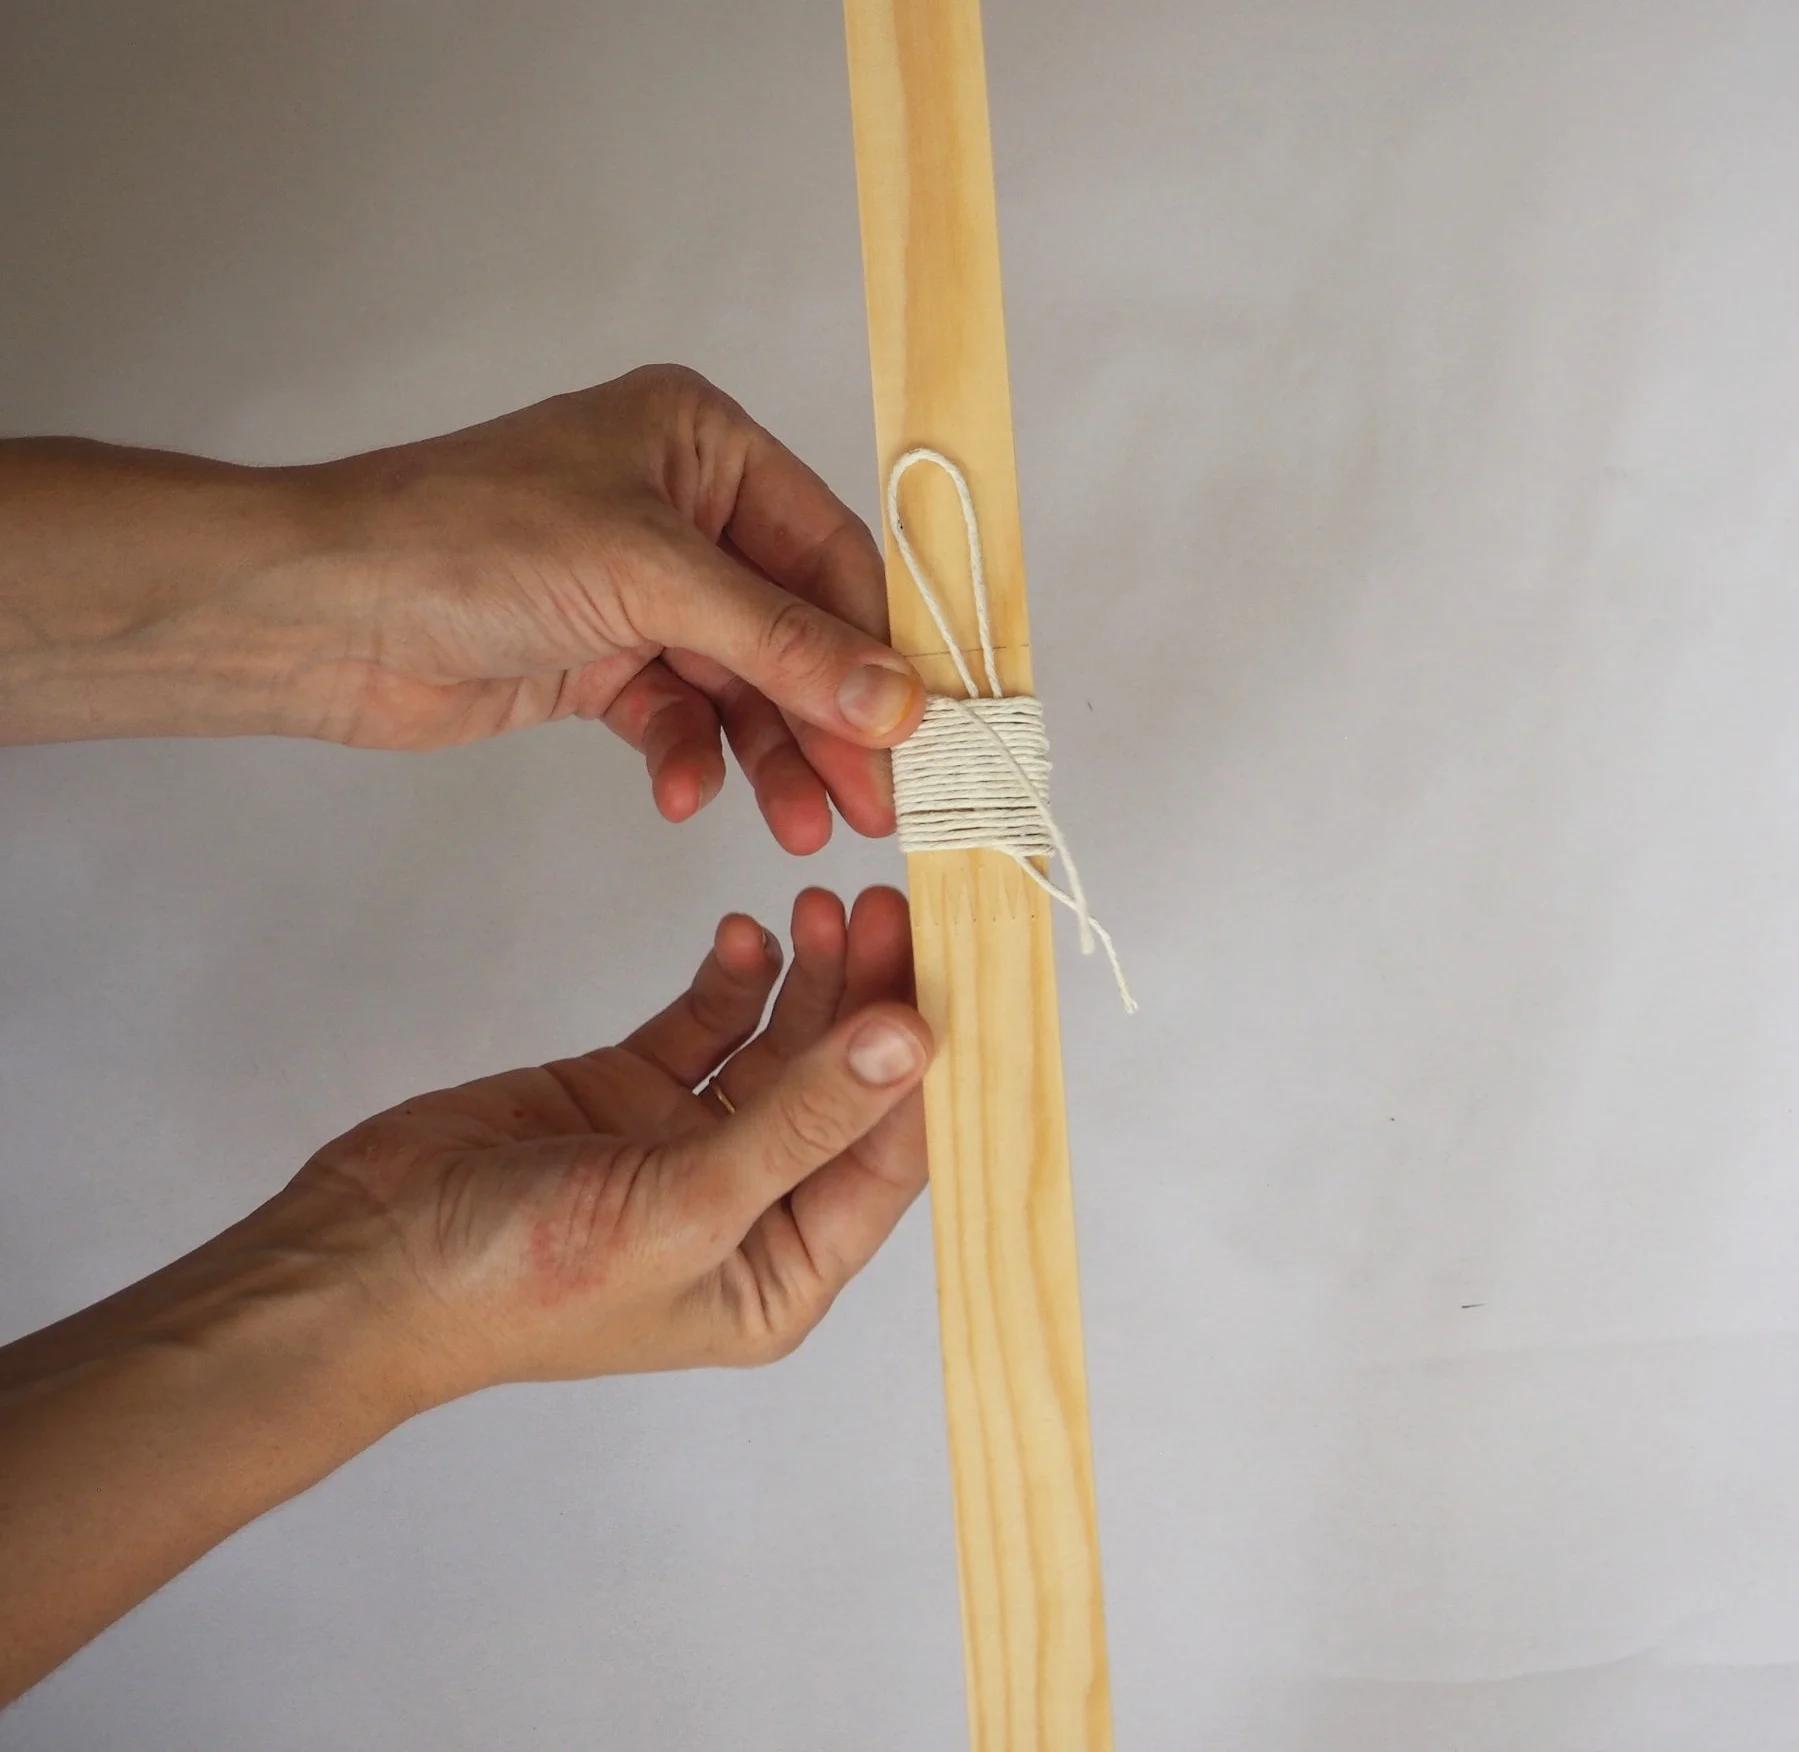
When there is approximately 5cm of string remaining stop binding the wood and make sure the end of the string is on the side where the loop is.
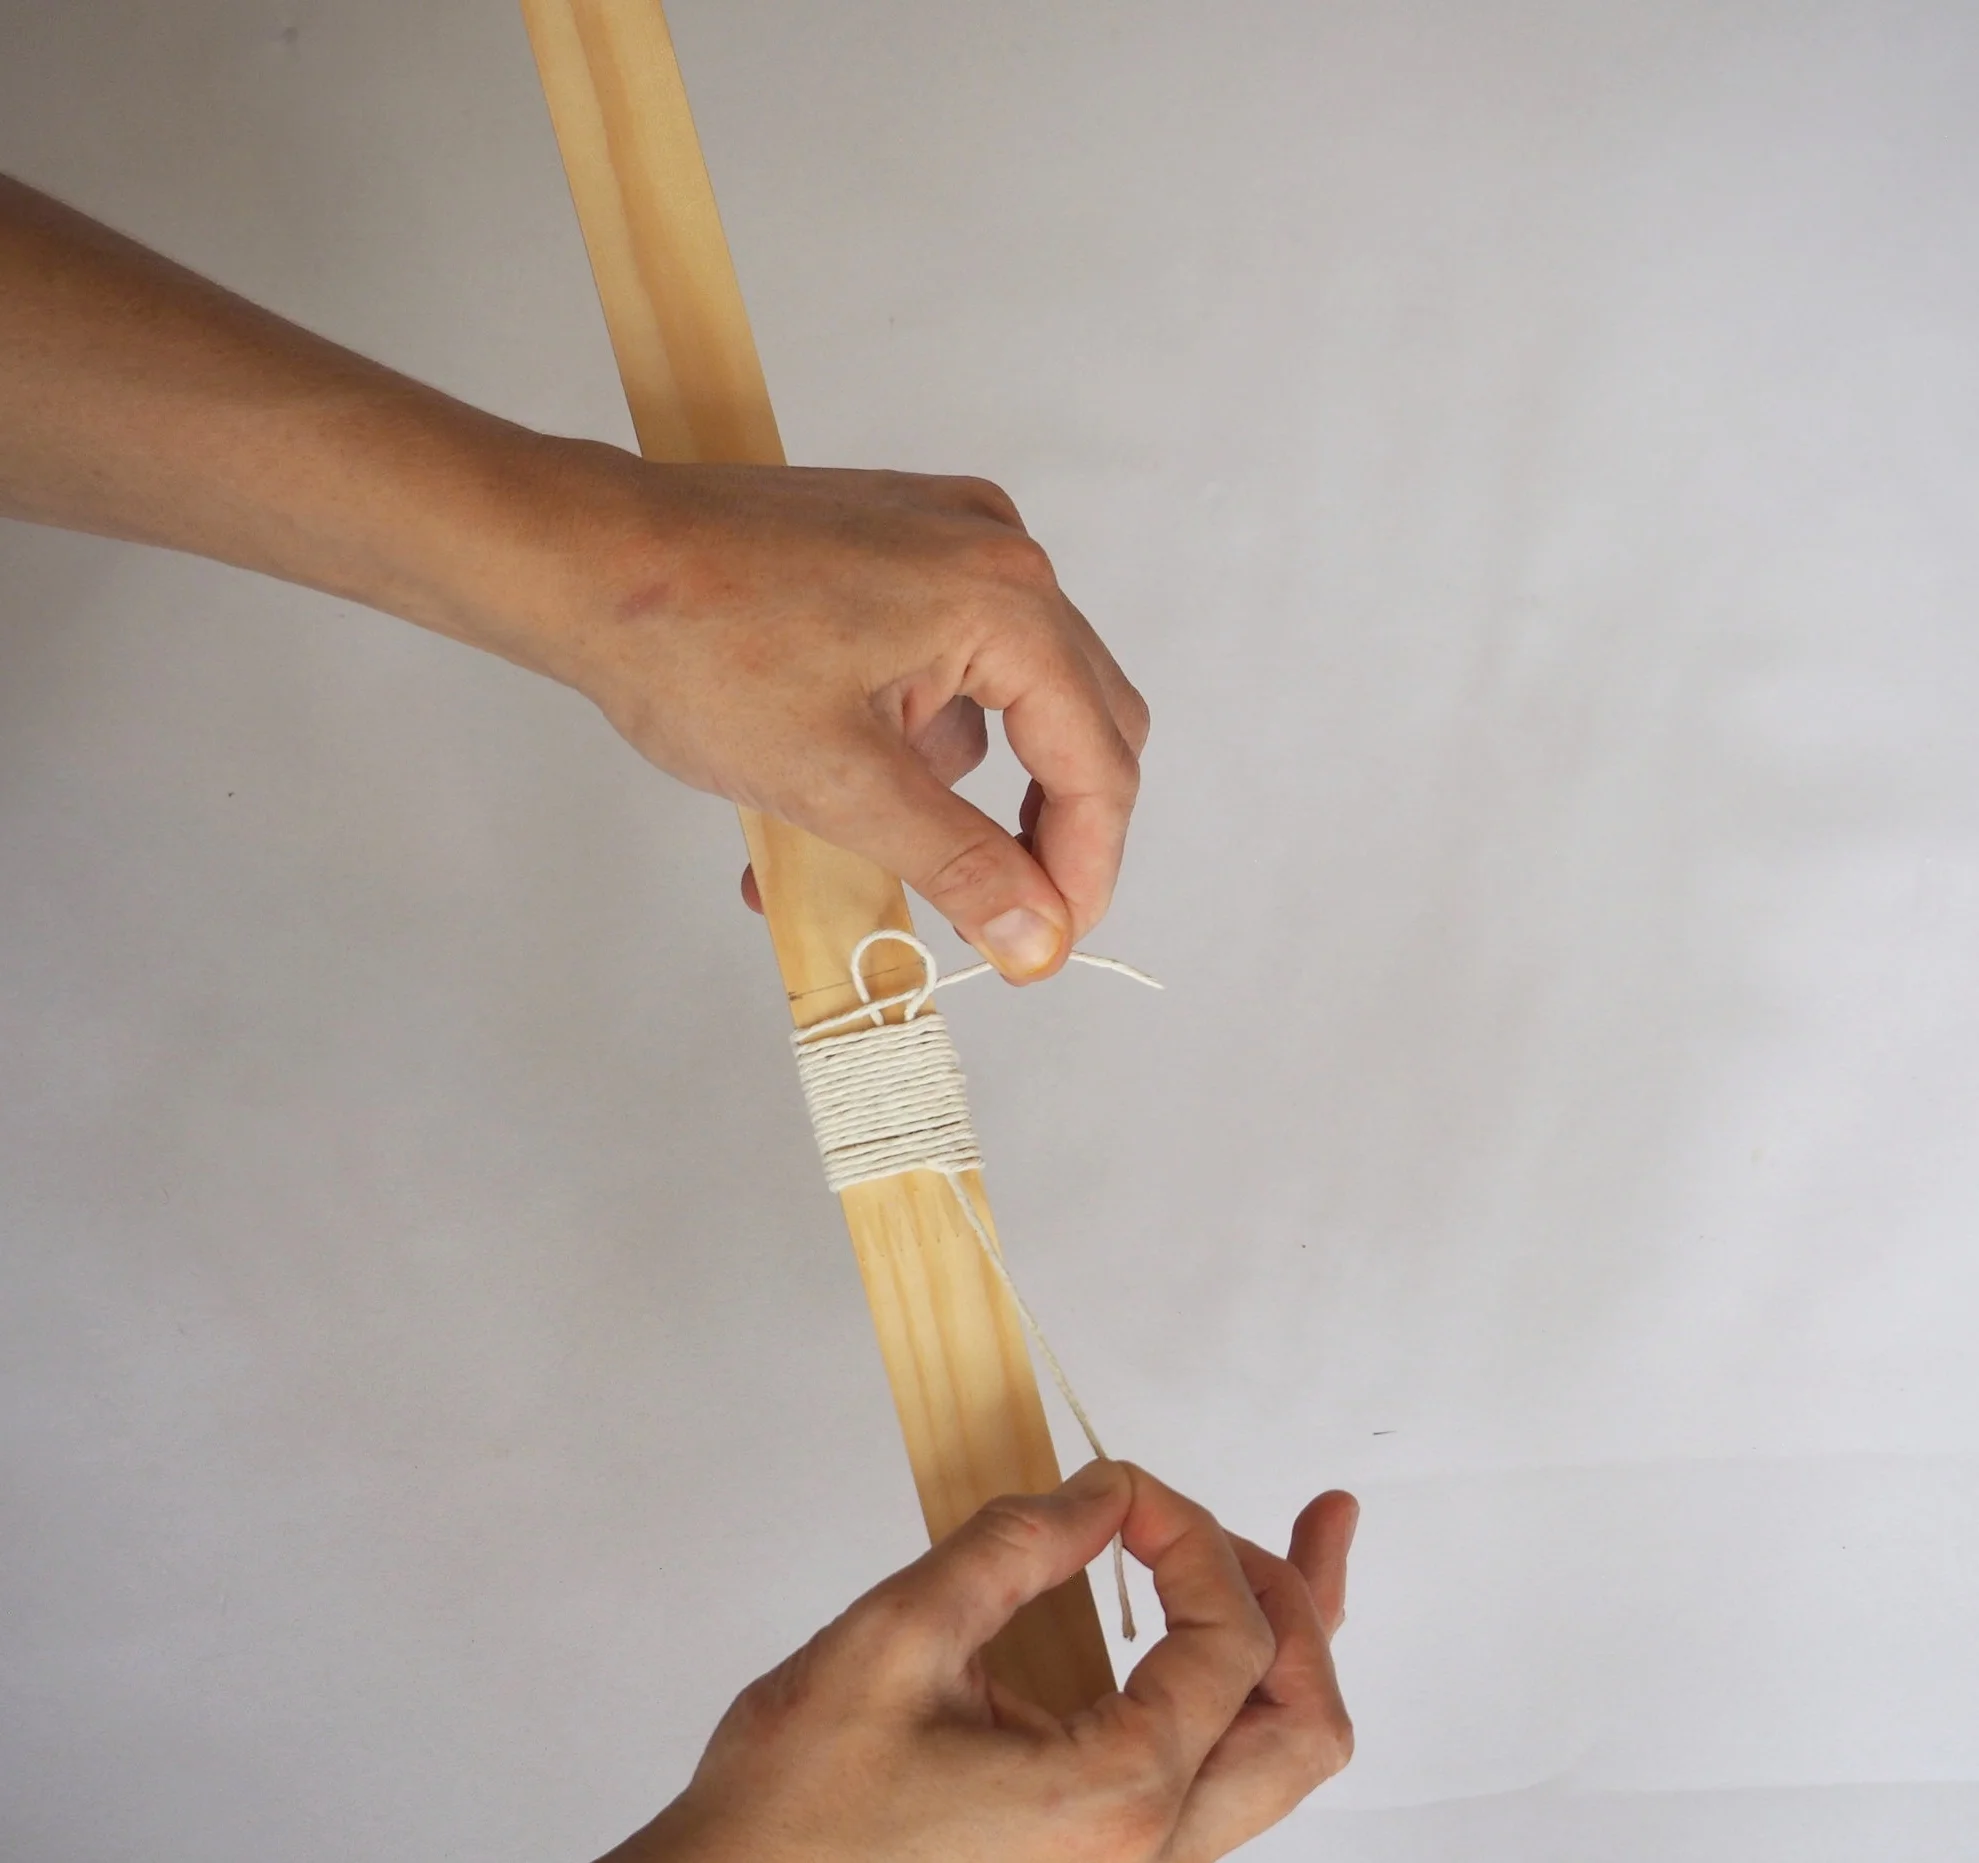
Pass the end of the string through the loop.
Then pull down on the end of the loop at the bottom of the binding.
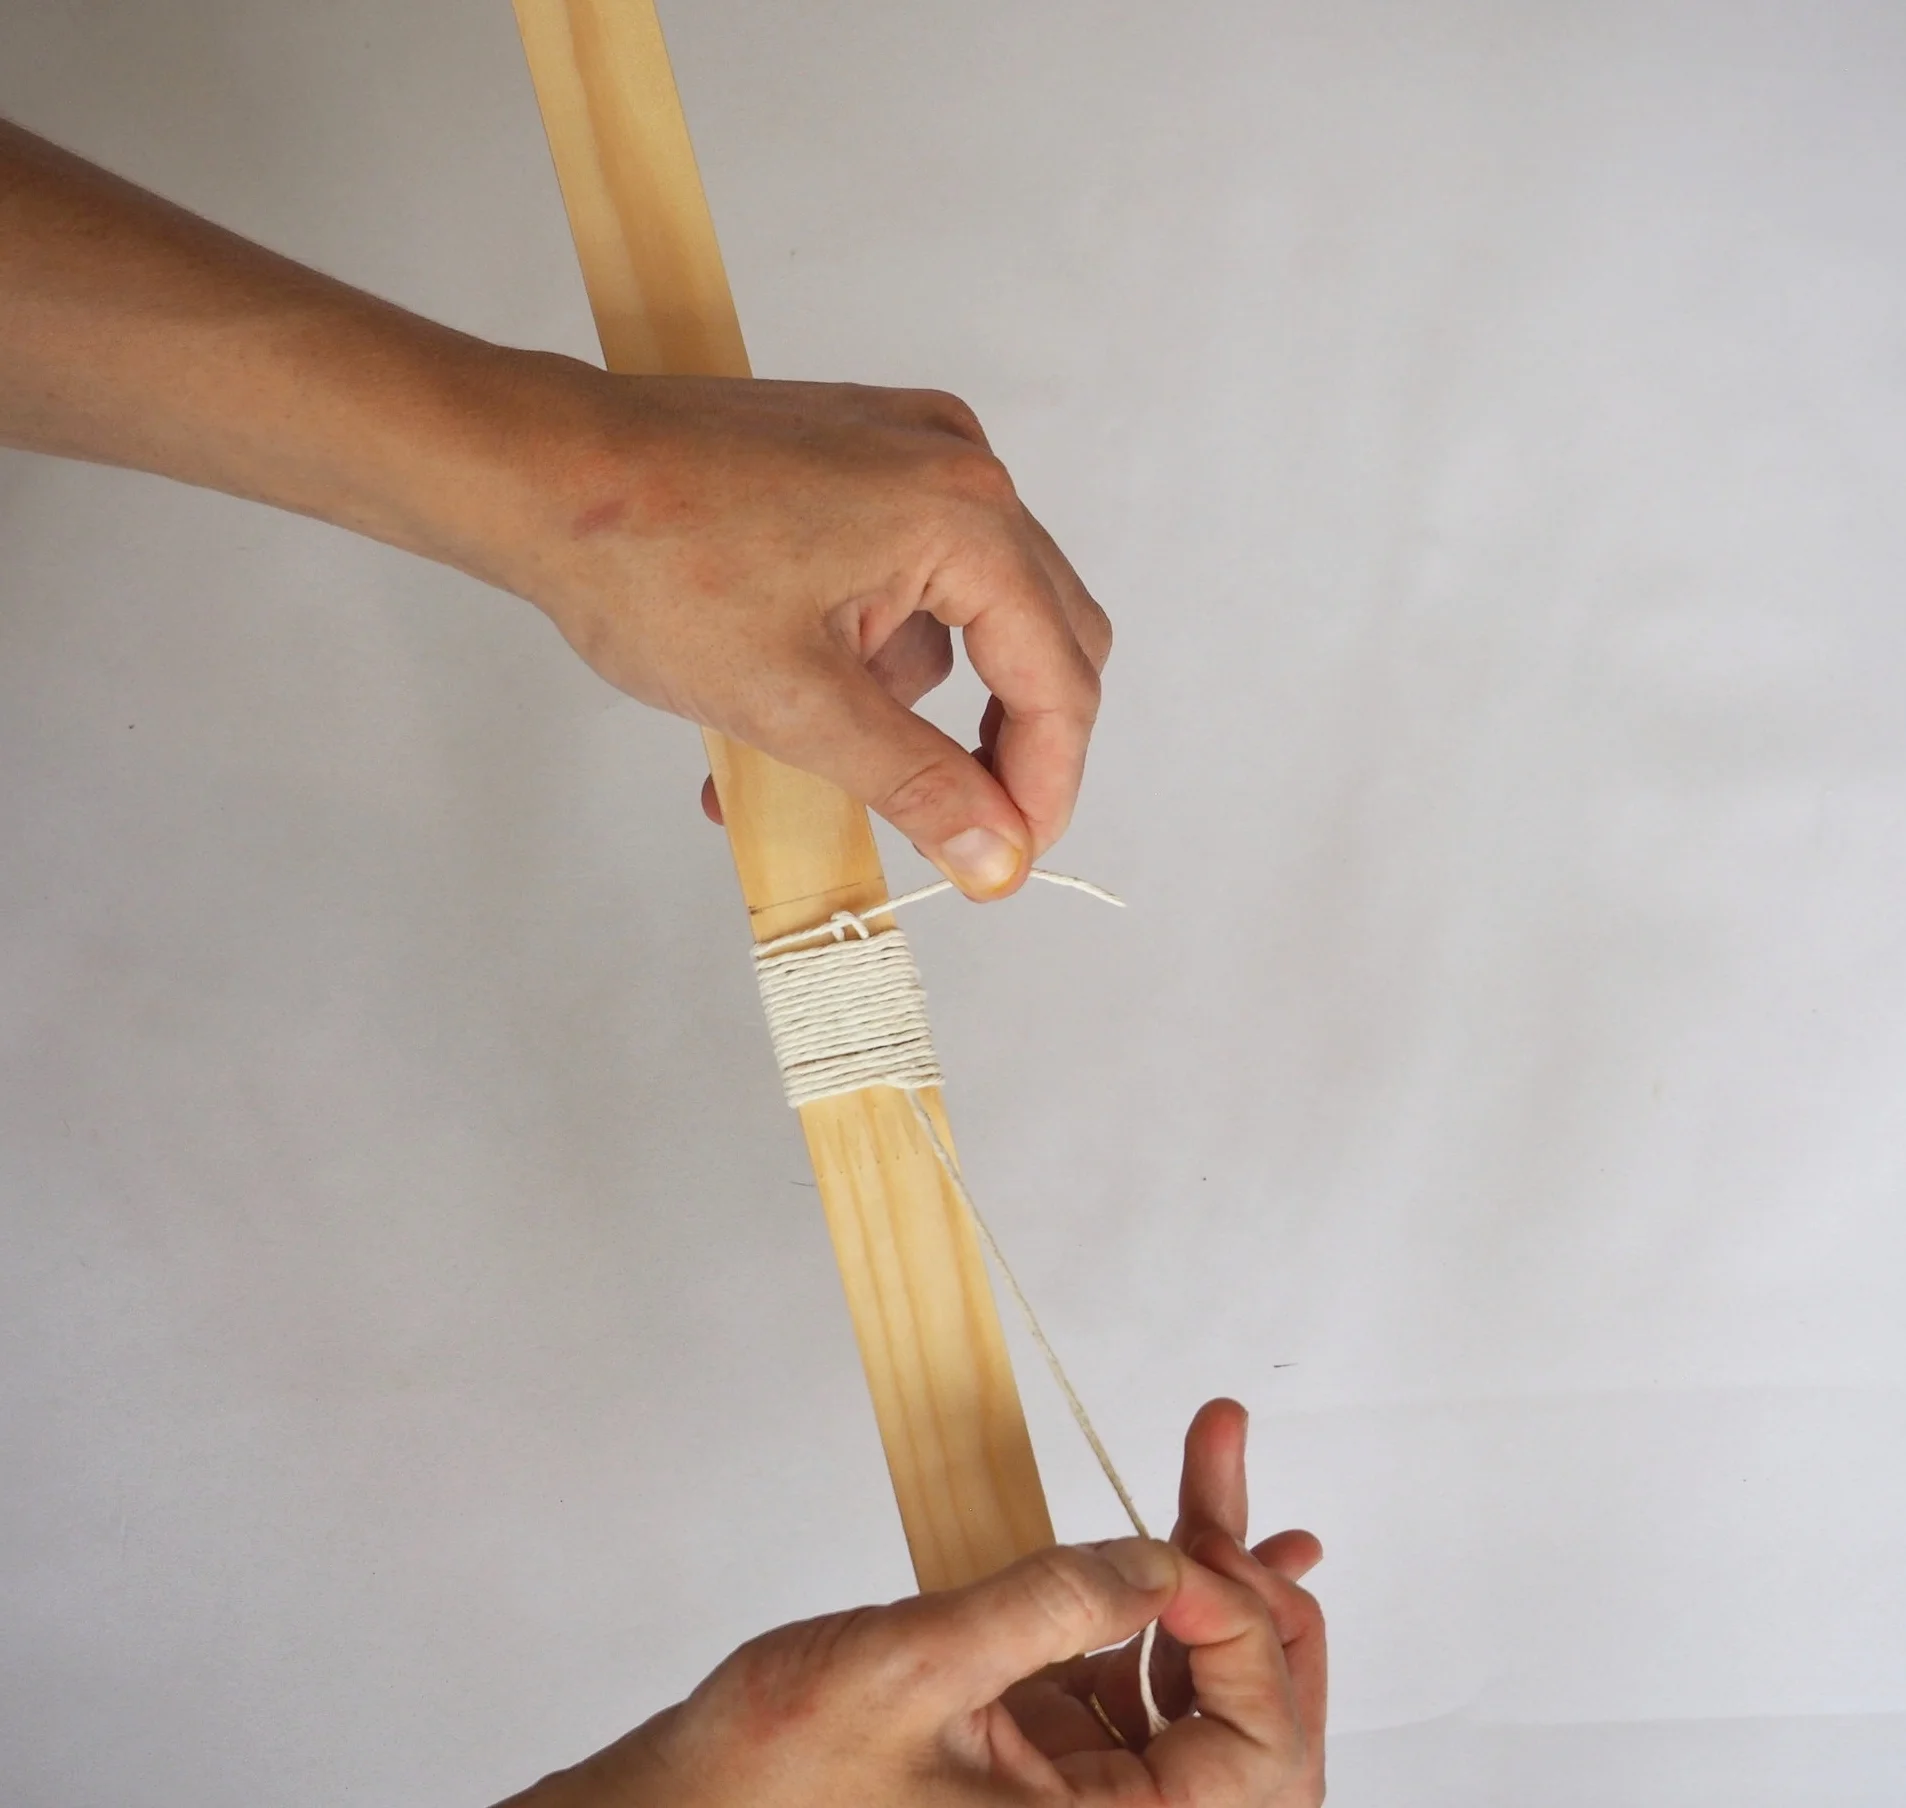
Keep pulling on the end of the loop until the top of the loop disappears behind the binding.
The top of the loop should now be approximately half way down the binding.
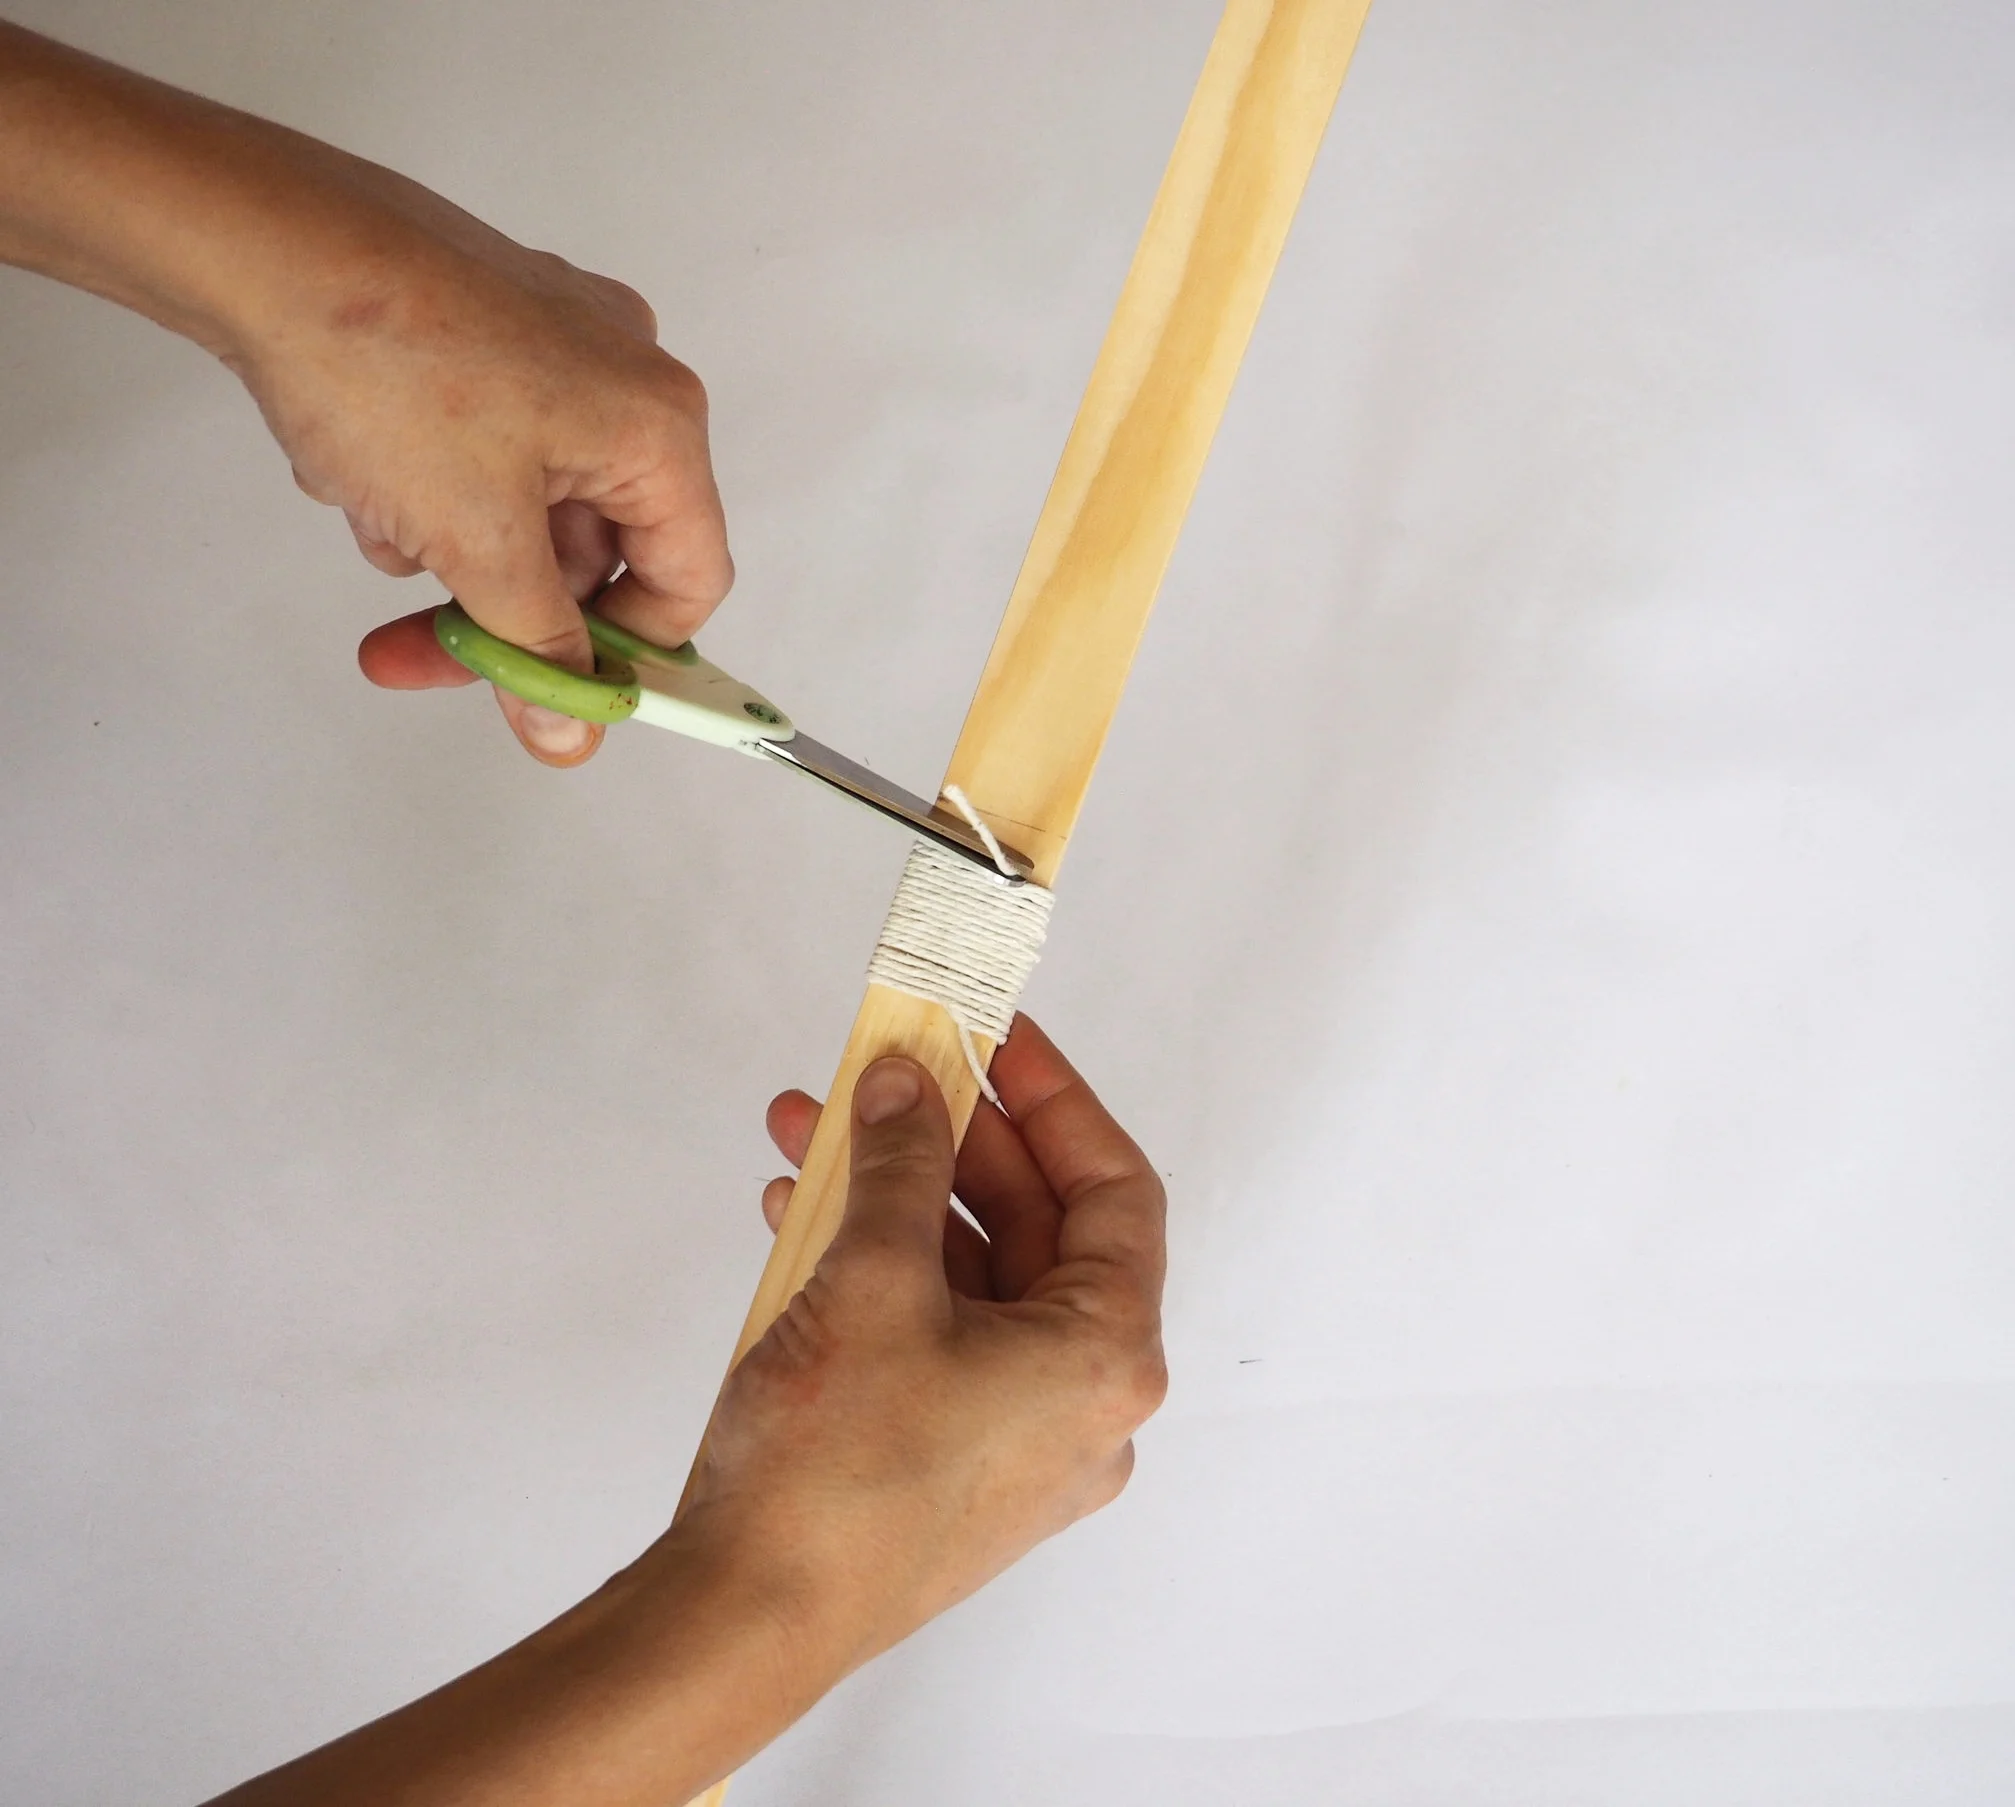
Take your scissor and cut off the string poking out the top of the binding.
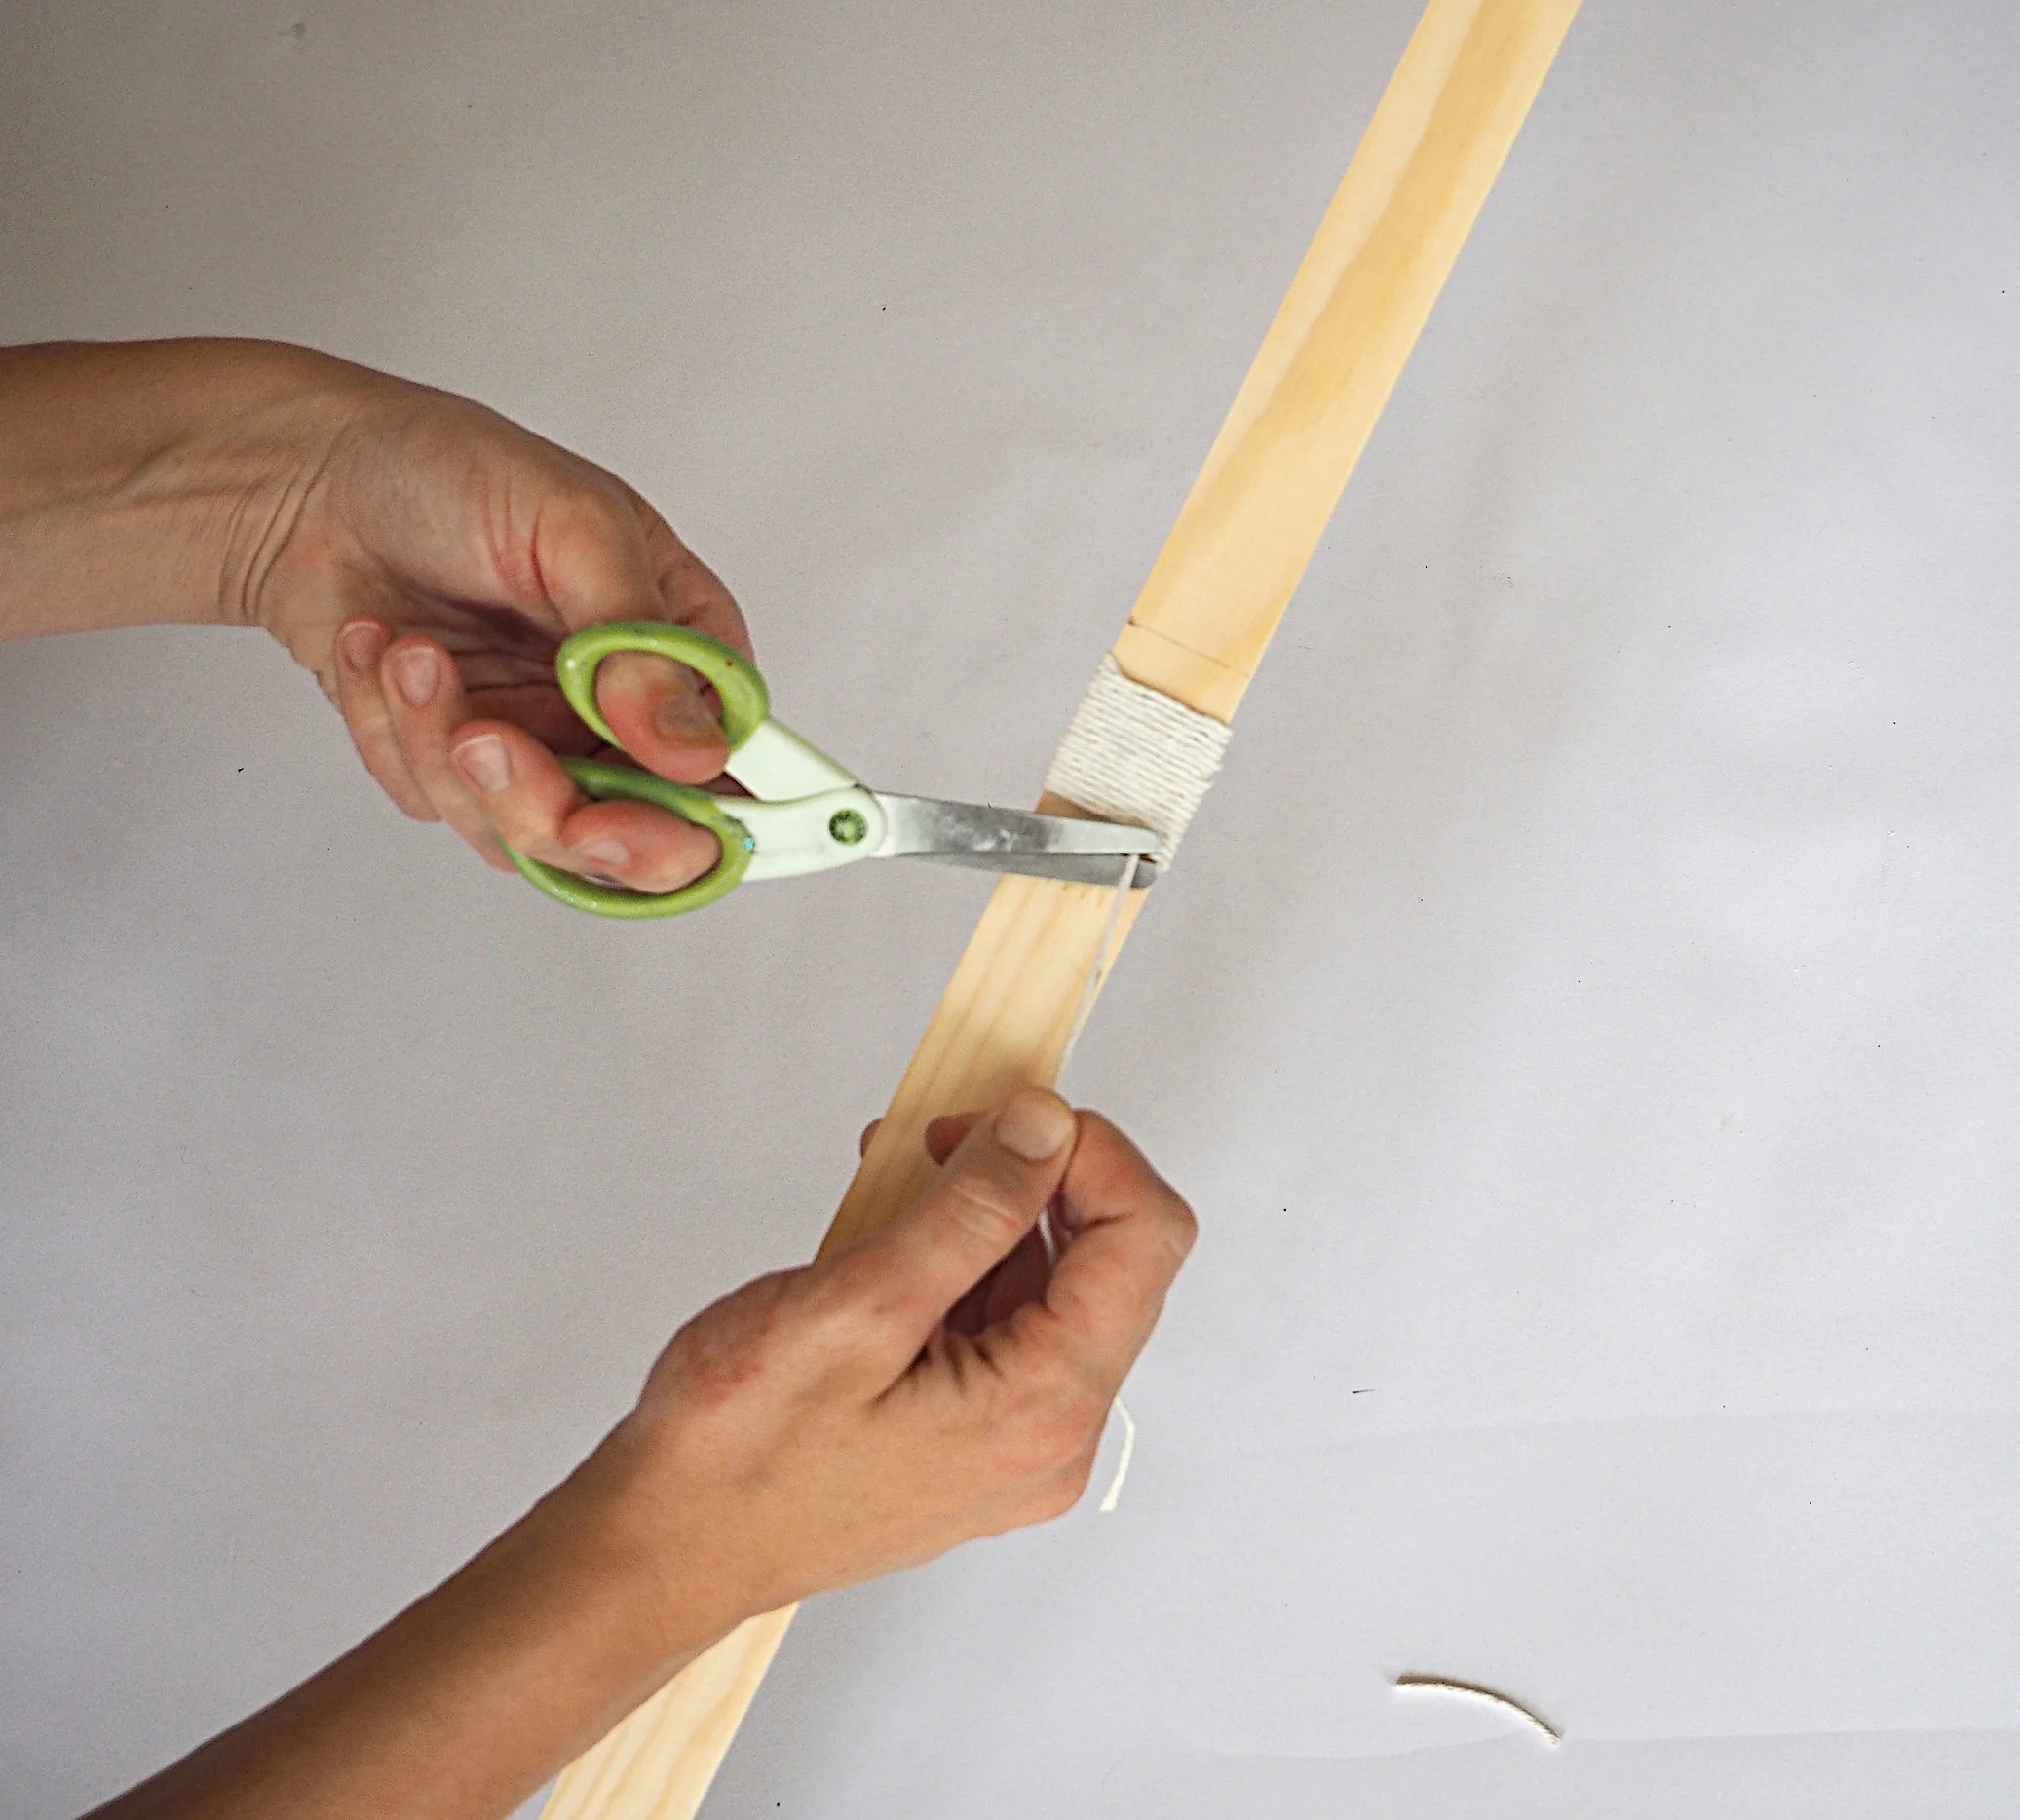
And now cut the bottom string as well.
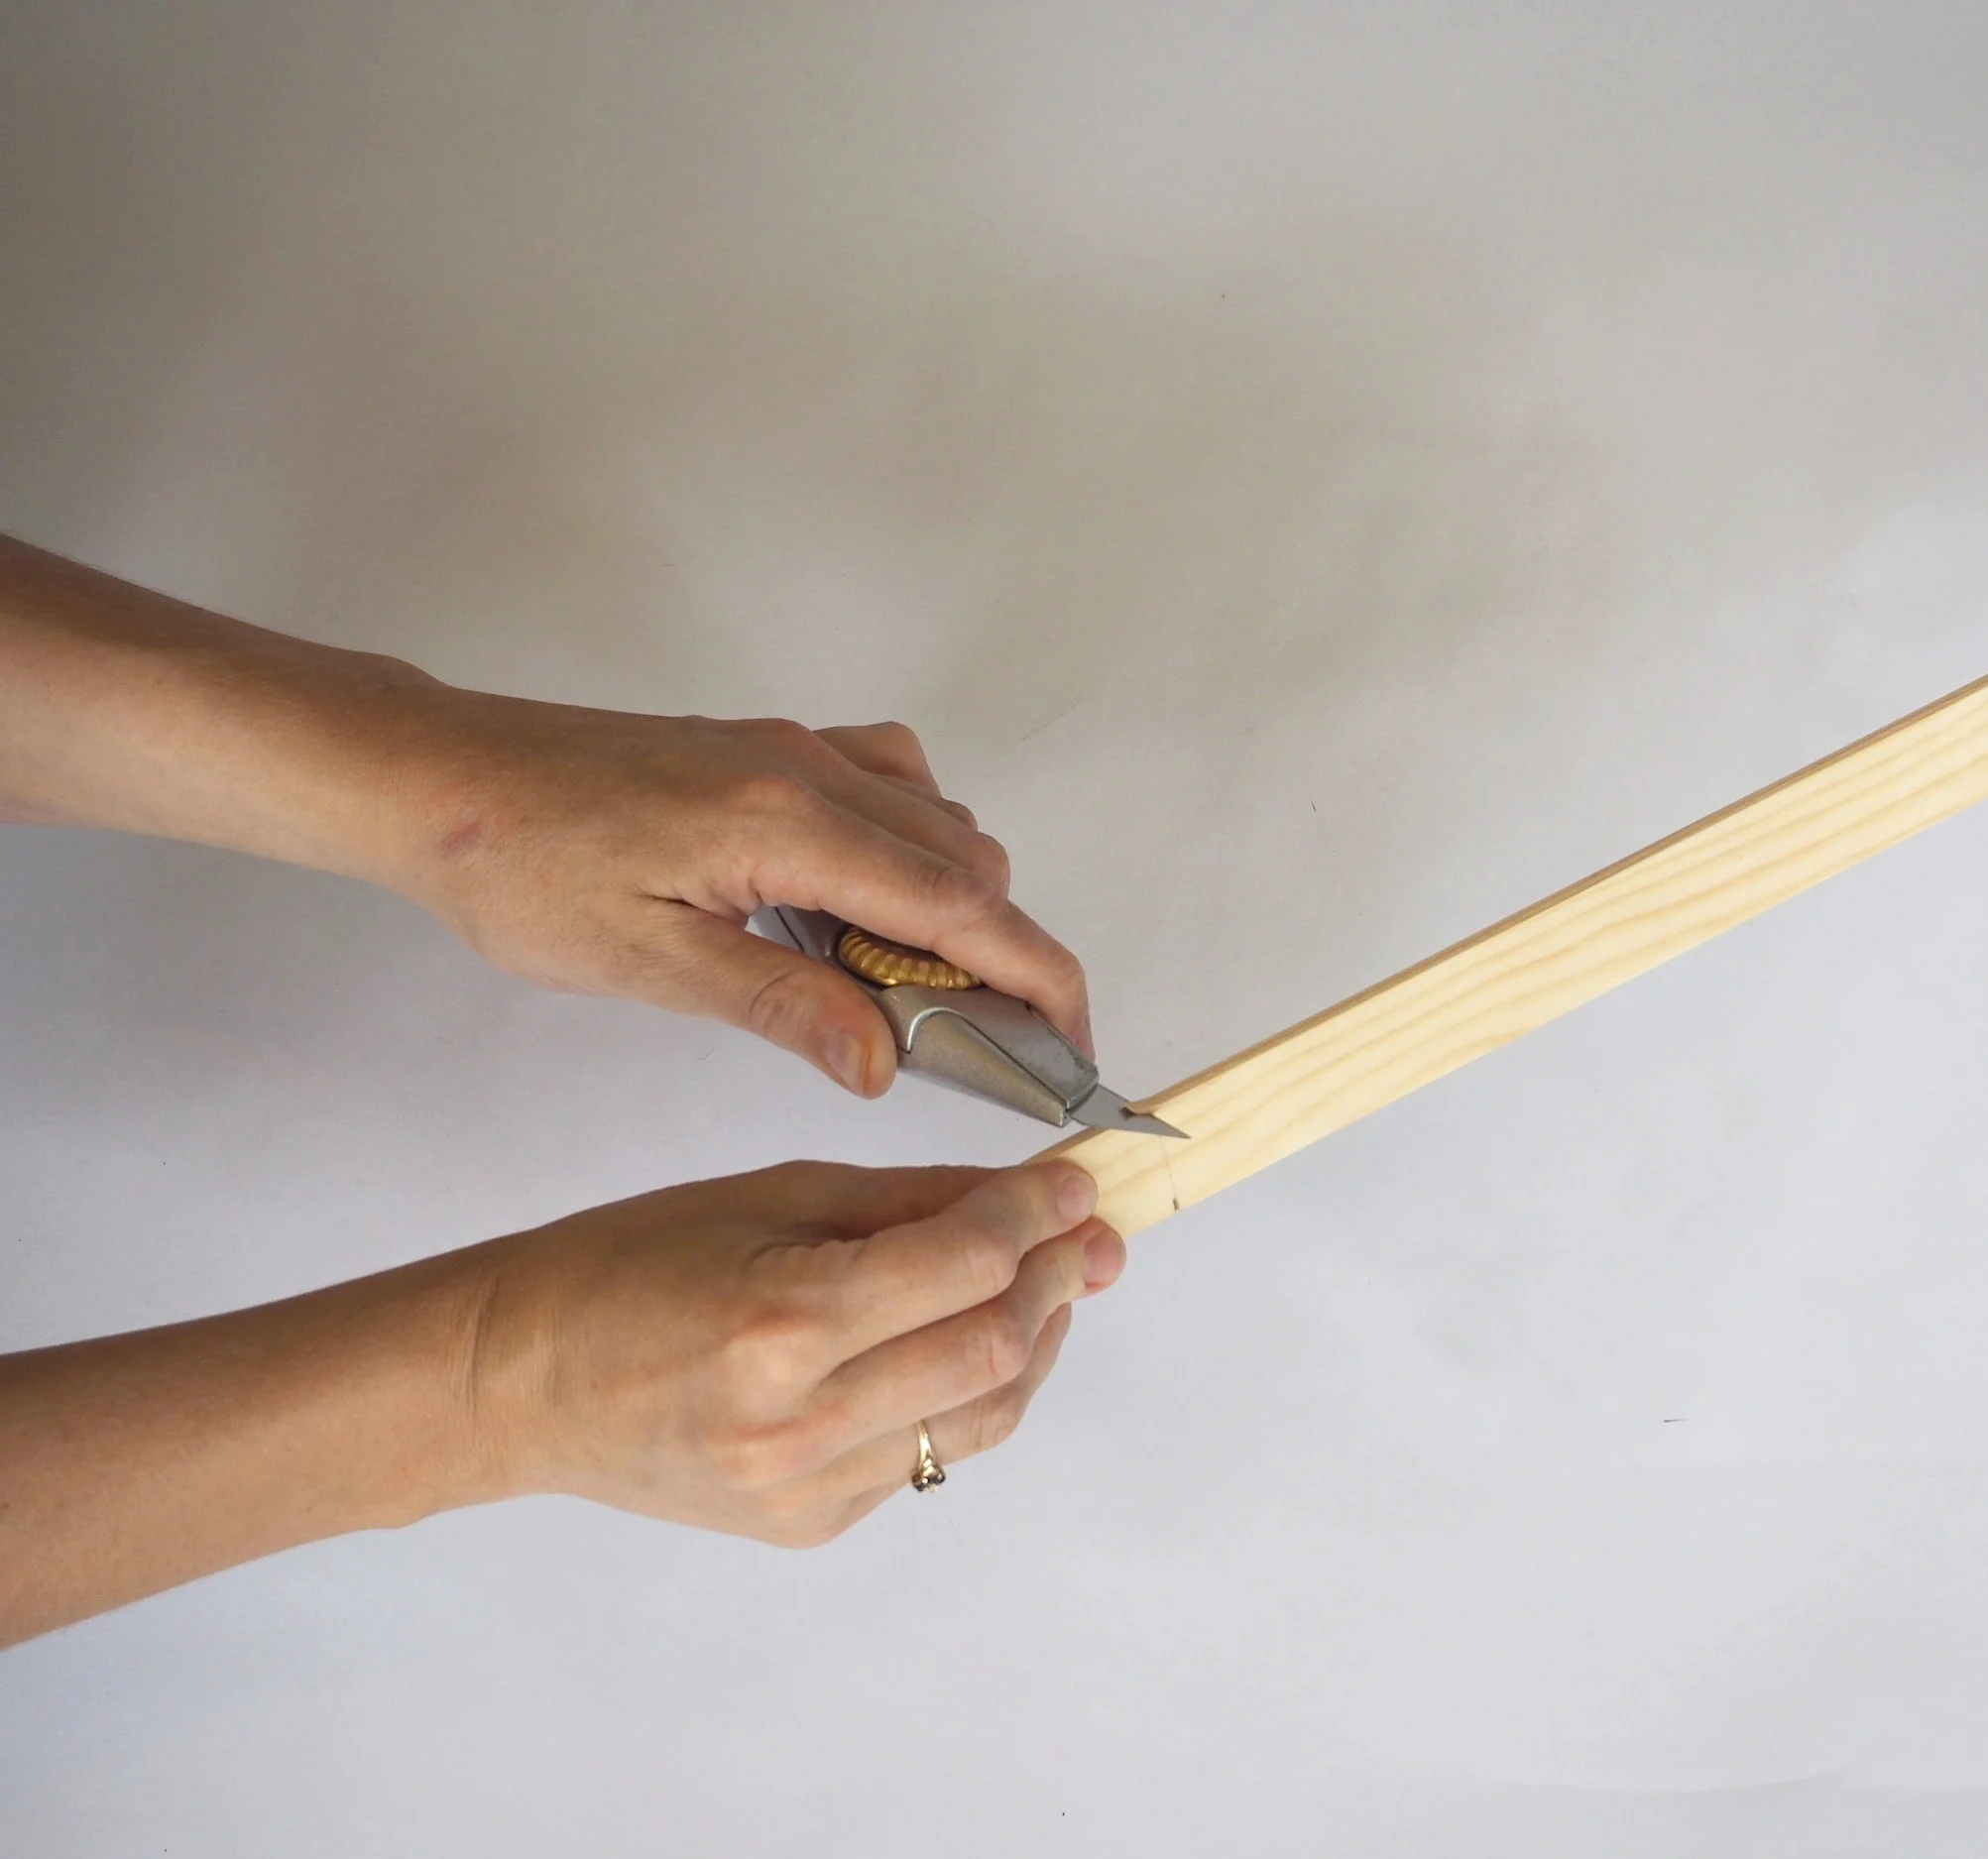
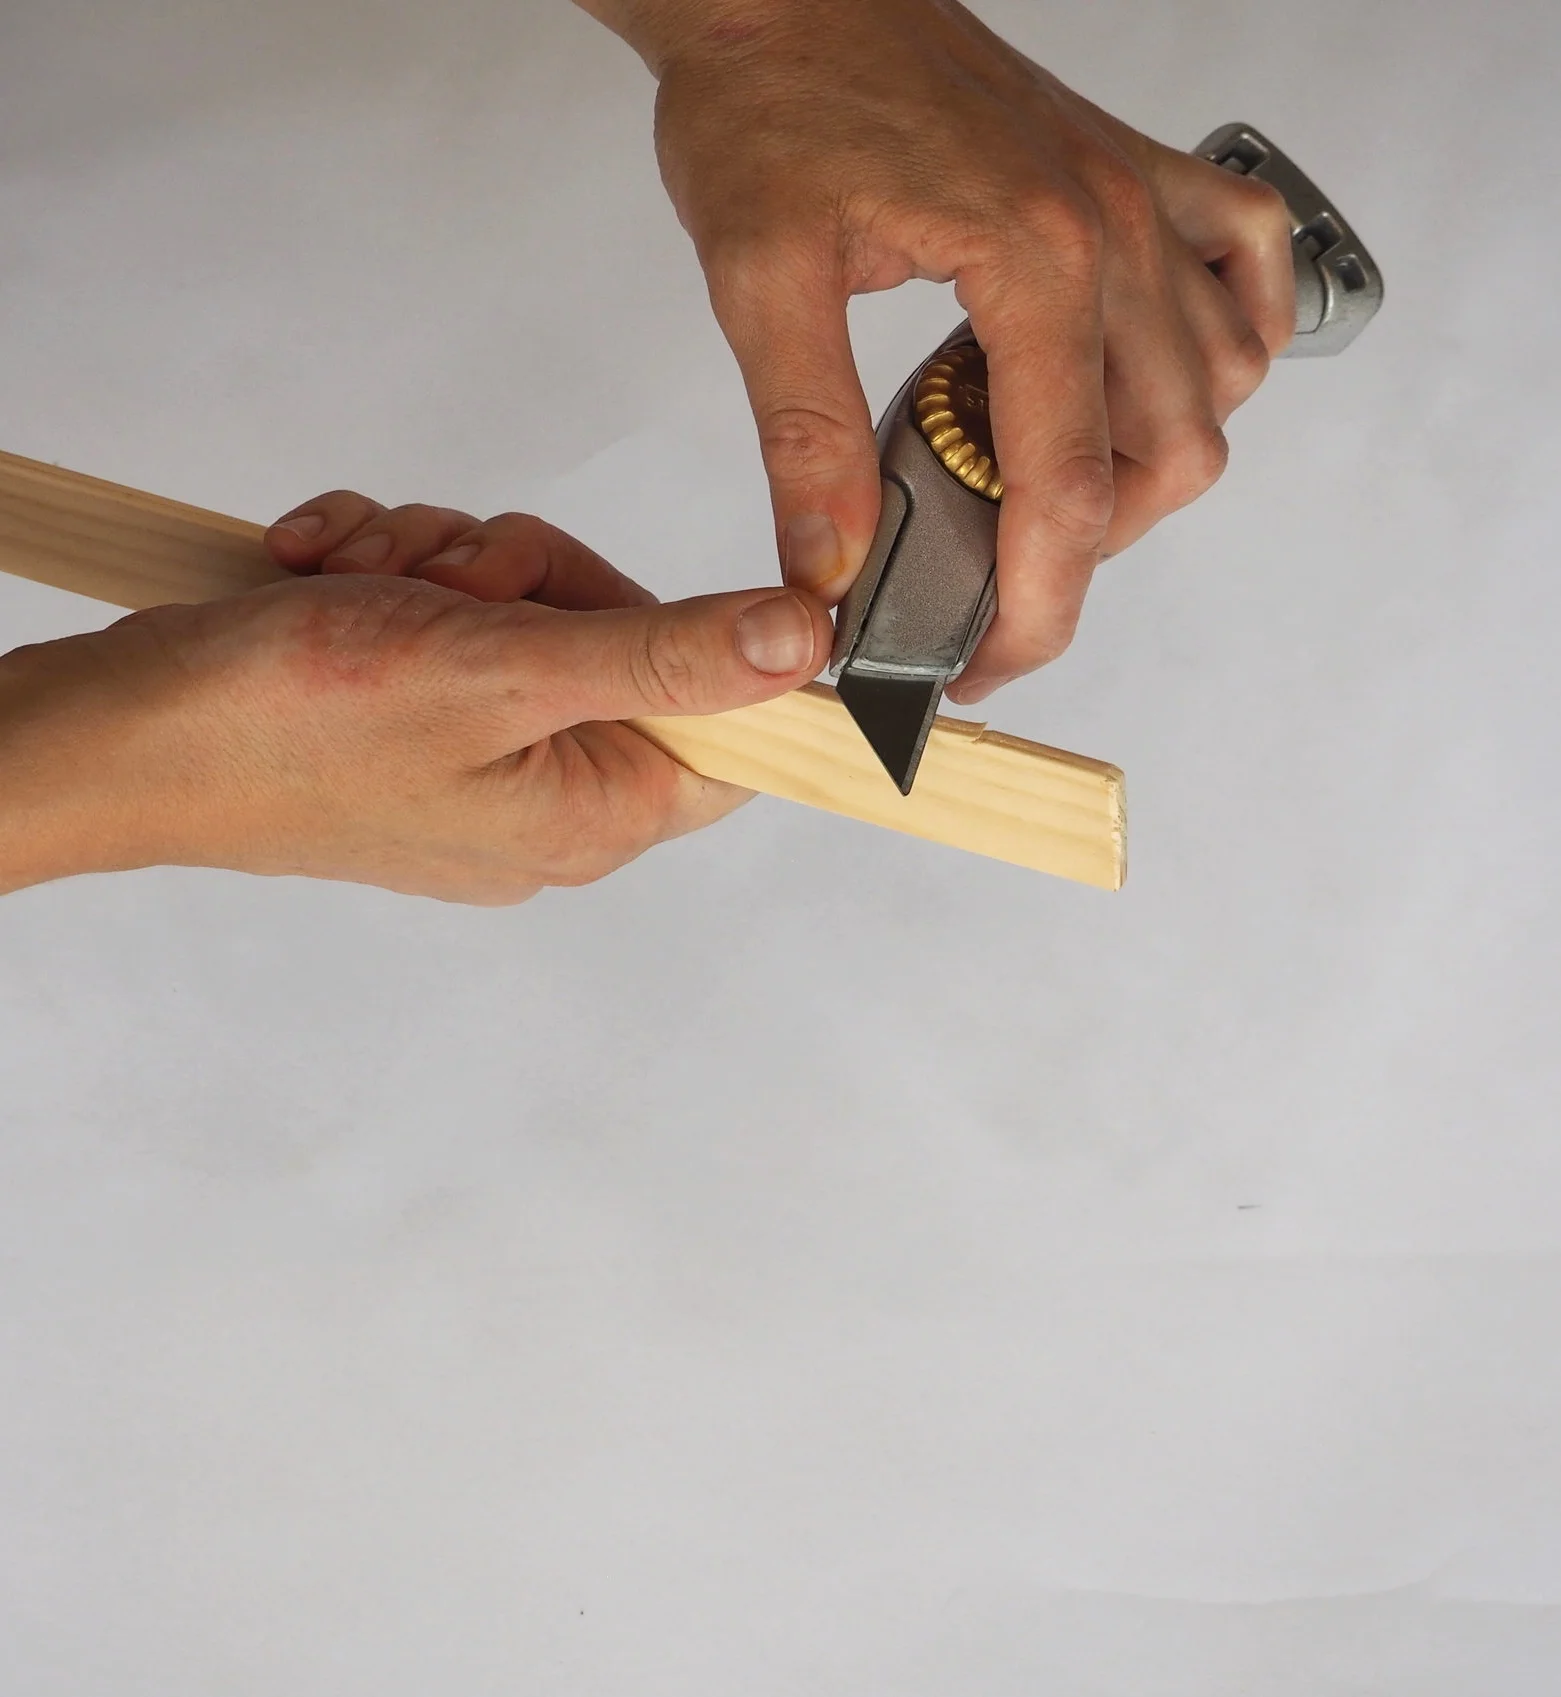
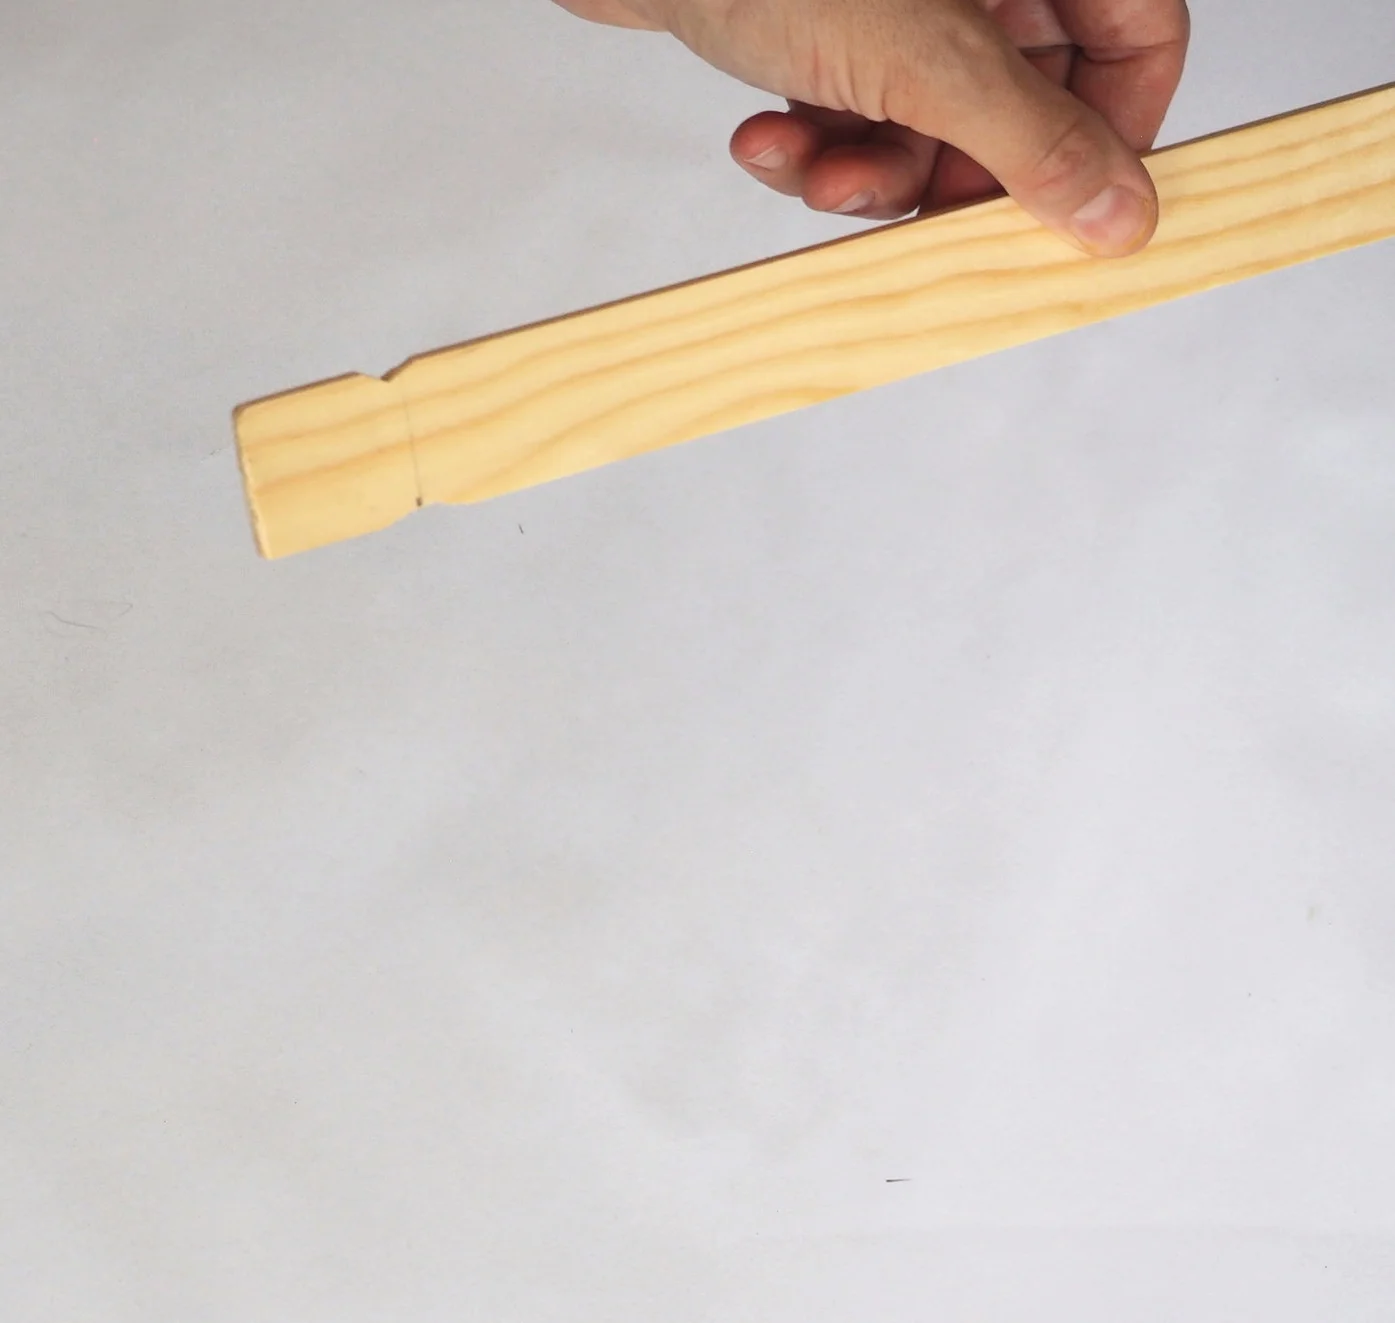
Take the craft knife and long piece of wood and where the line was drawn 3cm from the end of the wood make a small groove as shown in the next two images.
Now repeat this at the other end of the wood.
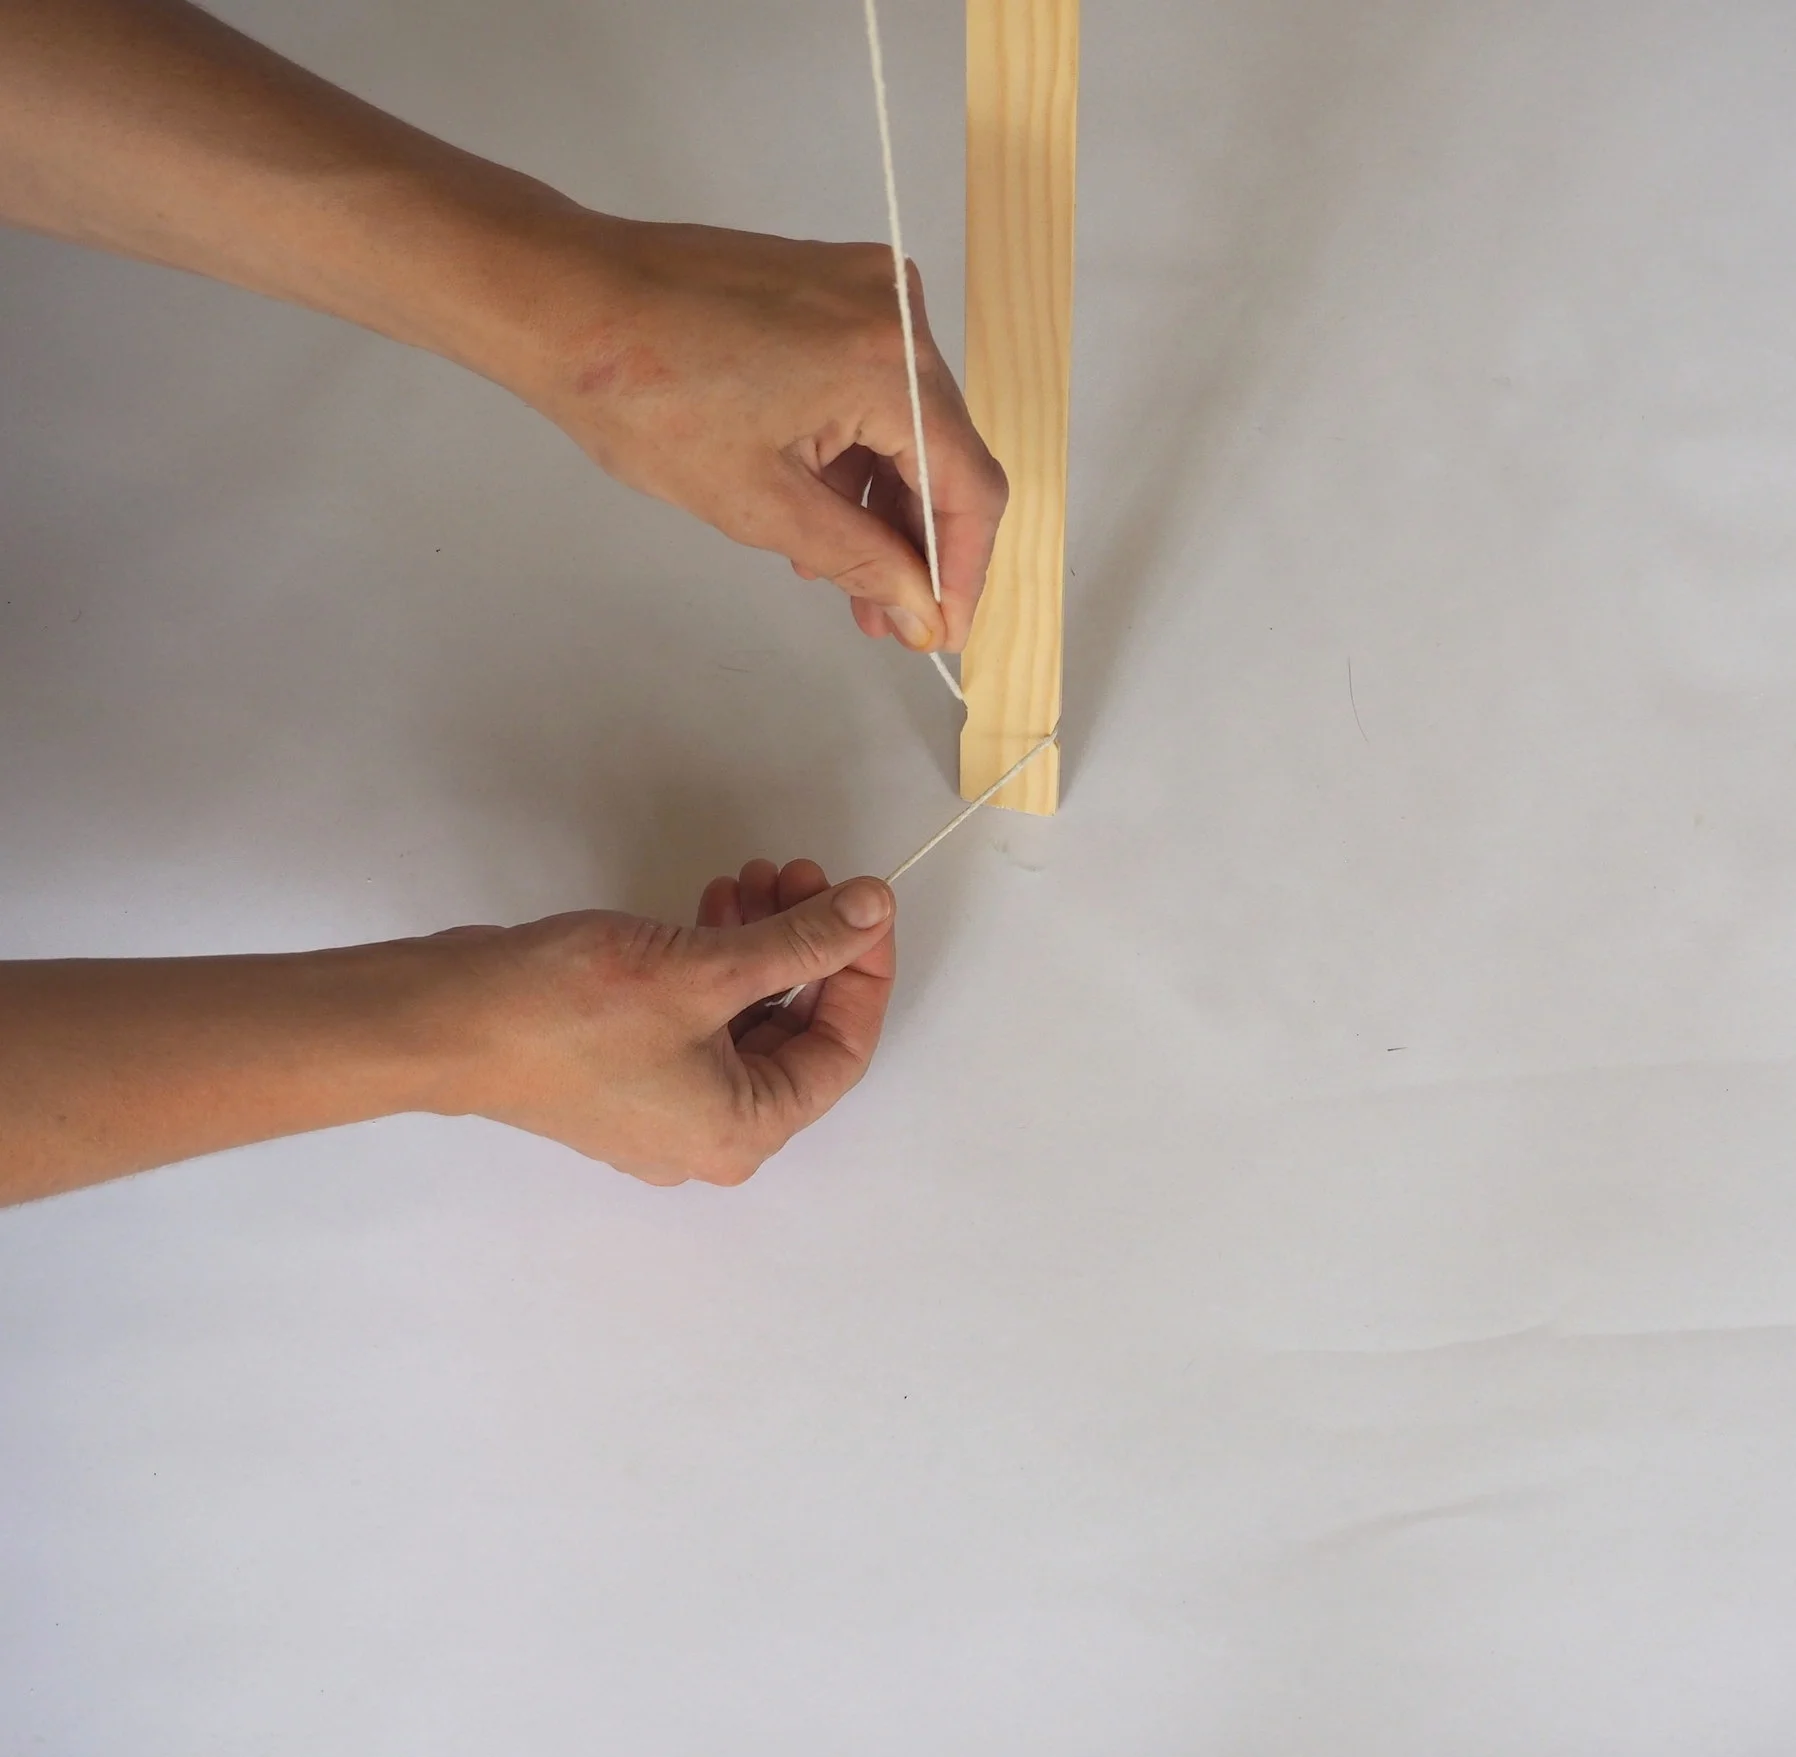
Take the last remaining piece of string (135cm) and tie it at one end of the long piece of wood.
Tie a double knot to secure it well.
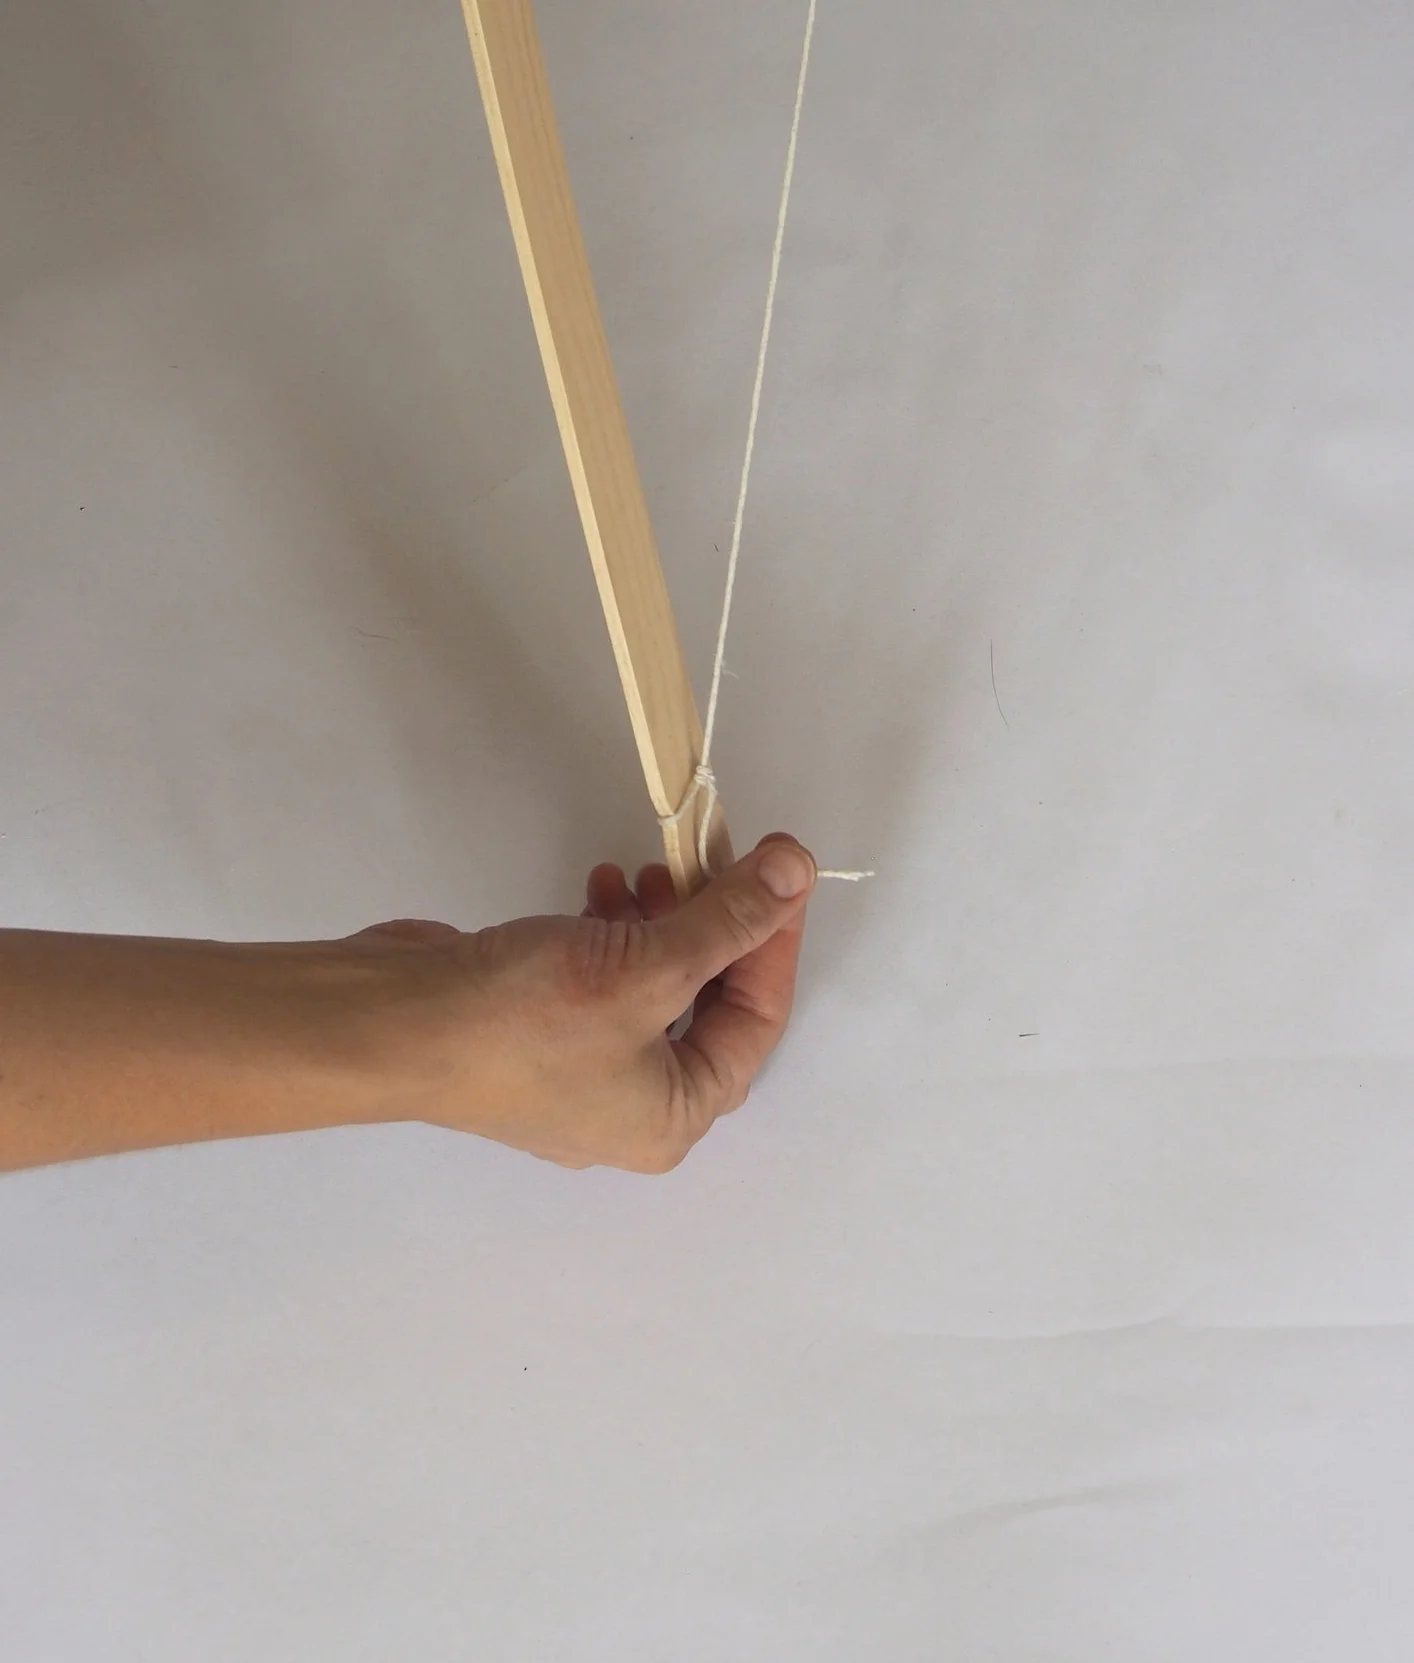
To tie the double knot at the other end of the wood get another person to push on the end you are not tying to create a curve in the wood. The length of string along the back of the bow should be approximately 105cm long. Creating a gentle curve, perfect for firing arrows.
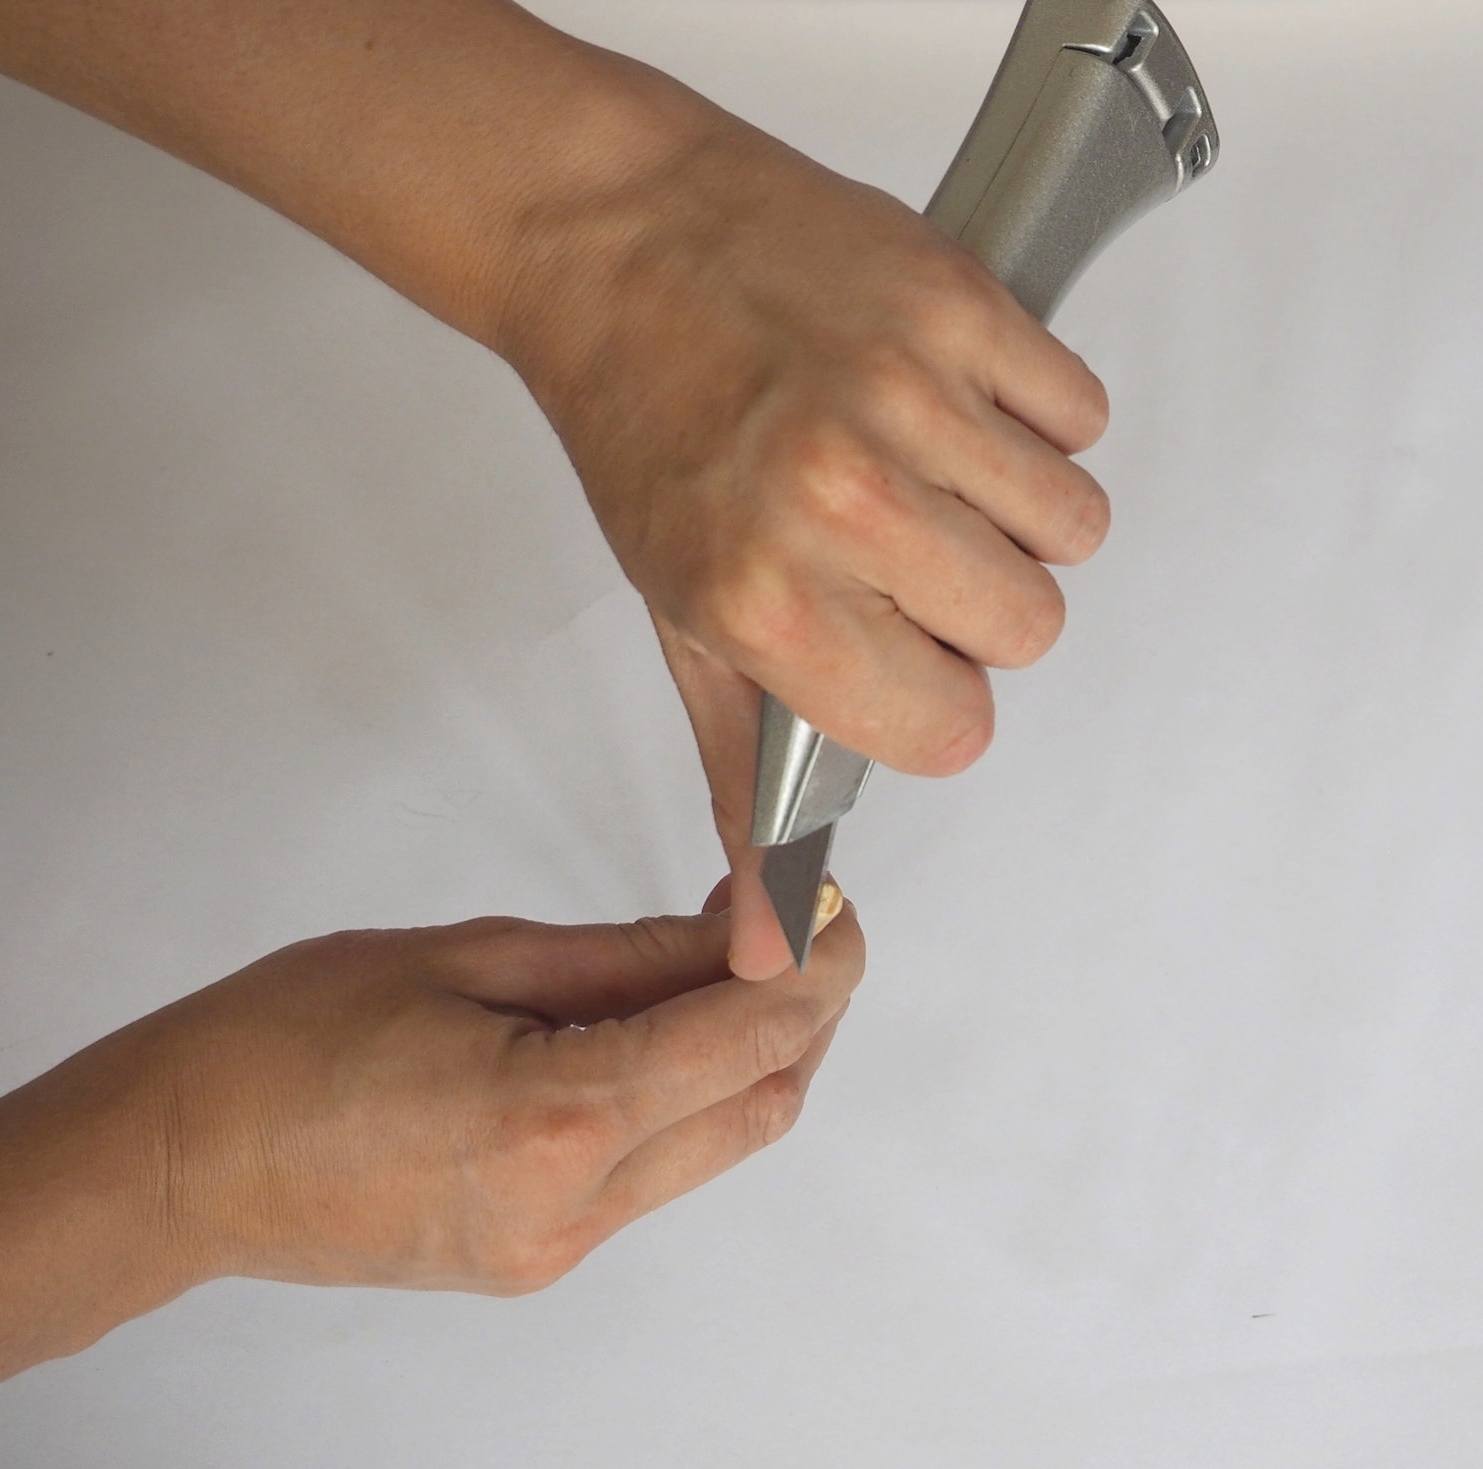
Now take the three pieces of dowel and create a groove in the end of them, enabling you to slot the string into it when your fire the arrows later.
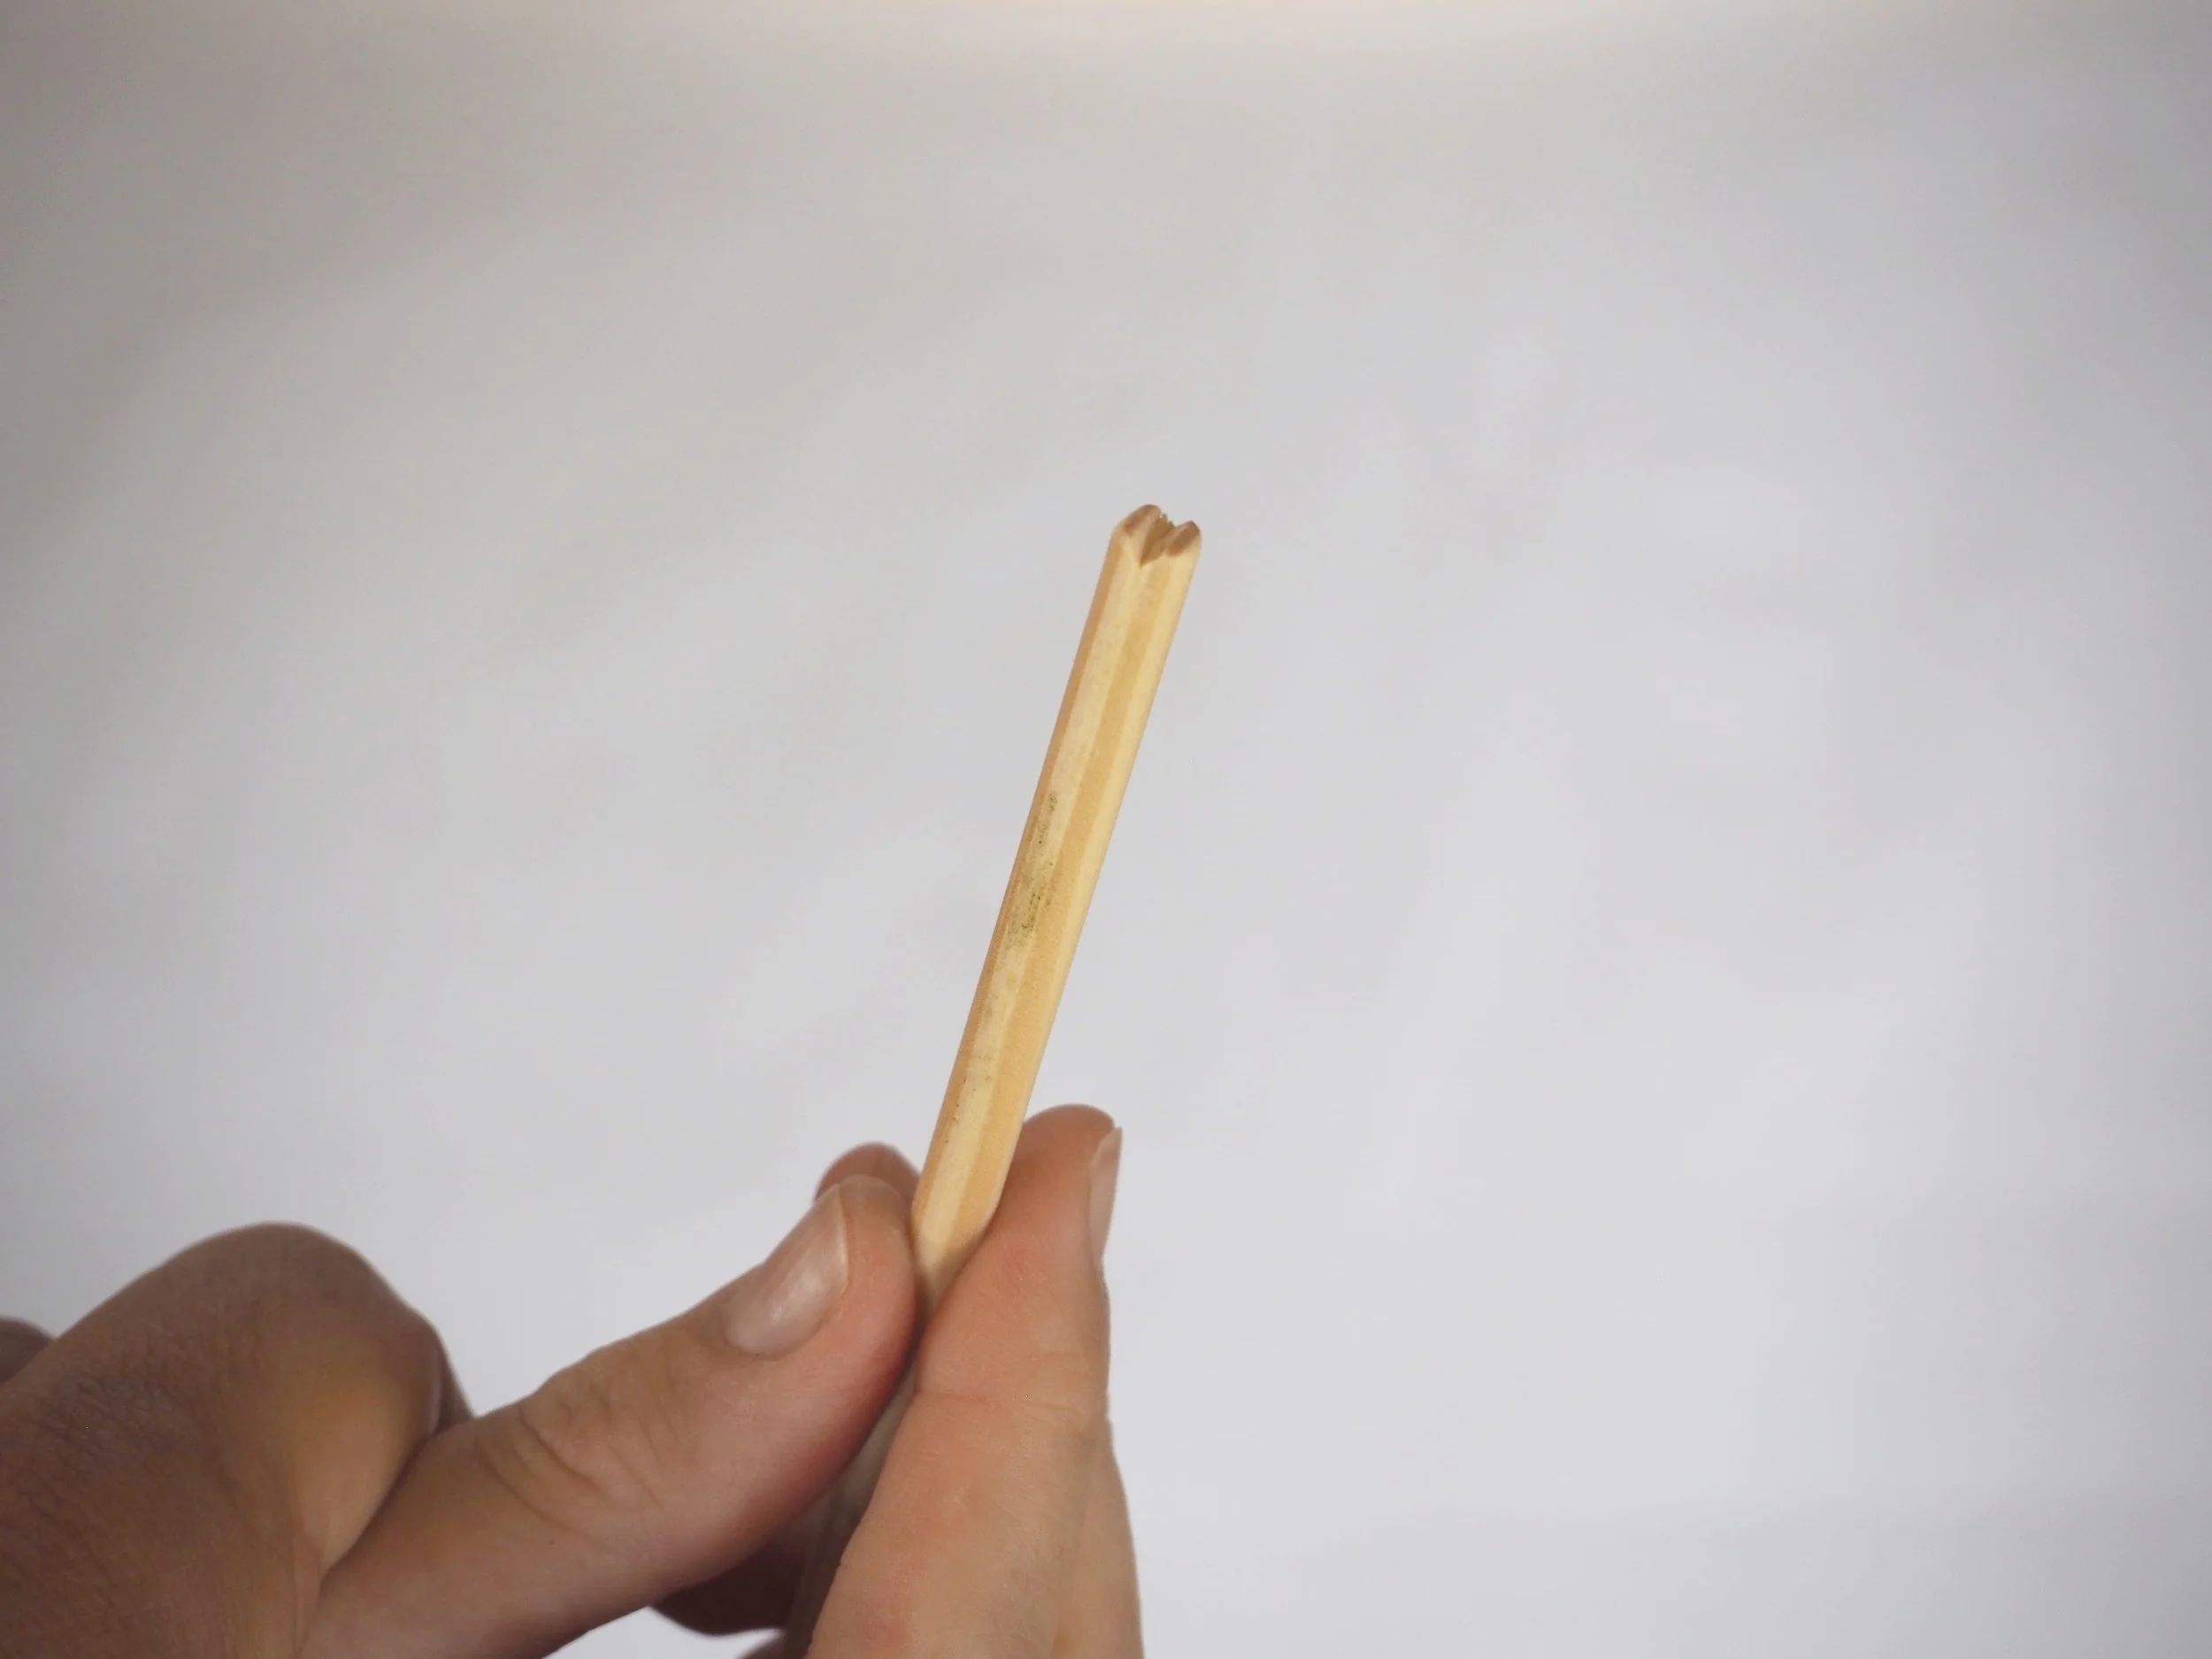
The groove should look like this.
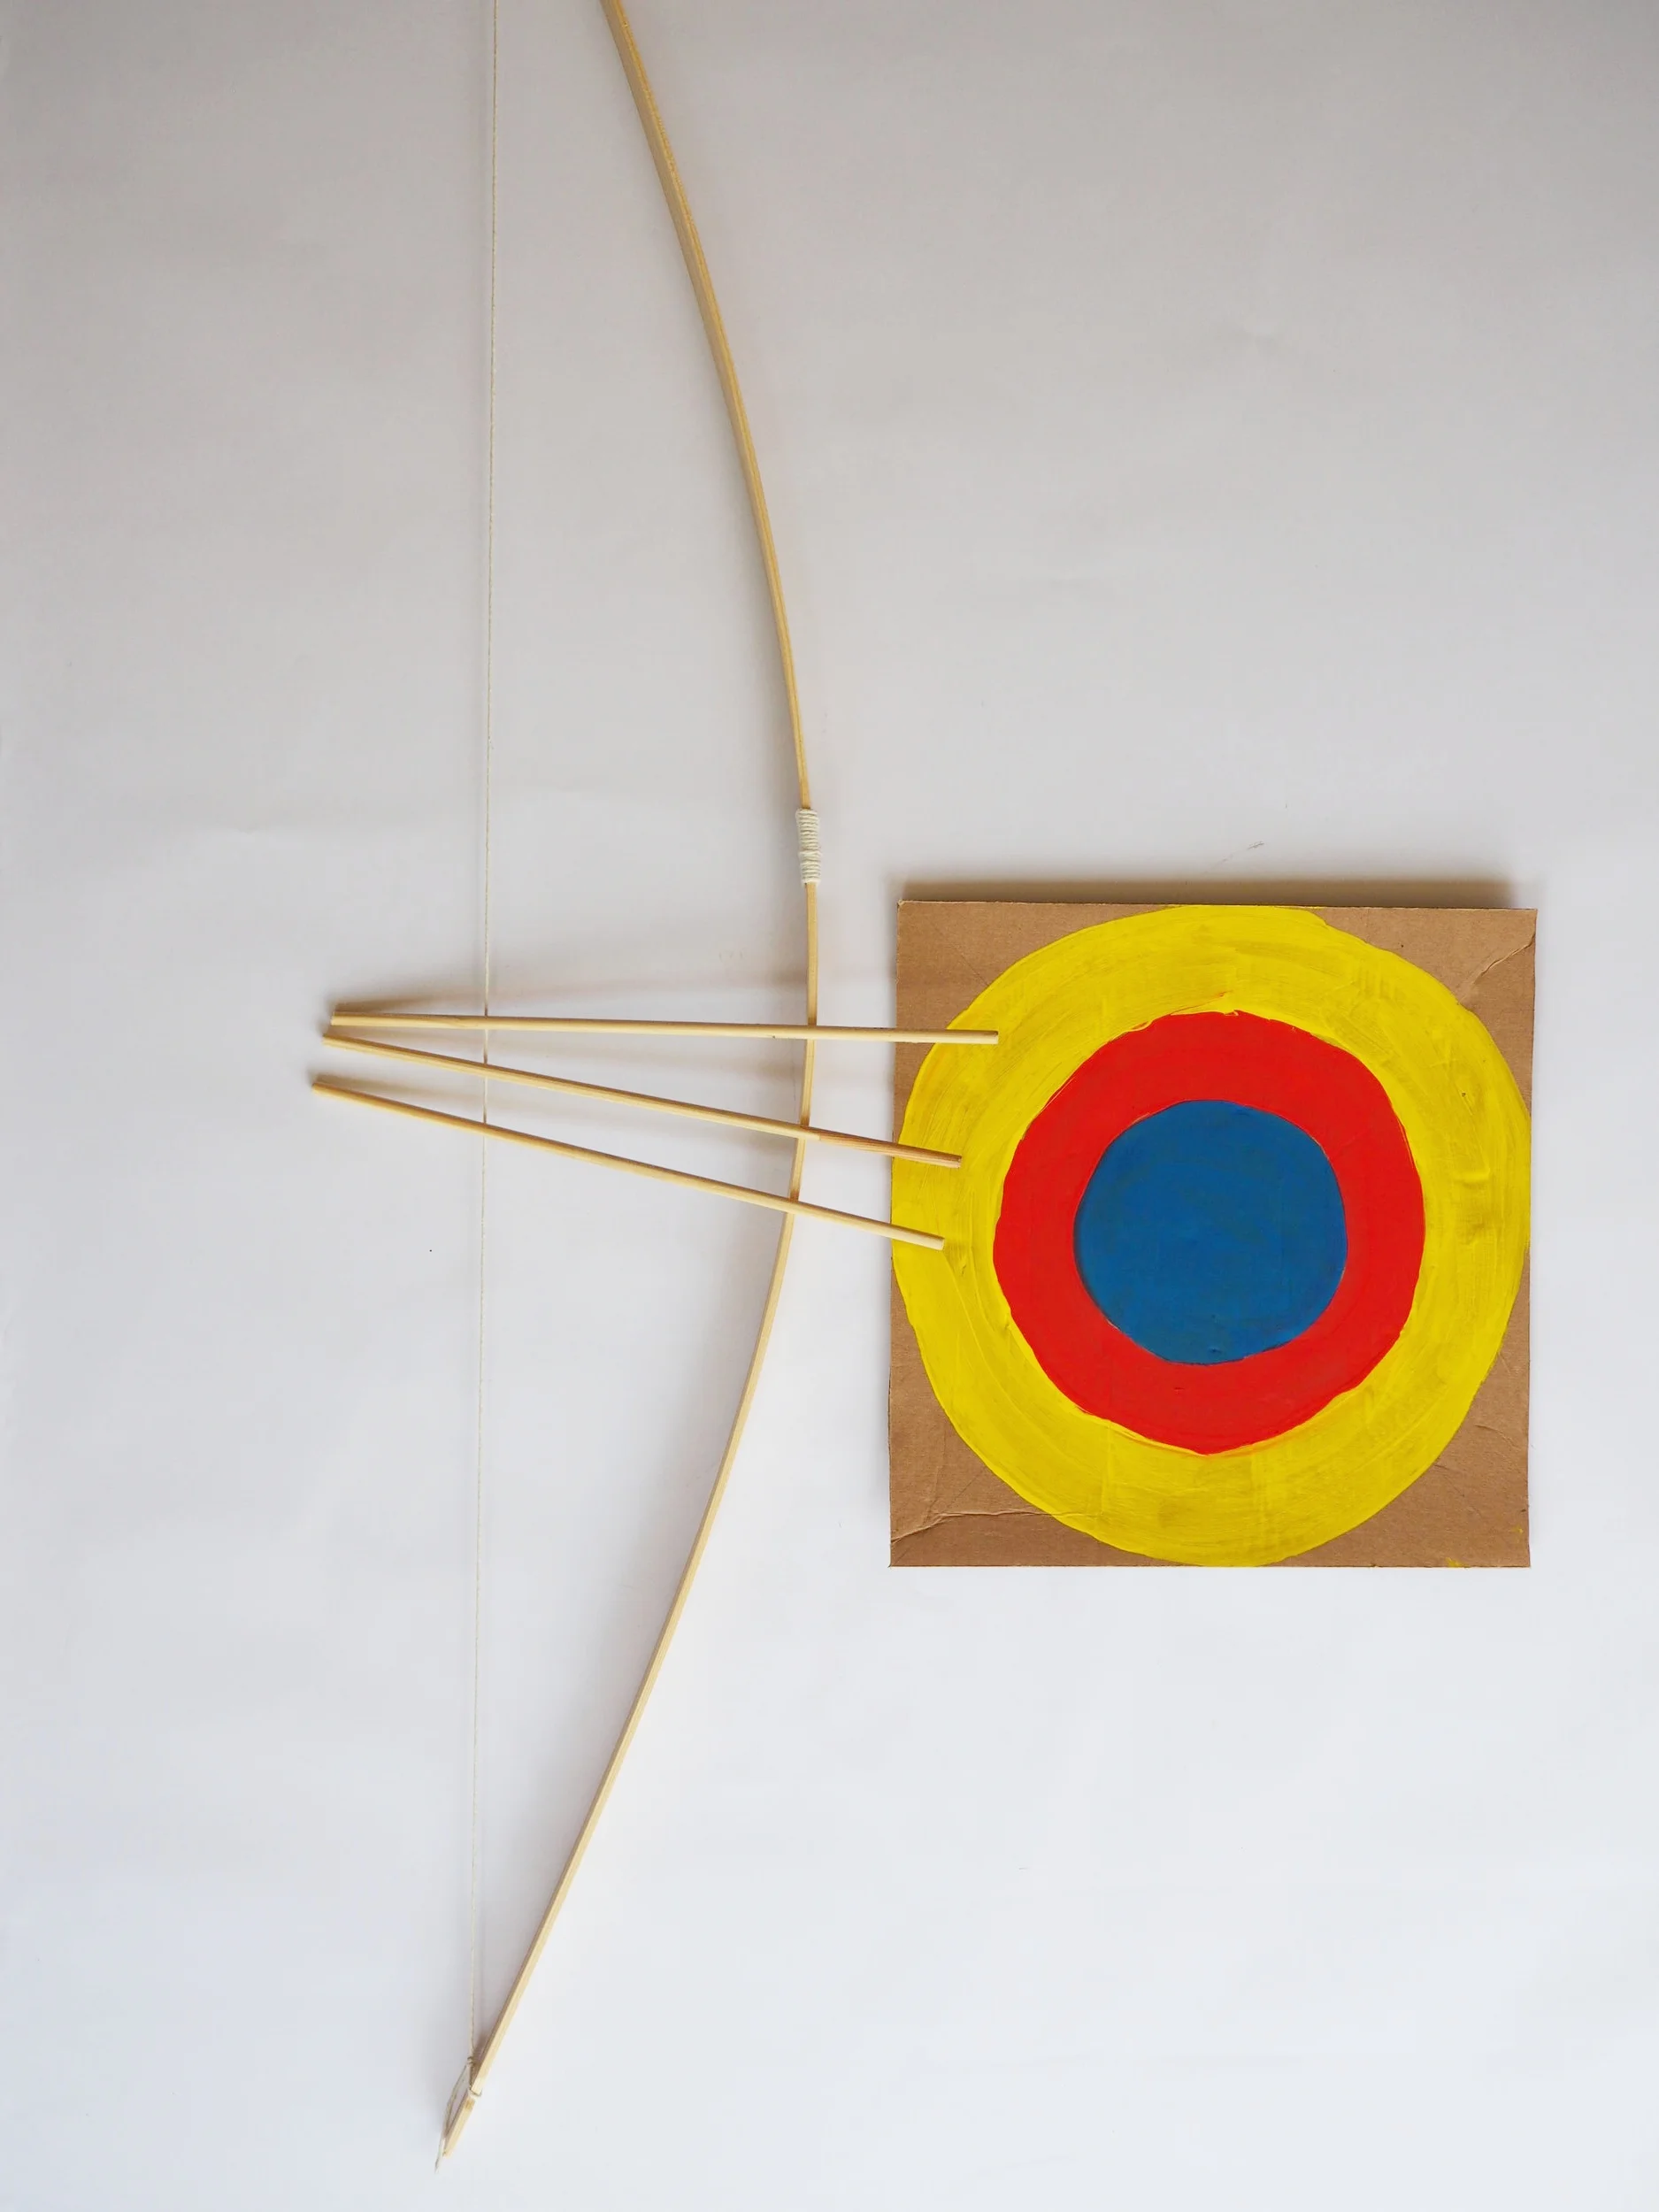
You have now completed your bow and arrow with target. You can prop up your target on a chair or stick it to a wall indoors or outside. Enjoy!